Cinematic Portraits - Using K&F Concept Black Diffusion Filter 1/2 and 1 stop
- caliallstaring
- Sep 6, 2021
- 4 min read
Updated: Sep 5, 2022
Today I am going to talk about my experience on using K&F Concept Black Diffusion filters to create cinematic style portraits. I will talk about some tips on using these diffusion filters and how to maximize the effect for your portraits.
Key Points
First two outfits - K&F Concept Black Diffusion Filter 1/2 Stop
Second set of outfits - K&F Concept Black Diffusion Filter 1 Stop
The photoshoot in this blog post was the shoot with Rosina in San Francisco for some fashion street style shoot during middle of the day sunlight, which is perfect for the diffusion filter to create the dreamy effect. The full video for this photoshoot is below:

K&F Concept Black Diffusion 1/2 Stop

The first outfit we were going to shoot was a golden dress. As we were driving around San Francisco downtown, I was specifically looking for some brick color wall to match the color of the golden dress. As we were driving around the area of near downtown broadway, I found this nice flower wall, which will be a great match for the dress. I parked near by and started to shoot some dreamy vibes using the 1/2 stop Black Diffusion filter.

As you can see the image above, 1/2 stop soft diffusion filter created a nice dreamy vibe around the highlight area of the dress. The stronger the direct sunlight gets, the better dreamy effect for the diffusion portrait because the diffusion sunlight highlight creates nice vintage dreamy look for the portraits.
Diffusion Filter Tip - Find strong direct sunlight on the portrait. Don't worry about the sunlight to be too strong, the stronger the mid-day sunlight, the better dreamy effect.


One more mid-day tip is that because the sun angle is pretty high above the portrait, you can ask the model to slightly chin up for the sunlight shining evenly on the face. As the image above the angle is still a little be low, you can see the eye portion is in the shadow. If the model slightly tilted up about 5 or 10 degree, the sunlight will be evenly on the face. The bottom photo is another example (slightly tilted up for the sunlight):

We did notice there was a brick wall behind these flowers. Here is one of the shots against the brick wall:

Editorial Style with the Diffusion Filter
Next, we walk across the street and found a nice red door with green wall as background for the editorial style. Rosina was still in the golden dress and we want to do some full body editorial style with direct sunlight.

The full sunlight on the golden dress with diffusion filter created a nice glow effect, which feels like a cinematic feeling. I like the red/green combination as well as the bright/dark areas combination for the background.

Next, I drove around to another area in San Francisco near Japantown. On our way to Japantown, we found this light blue apartment on the hill side that matches the blue blazer and skirt that we are going to shoot. We parked to the side and took some photos against this background:

The lighting for this portrait is soft light bounced from across the street. However, as you can see the apartment behind has some strong highlight area on the wall. The K&F Concept diffusion filter works nicely to diffuse the strong light from the wall behind. It creates a nice atmosphere for the portrait.
Diffusion Filter Tip - Find some background that are partially in the direct sunlight because the diffusion filter will diffuse the bounce light nicely for the background and the entire portrait.

Usually, if there was no diffusion filter, the bottom part of the above image will be blown out by highlight because of the strong sunlight reflected by the white ground. However, because of the 1/2 stop soft diffusion, it creates a nice dreamy effect from the bottom ground as well. I do feel like the stronger the bounce light, the dreamier the portrait can get for this type of portrait.

K&F Concept Black Diffusion Filter 1 Stop
After shooting two outfits, I decided to switch to the Black Diffusion Filter 1 Stop and try it out. I hadn't shot any of the diffusion filters before this photoshoot, so I didn't have any image in my mind for how much dreamier the 1 stop will get. I was expecting double the amount of the dreaminess for the 1 stop vs the 1/2 stop one.

To my surprise, the amount of softness is still manageable for me. Before I clicked the shutter, I was thinking whether the image will be too soft. It did created even dreamier image and the amount is manageable for me.
Next, I turned around and saw a nice brown city building in the background for portraits. I did some backlight with the diffusion 1 stop to see how it turned out.


I like the 1 stop filter with backlight. It created a nice mood and strong atmosphere for the whole image. Take a look at the photo above at the lower left corner. Check out how the car reflected the strong sunlight and diffused by the 1 stop black filter. In a normal shoot without filter, this will create a strong distraction for the image, but in the diffused environment, it added an extra dreamy element for the photo.
Next, we went to a residential area at the side walk to do some more backlight test for the 1 stop K&F Concept Black Diffusion filter.

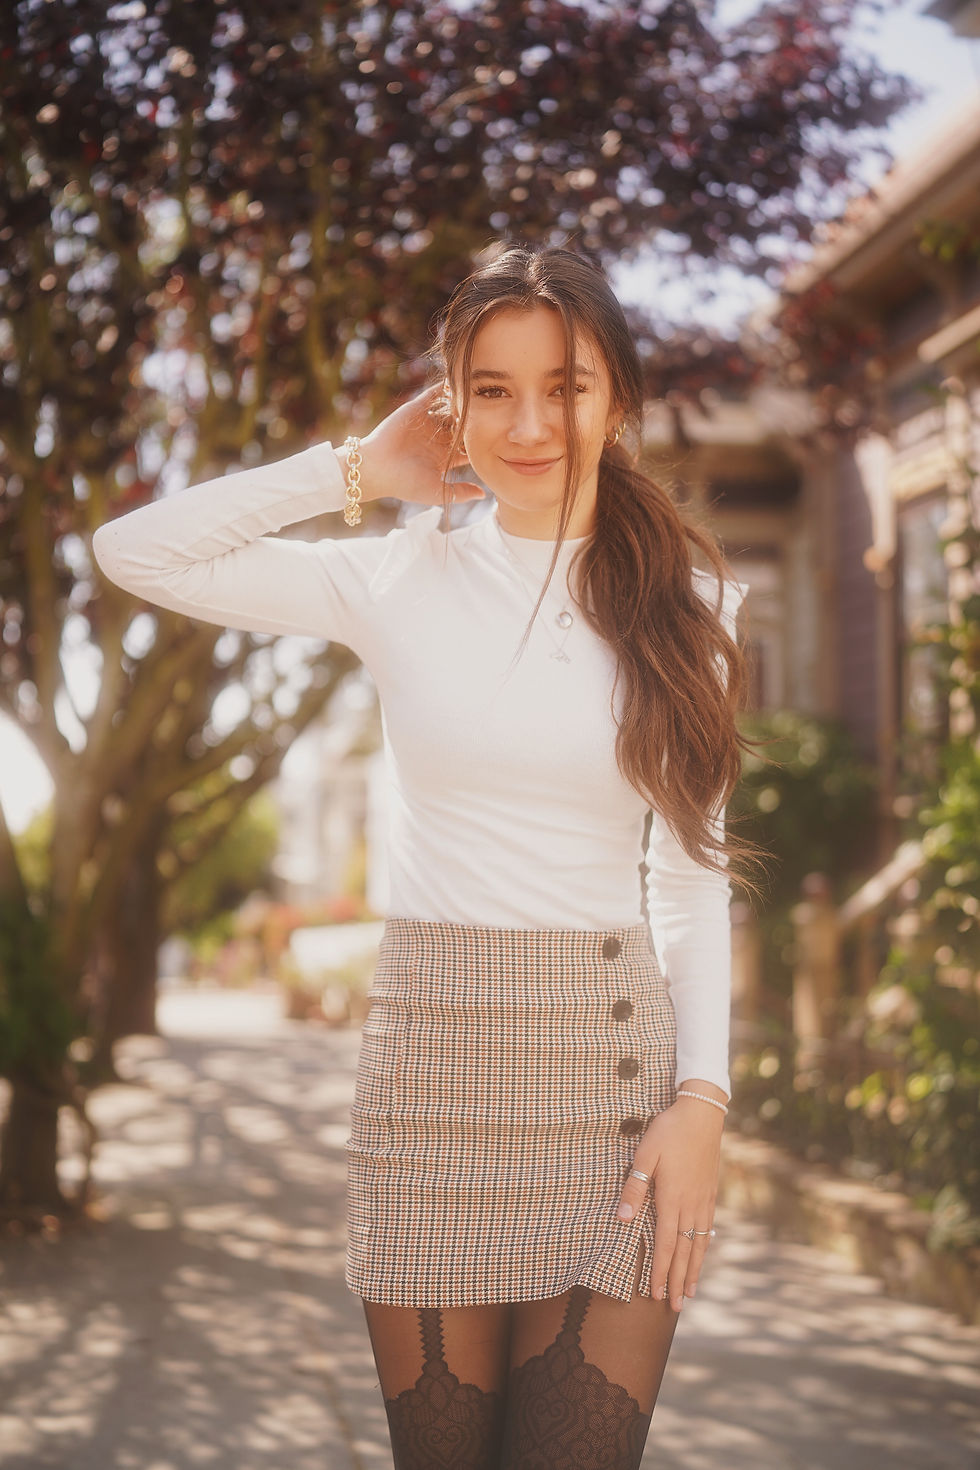
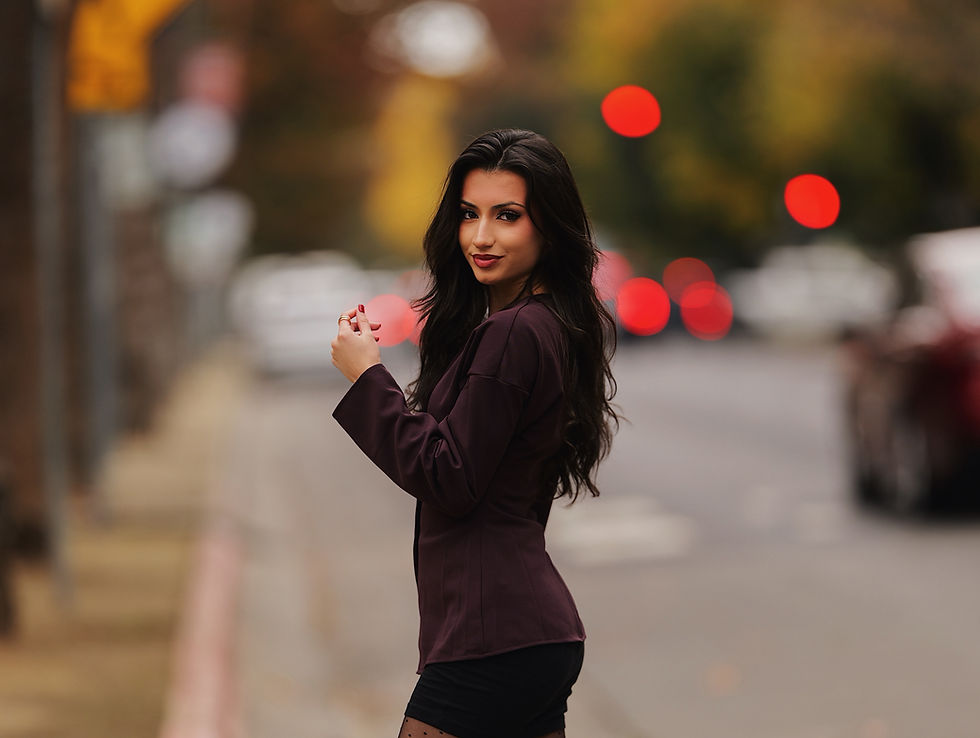
I want to talk about the bokeh when the diffusion filter applied. The bokeh still retains the same quality of the original lens bokeh. The diffusion filter added an extra glow around the bokeh especially for the strong lighting area like the middle left edge of the images above and below.

Diffusion Filter Tip - white outfit can add extra diffusion element. Because white outfit likely to reflect more light, it creates more glow around the white outfit like the two examples above.
In summary, K&F Concept Black Diffusion Filters give you another great tool for creating cinematic portraits. They add another dreamy layer and element to your portraits. You can use them to create the mood you want to express for your content. Happy creating :)
Black diffusion filter: https://bit.ly/2WPm1cl
Magnetic filter: https://bit.ly/2VaplOk
10% OFF code: KF10US
Other Links:
Black diffusion filter 1/2 stop: https://amzn.to/3kWsSsD
Black diffusion filter 1 stop: https://amzn.to/2WPqFqV
K&F Store: https://amzn.to/3n6OWmN
10% OFF code: KFCUS002 valid until September 30
35mm F1.4 GM: https://amzn.to/3germ2E
Sony A7III: https://amzn.to/2PK9NJk
Thanks for reading :) More photos will be uploaded in my Instagram account: @caliallstaring.


Comments