Fujifilm
Fujifilm XF16mm F1.4 Cinematic Portraits Using K&F Concept Black Diffusion Filter 1/2 Stop
Updated: Sep 5, 2022
Today I am going to talk about my experience on using K&F Concept Black Diffusion filters to create cinematic style portraits on the Fujifilm system. I am using the XF16mm F1.4 with Fujifilm X-T4 for this photoshoot since the filter size matches the K&F Concept Black Diffusion Filter that I got. The filter stop is 1/2 for this portraits photoshoot.
Key Points
- 16mm F1.4 Backlight Portraits
- Even Lighting on the Diffusion Filter
- Front lighting portraits
The photoshoot in this blog post was the shoot with Estera in Sacramento. The full video for this photoshoot is below:
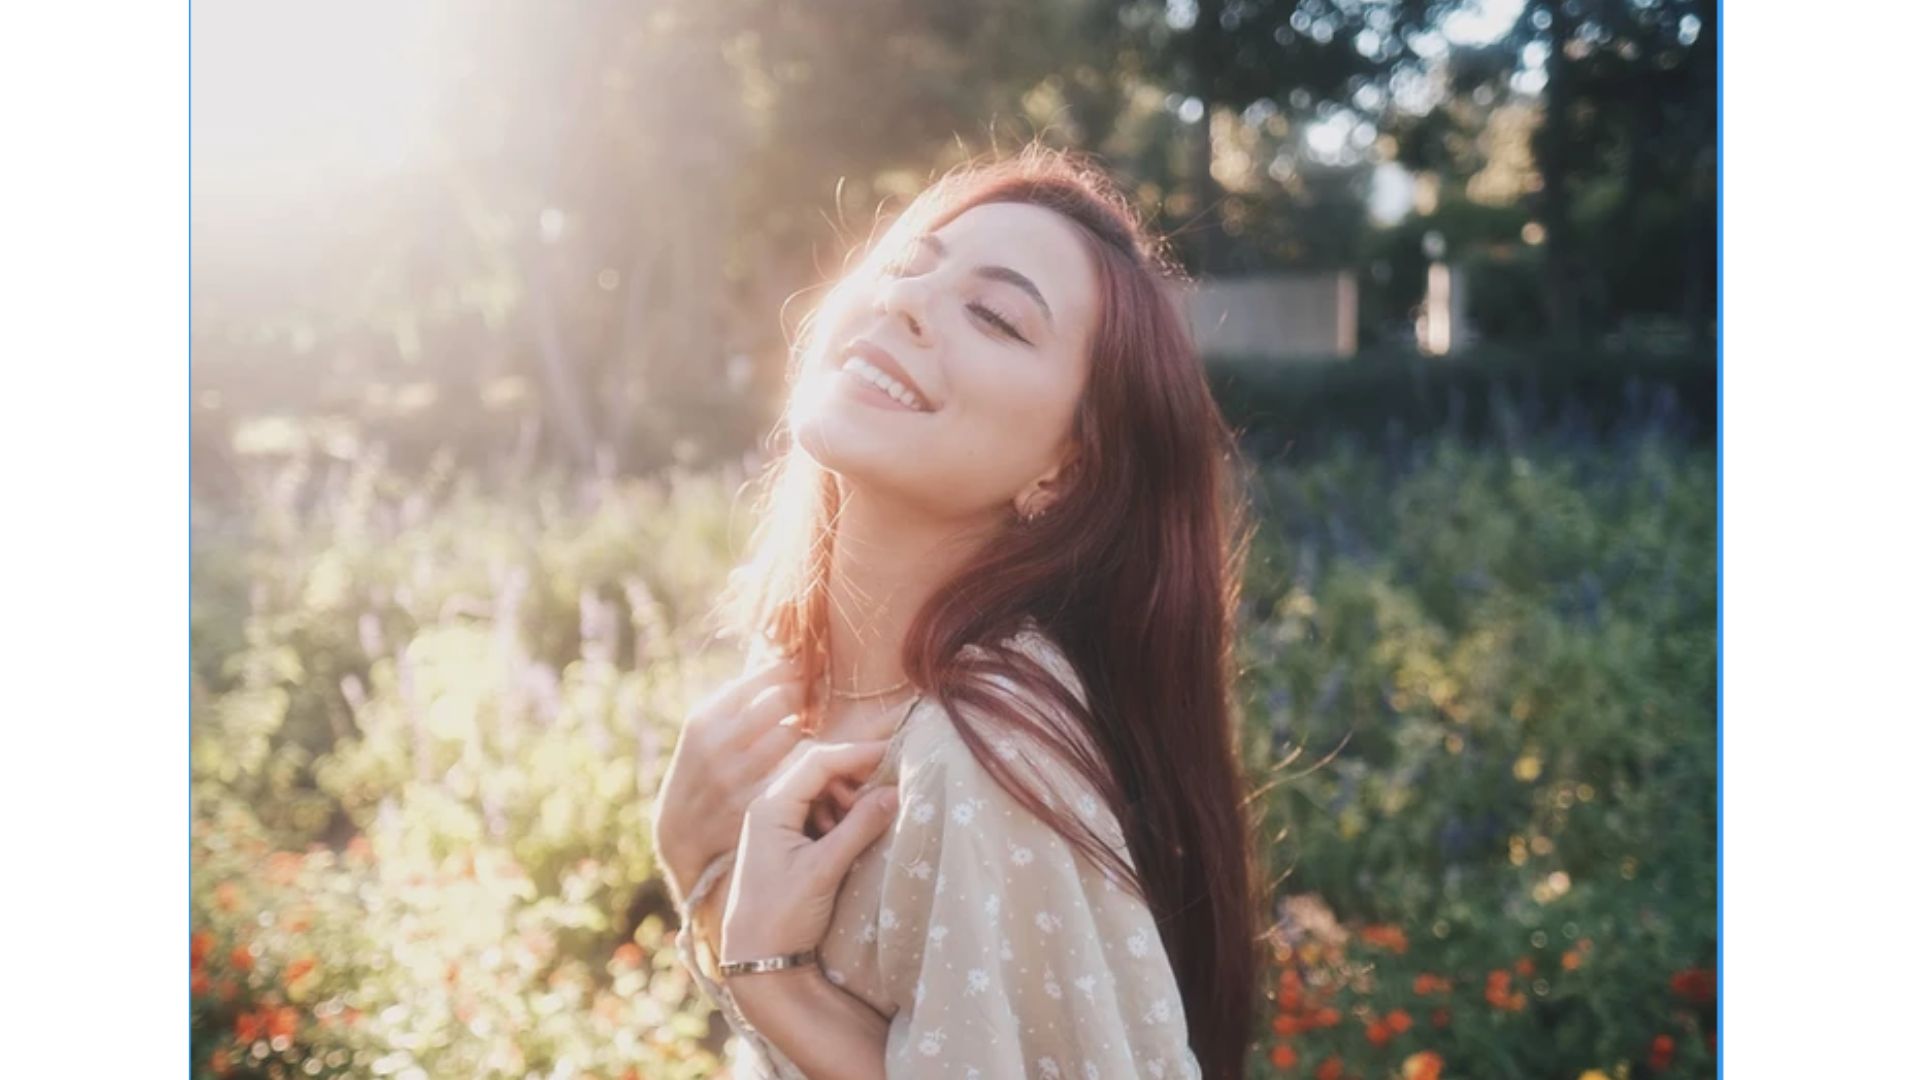
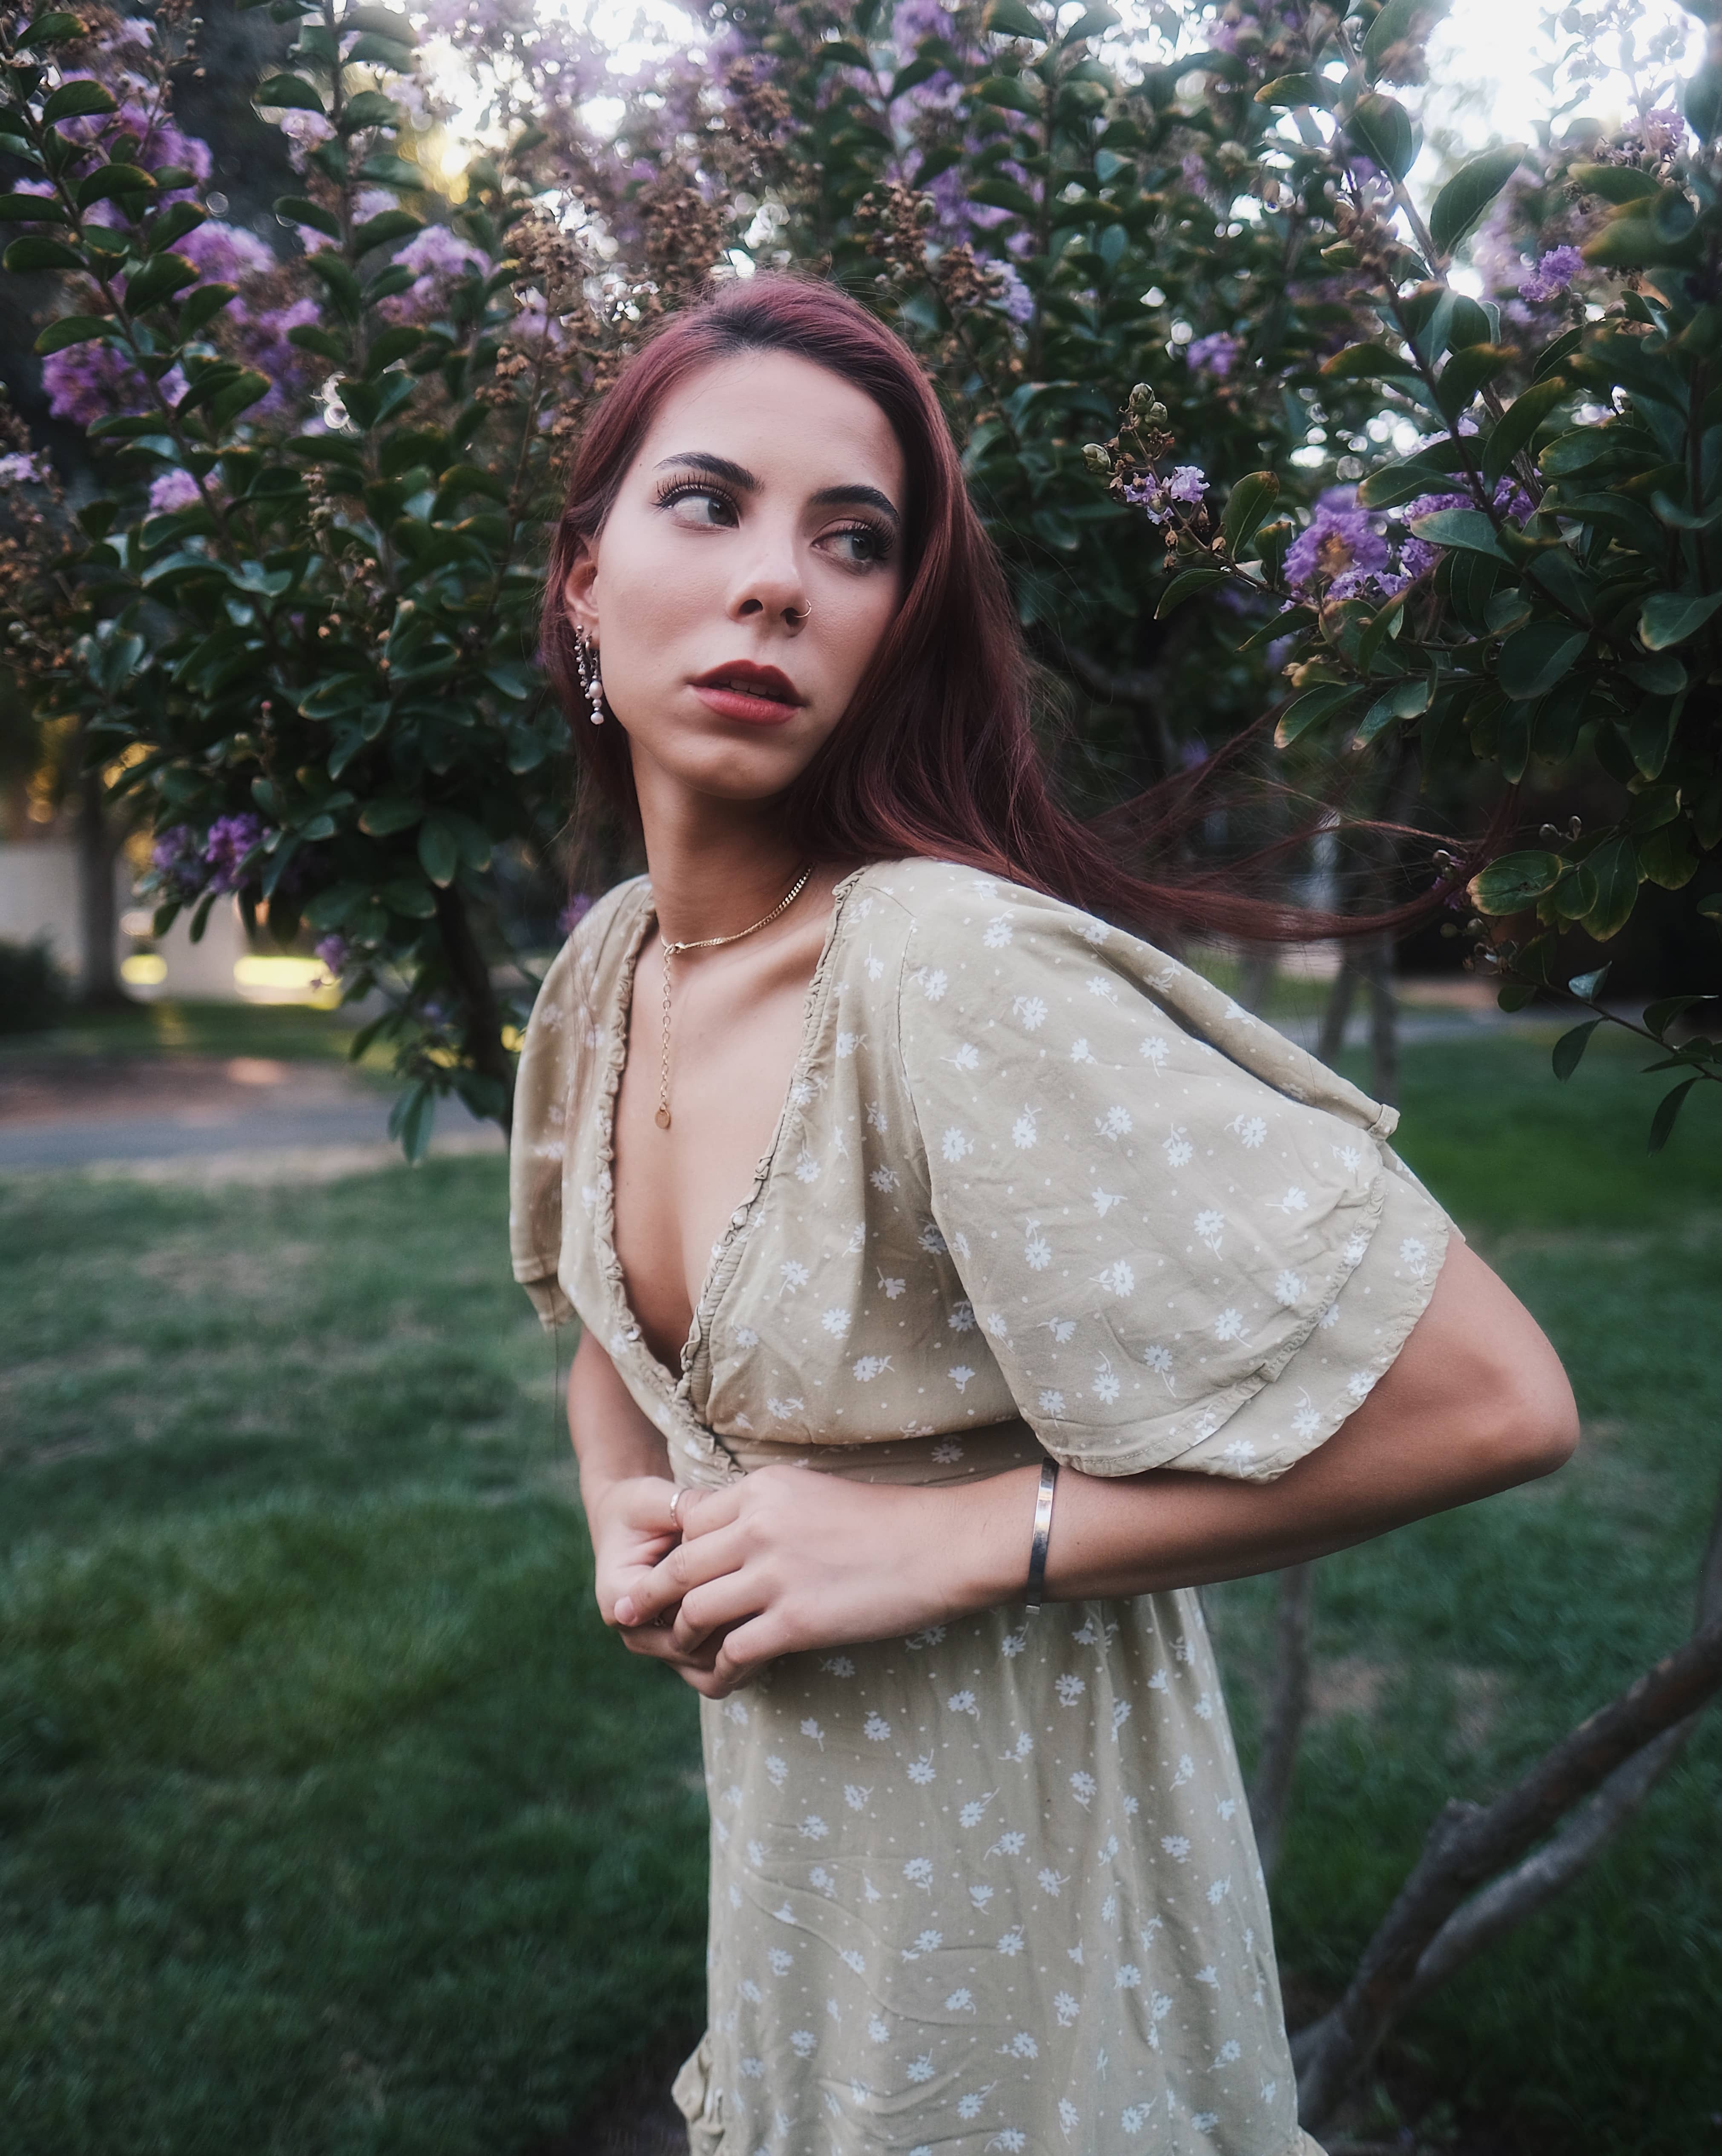
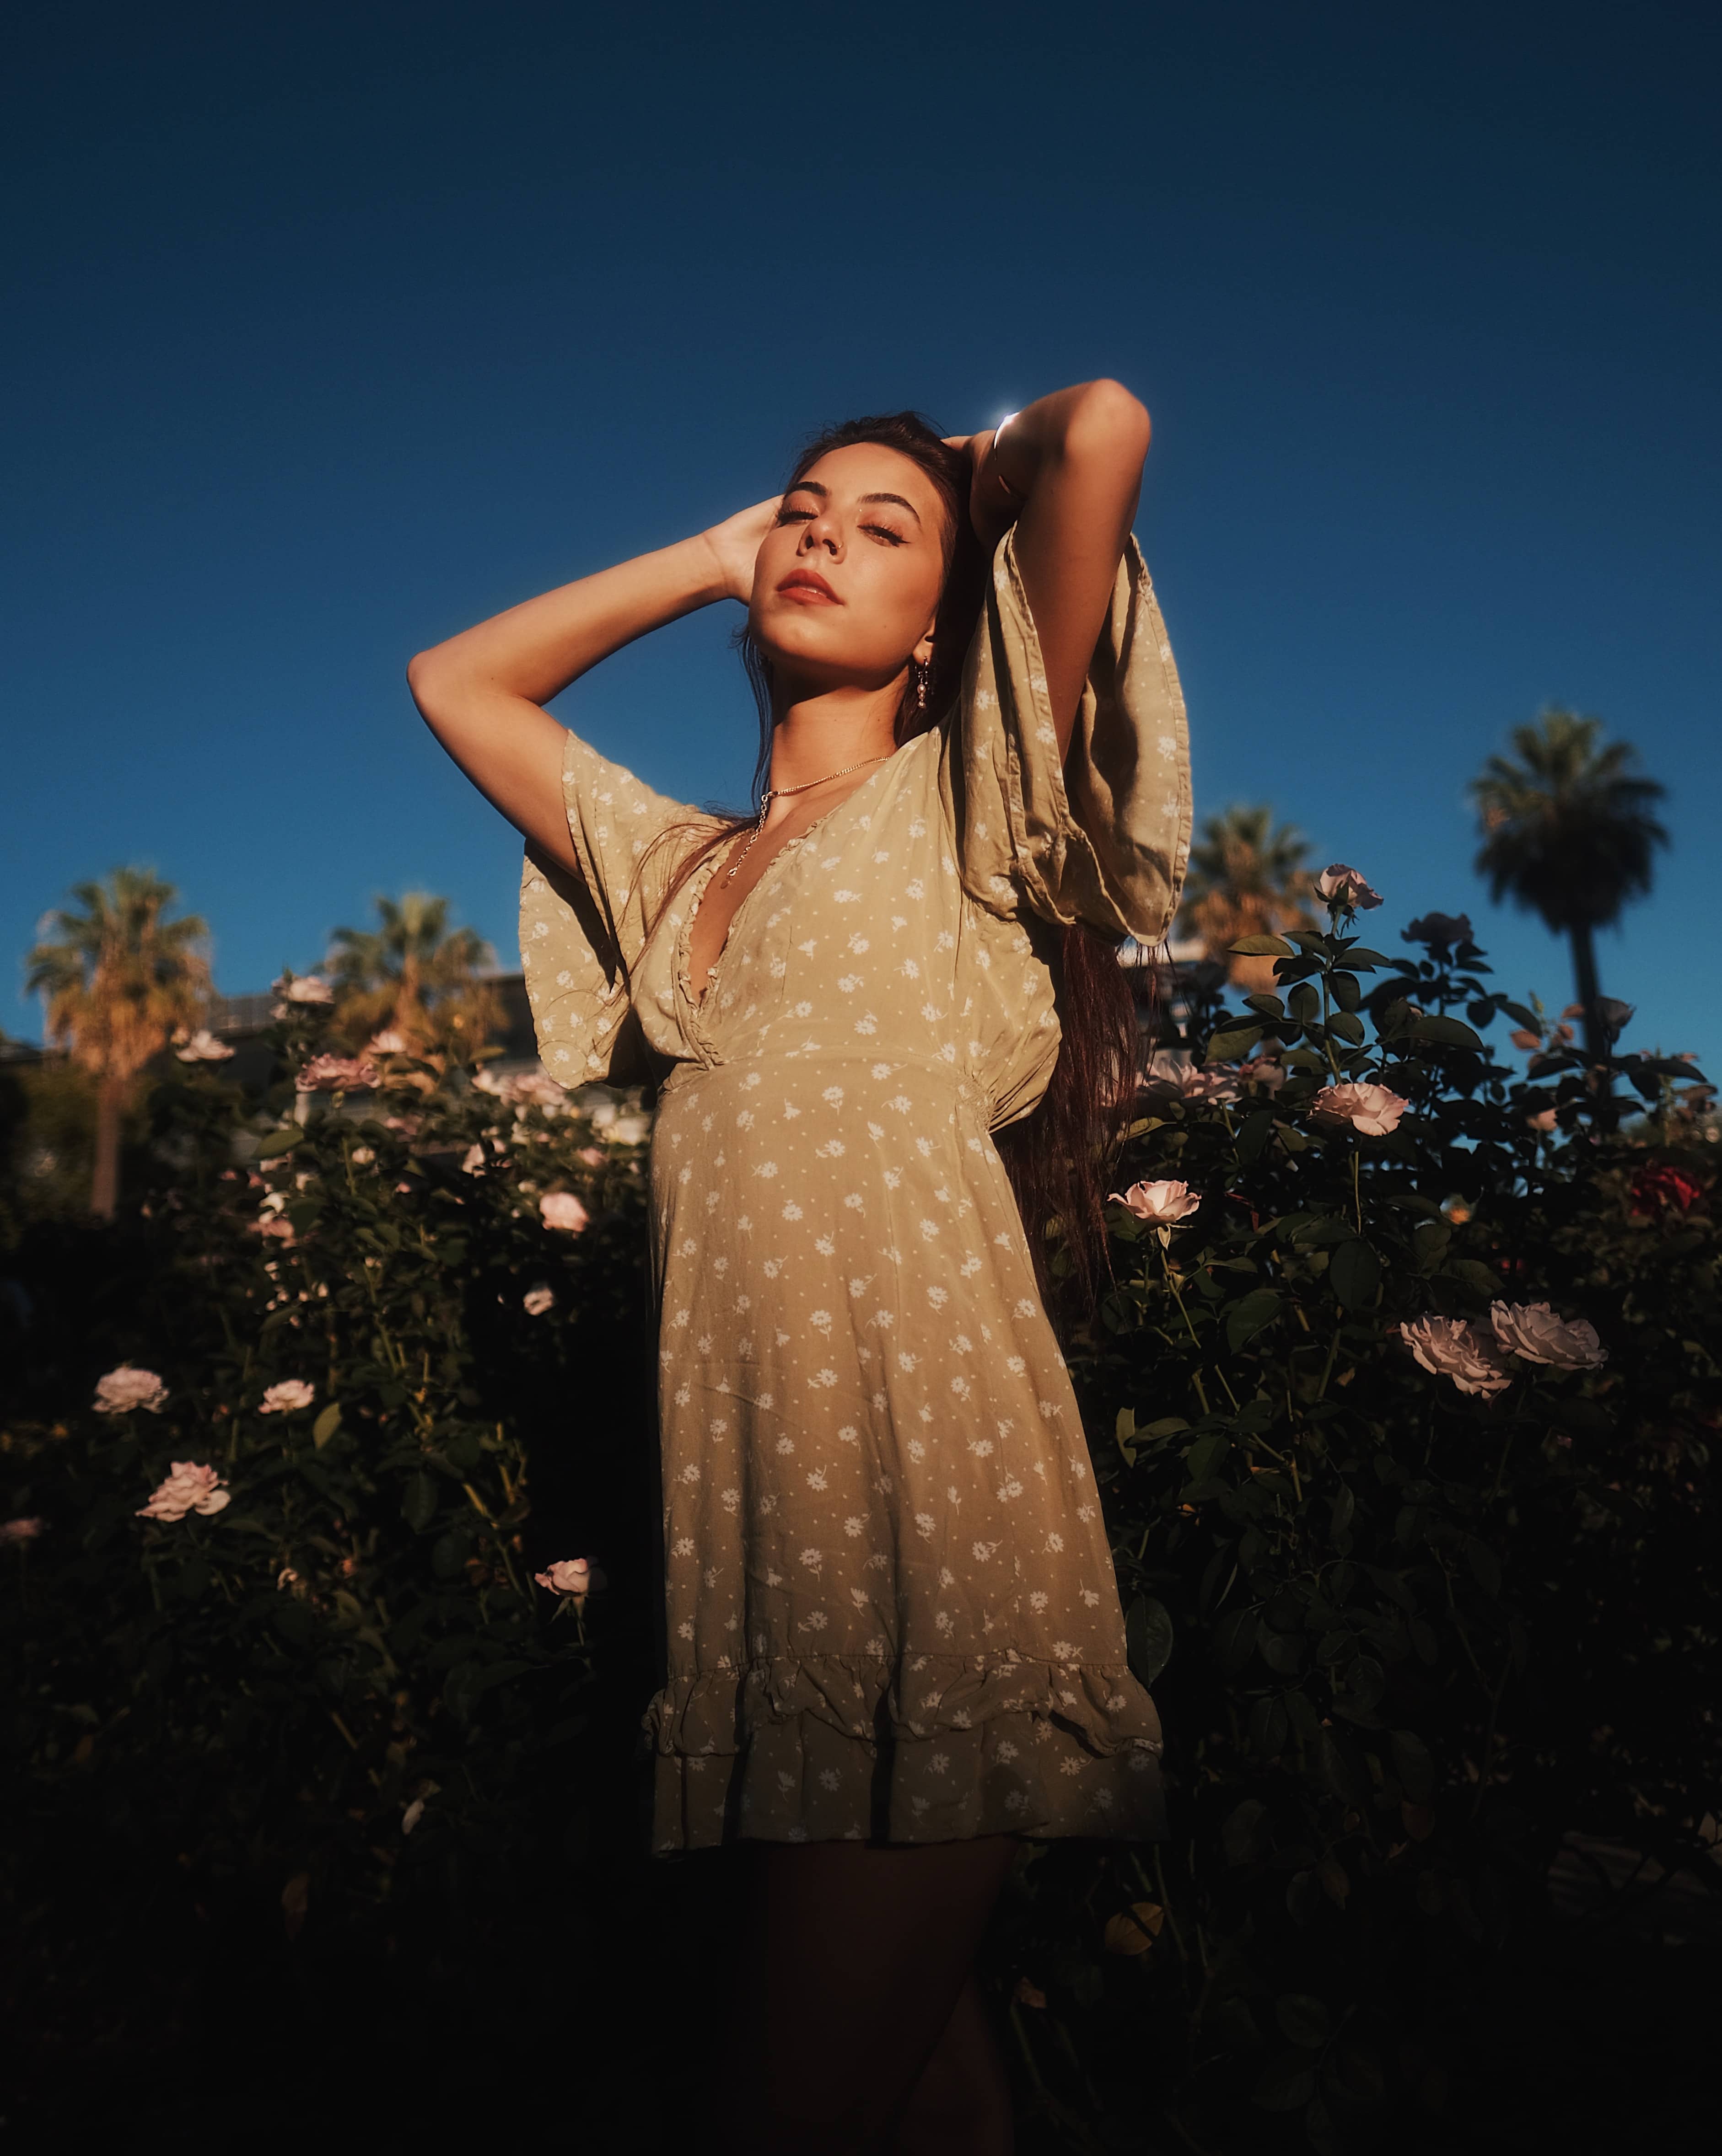
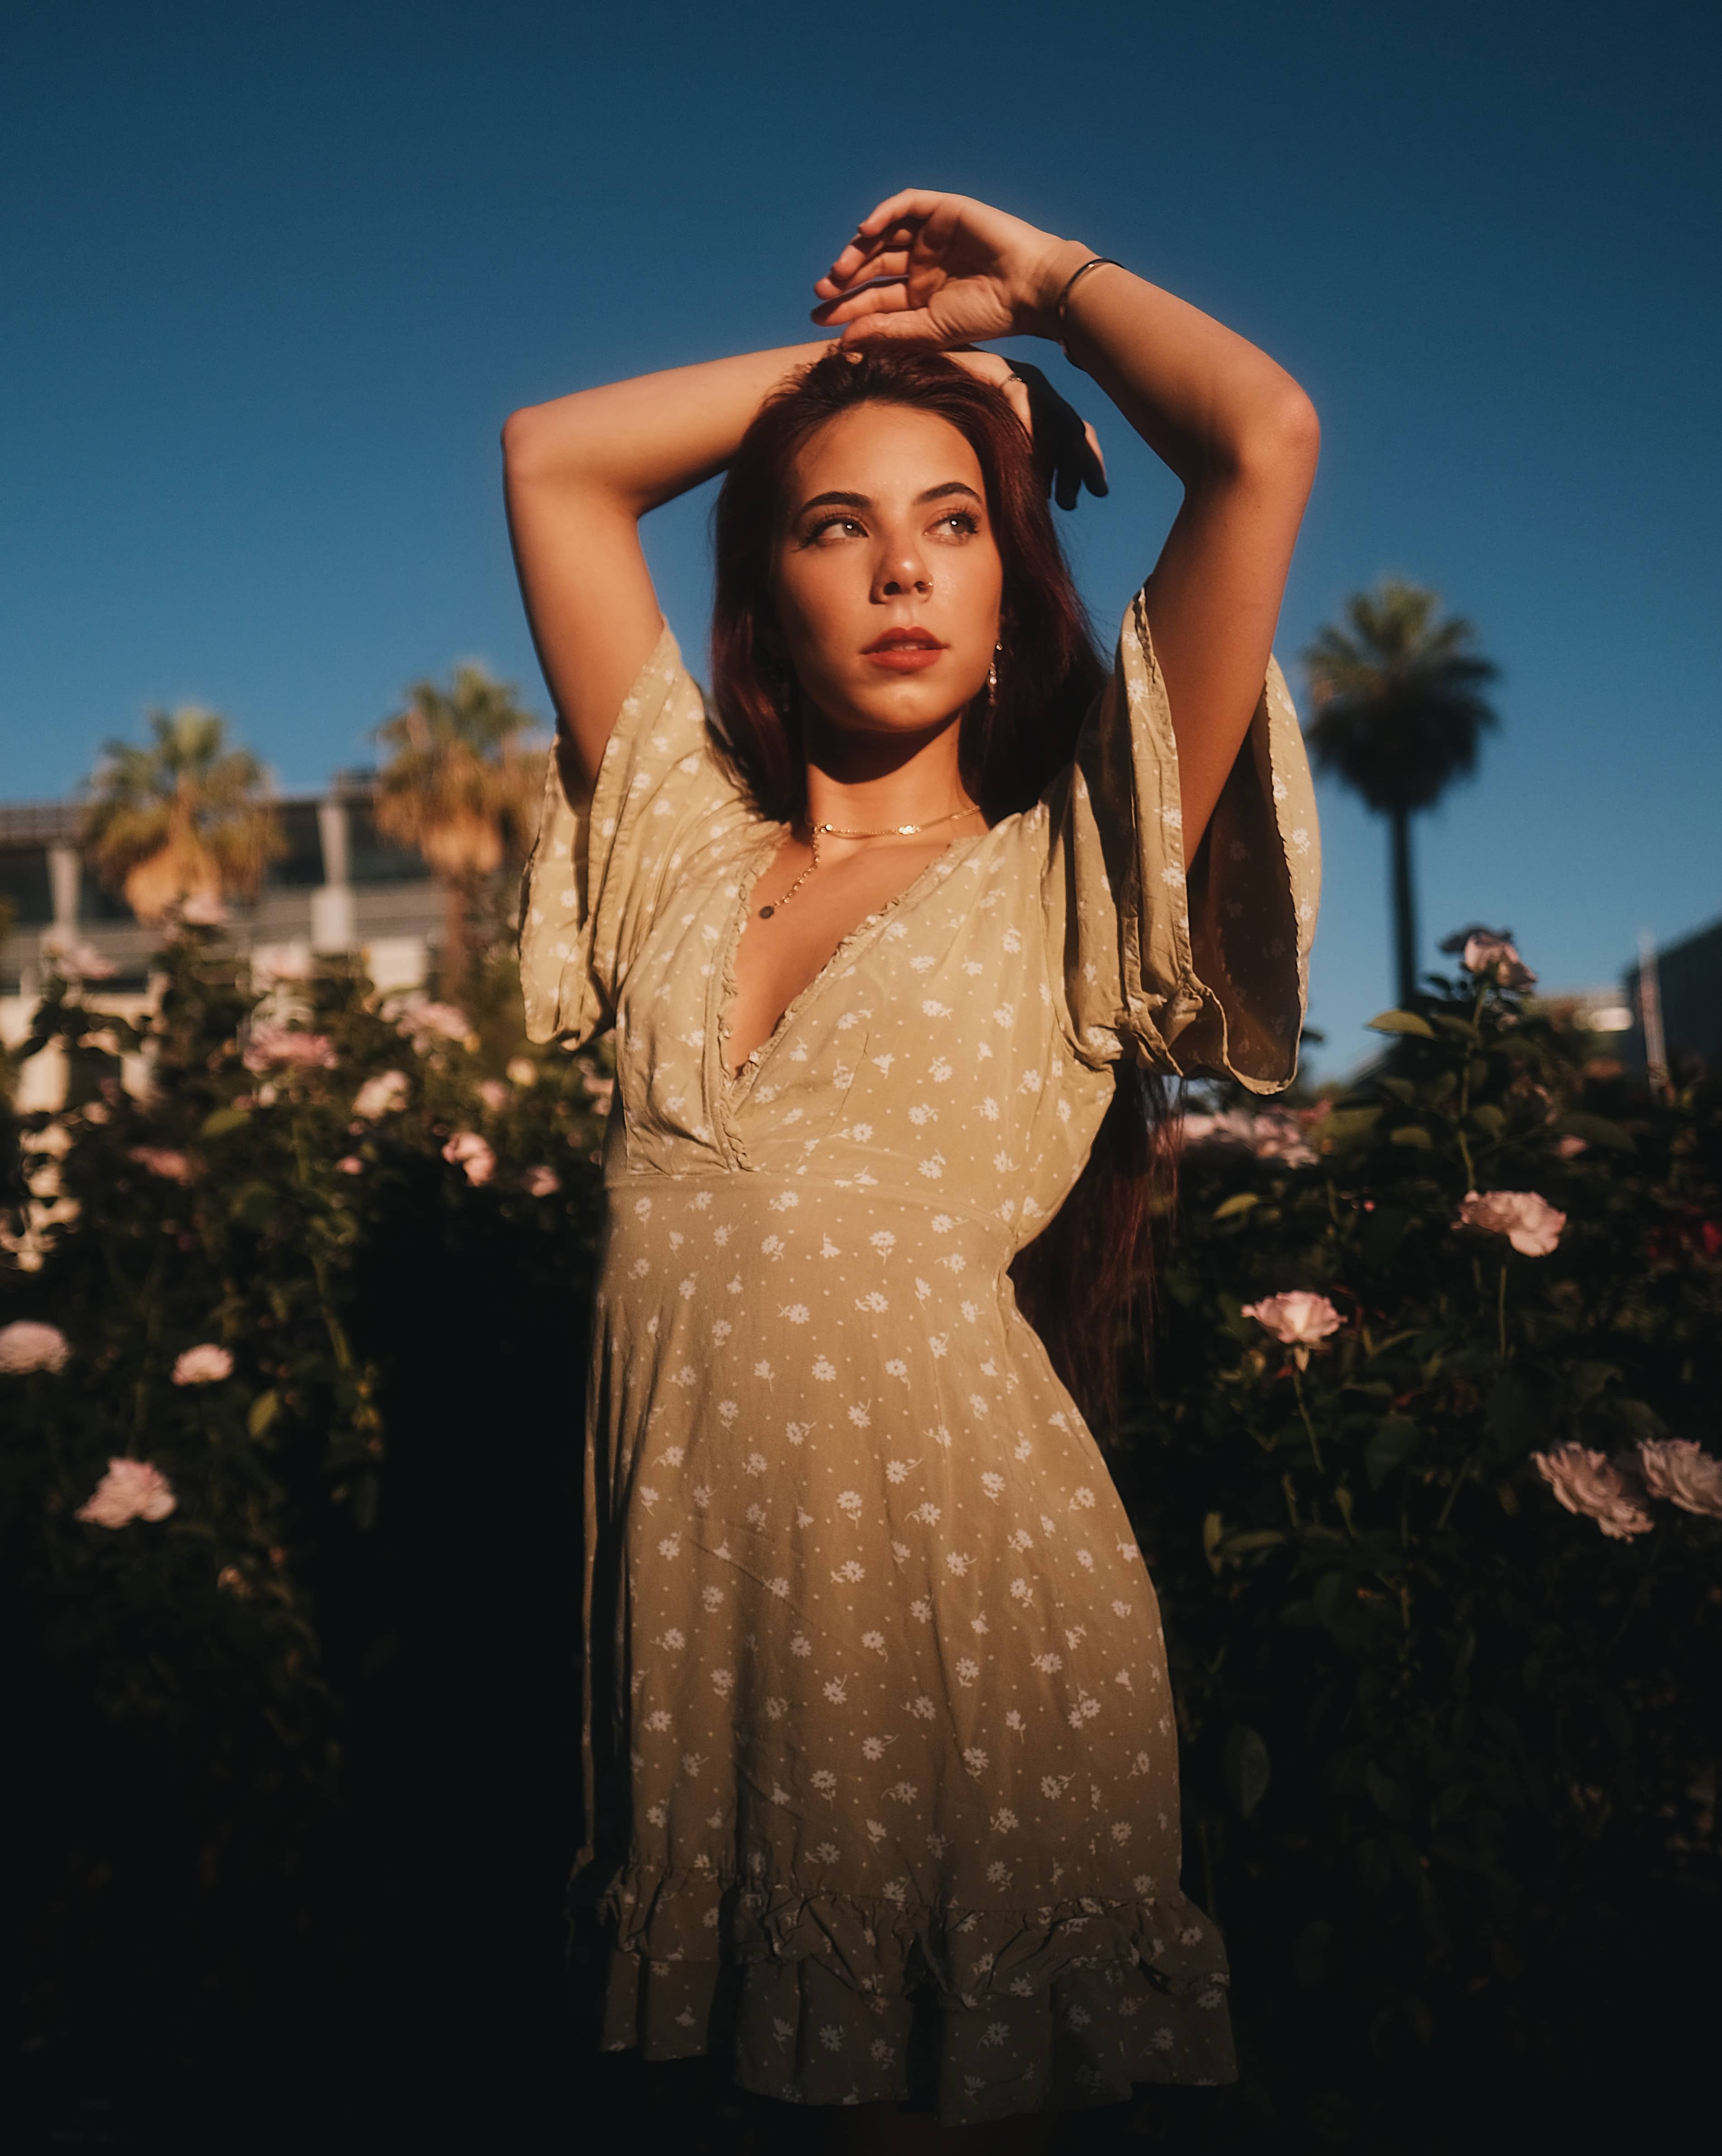
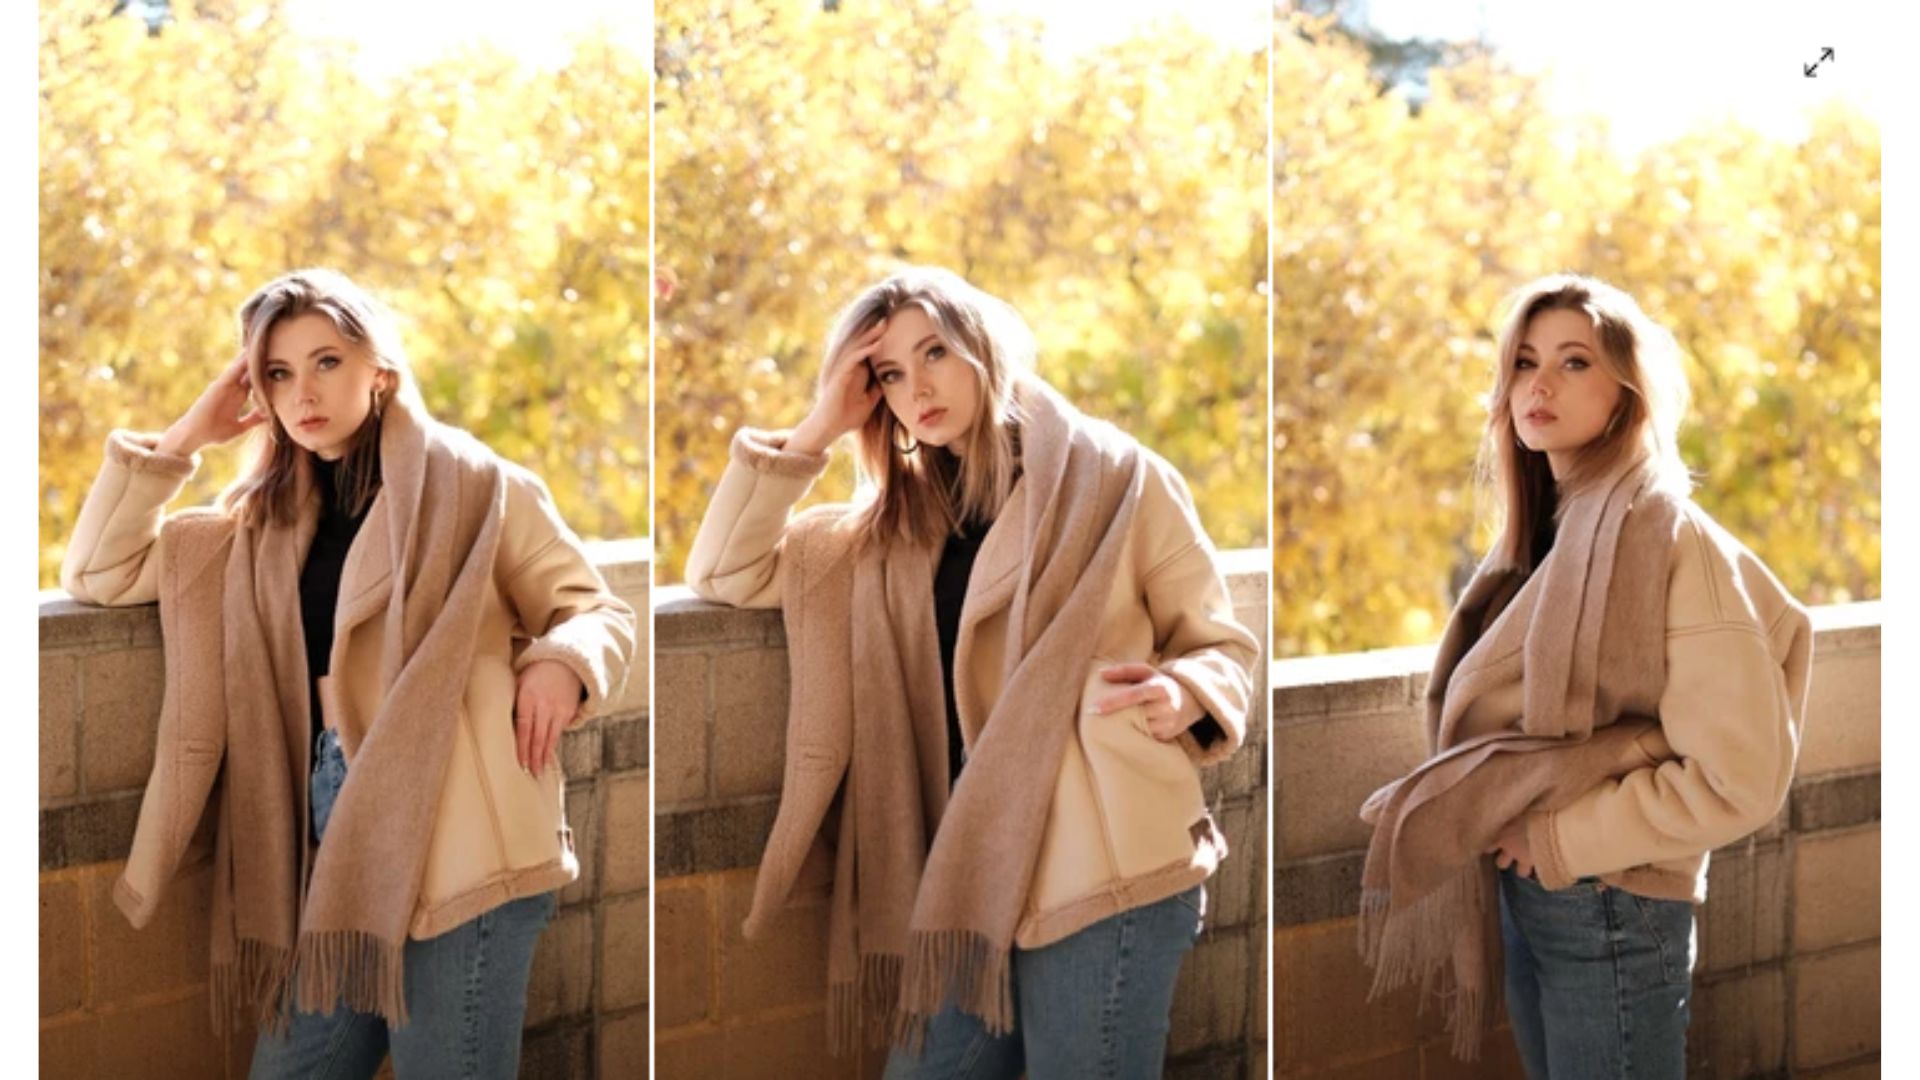
XF16mm F1.4 Backlight Portraits
We started the photoshoot using backlight. I wanted to see how the 1/2 Black Mist filter worked on the XF16mm F1.4 sharp lens.
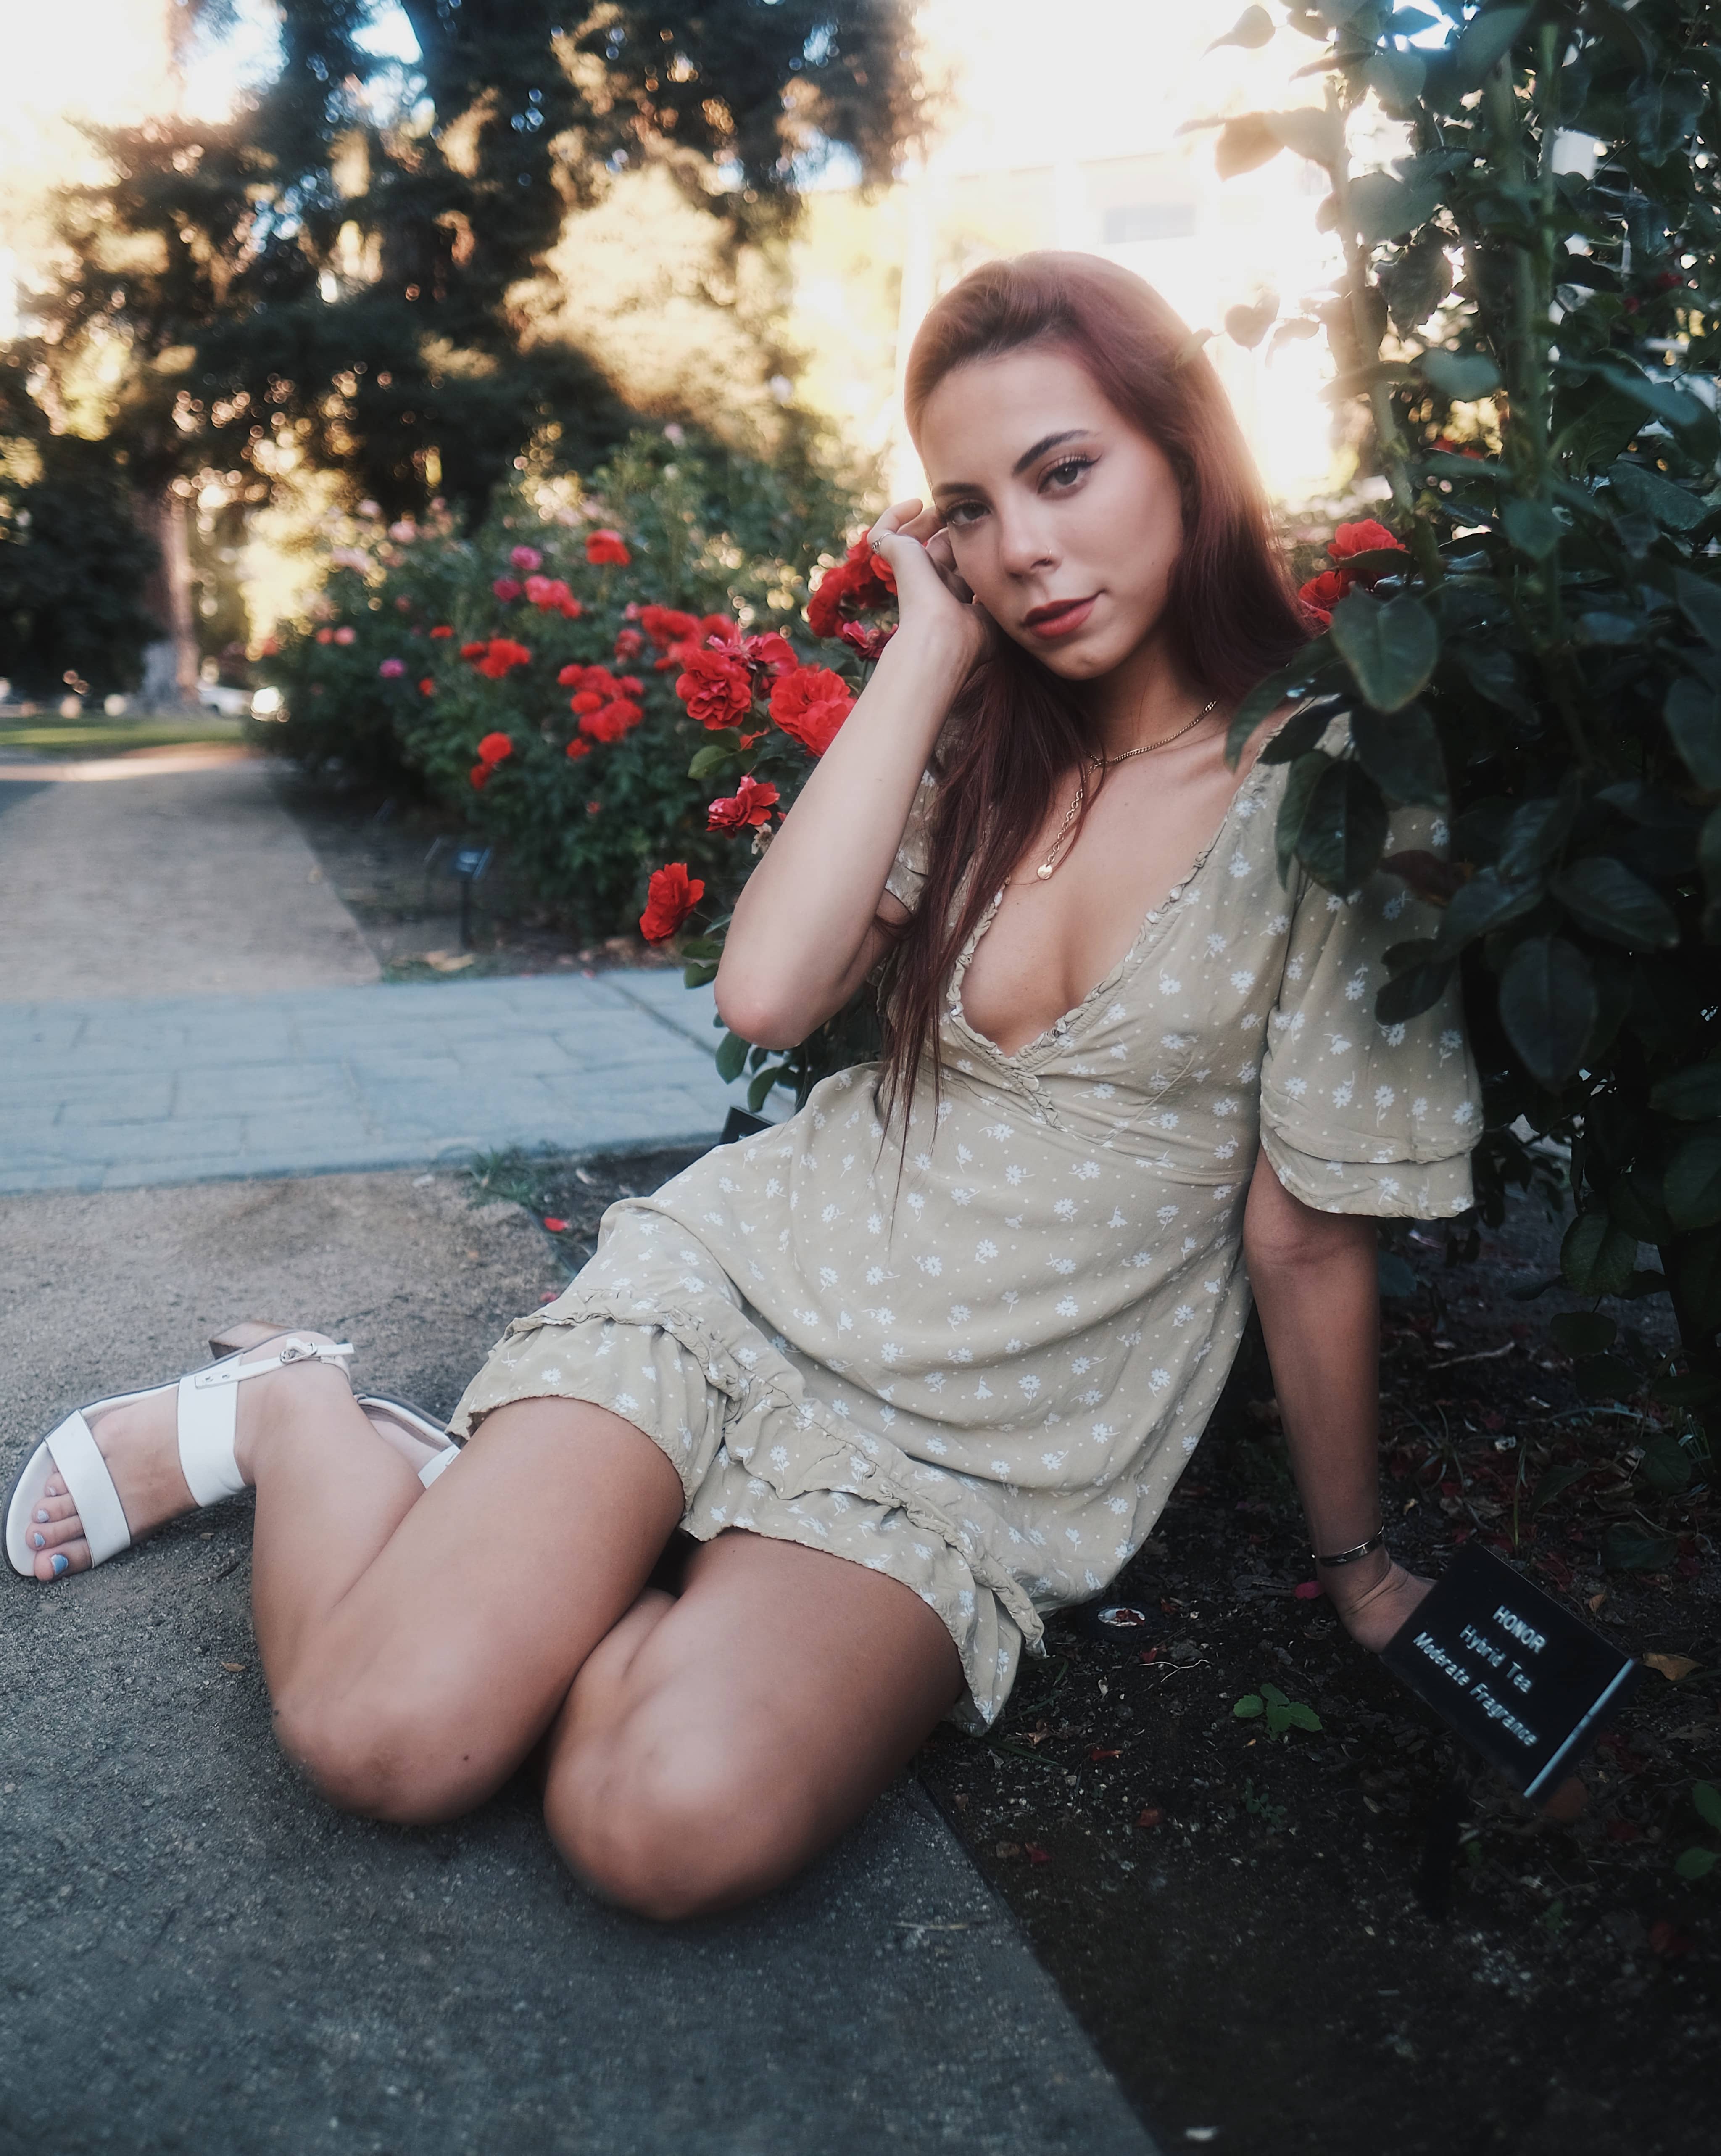
K&F Concept Black Diffusion Filter 1/2 stop | XF16mm F1.4 X-T4 | @esterakristal
We found the flowers garden inside that park that has a nice patch of evening sunlight (photo seen above). I framed the portraits so that the orange flowers are still visible in the bottom half of the image. Because this lens is 16mm F1.4 on a cropped sensor, it is about 24mm F1.8 equivalent. The bokeh won't blur out the flowers completely. You can still see the shape of the flowers.
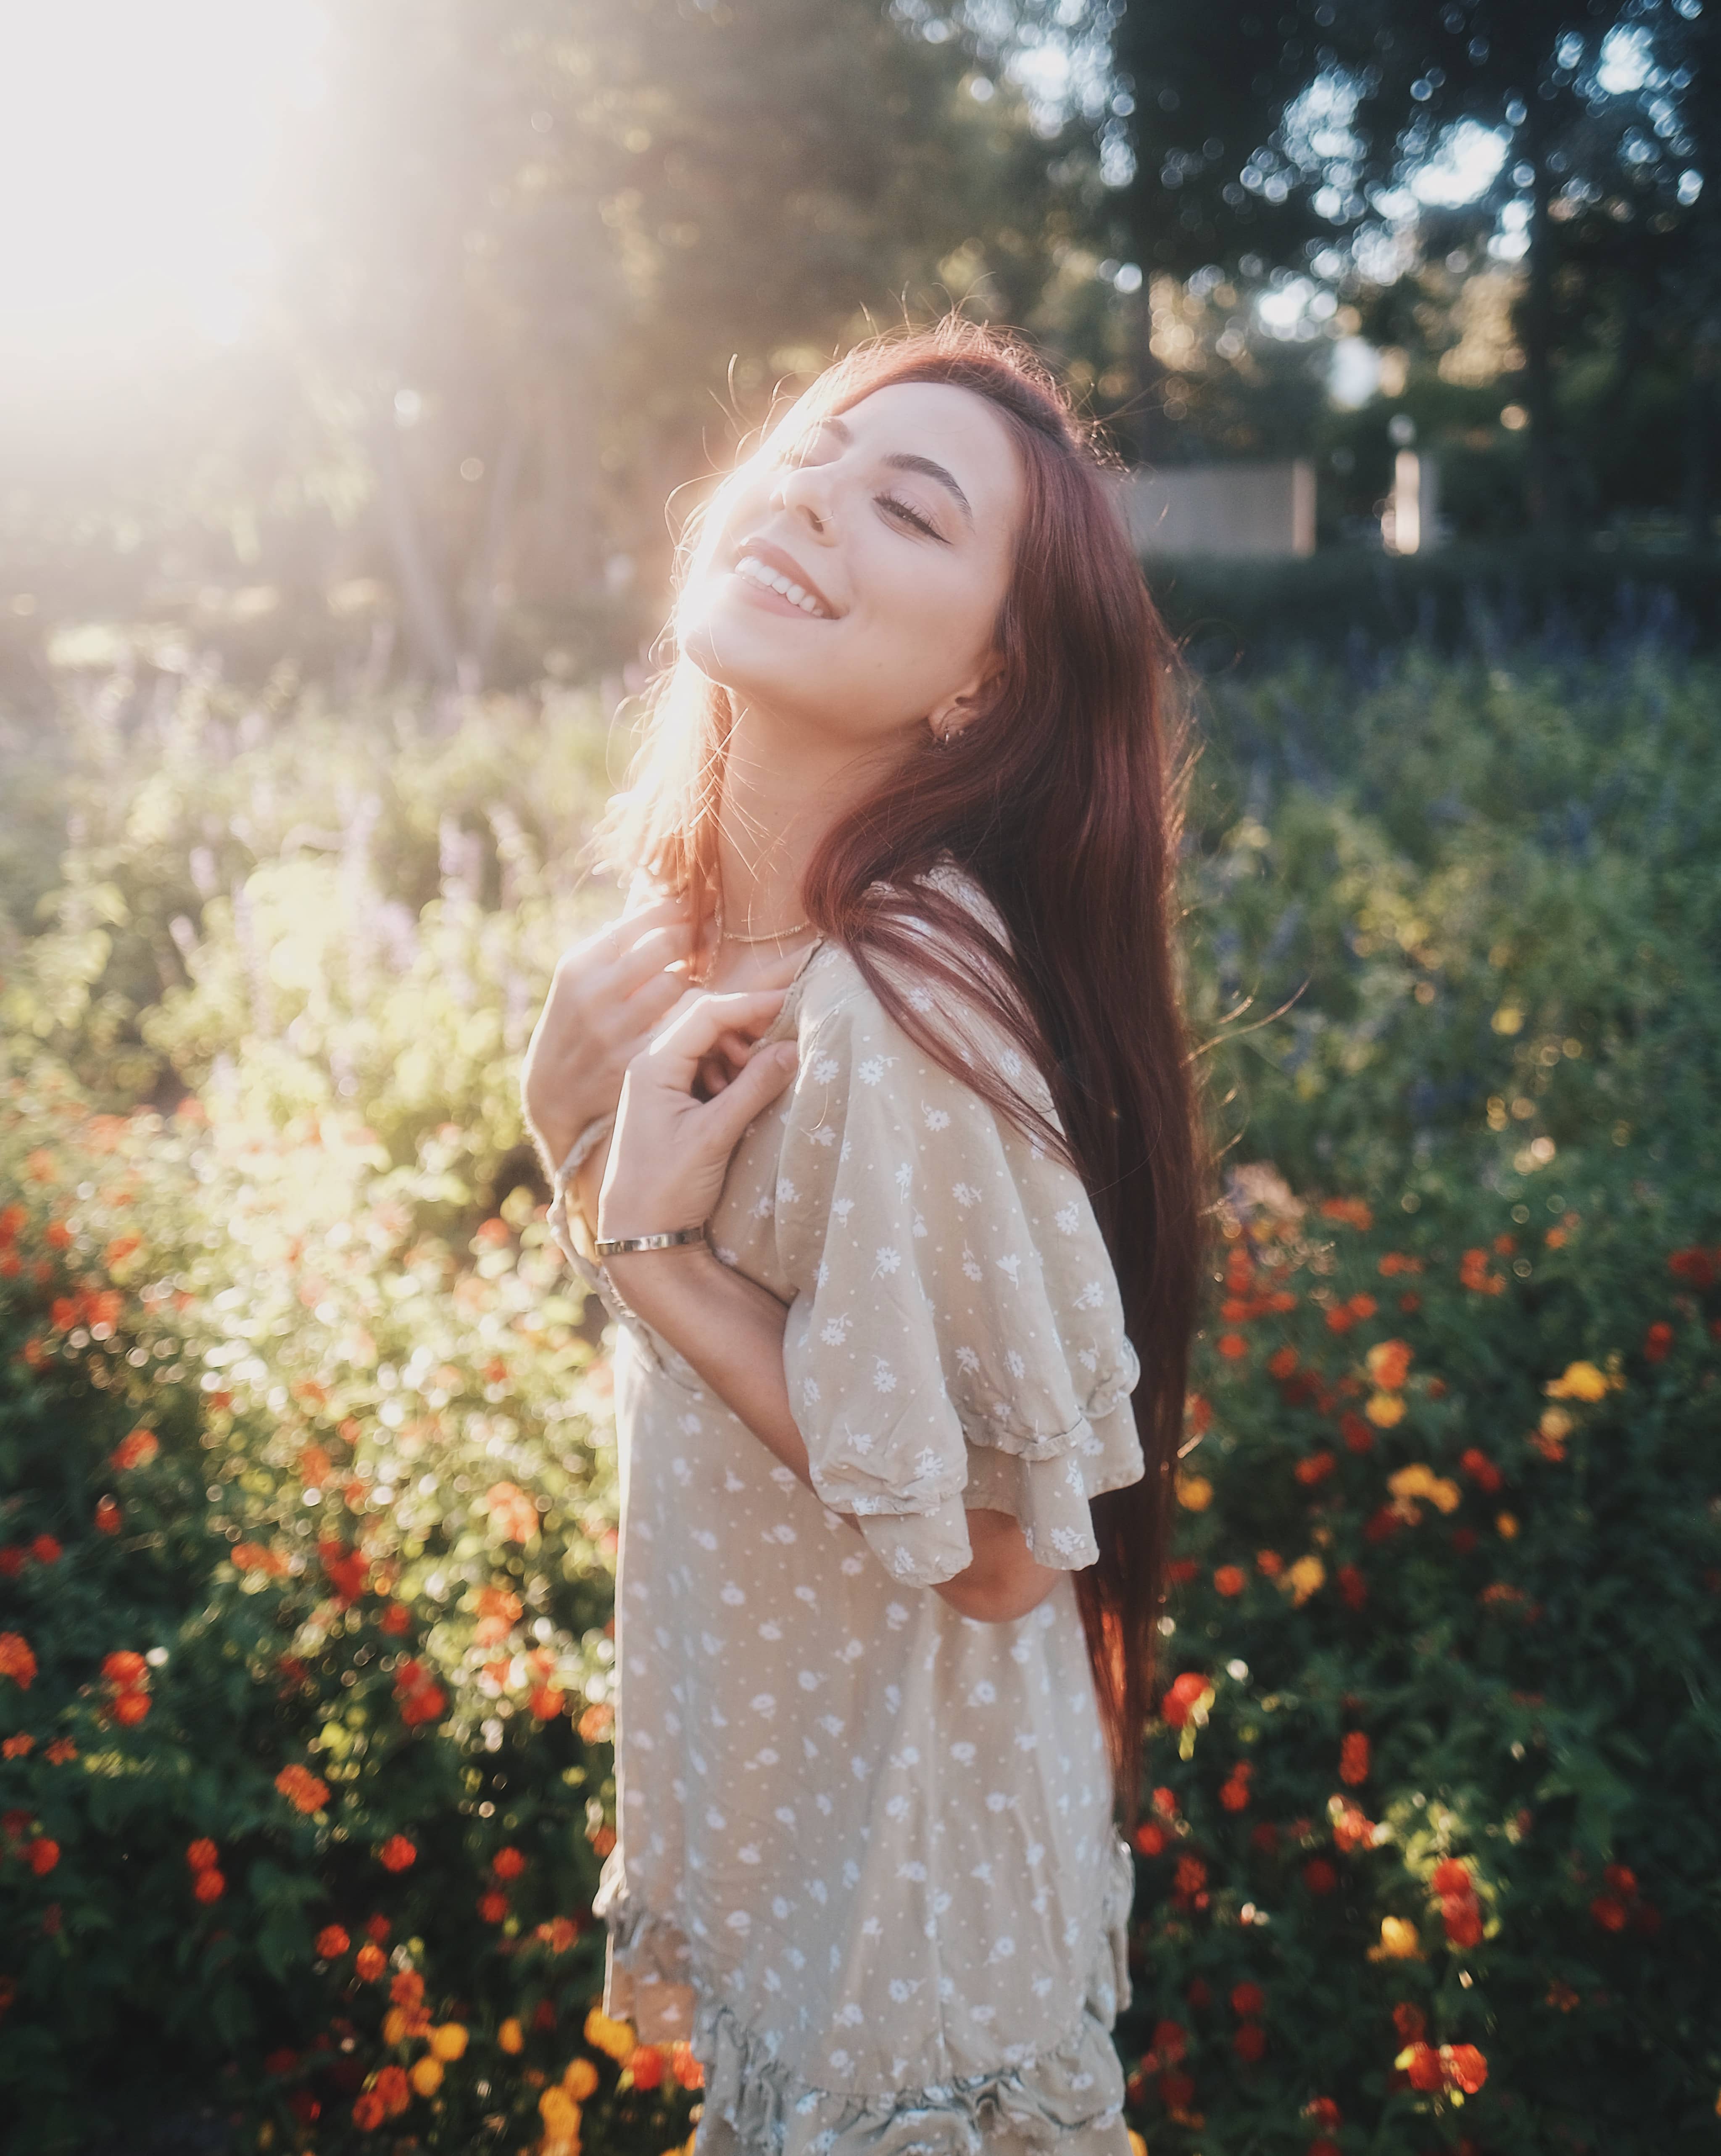
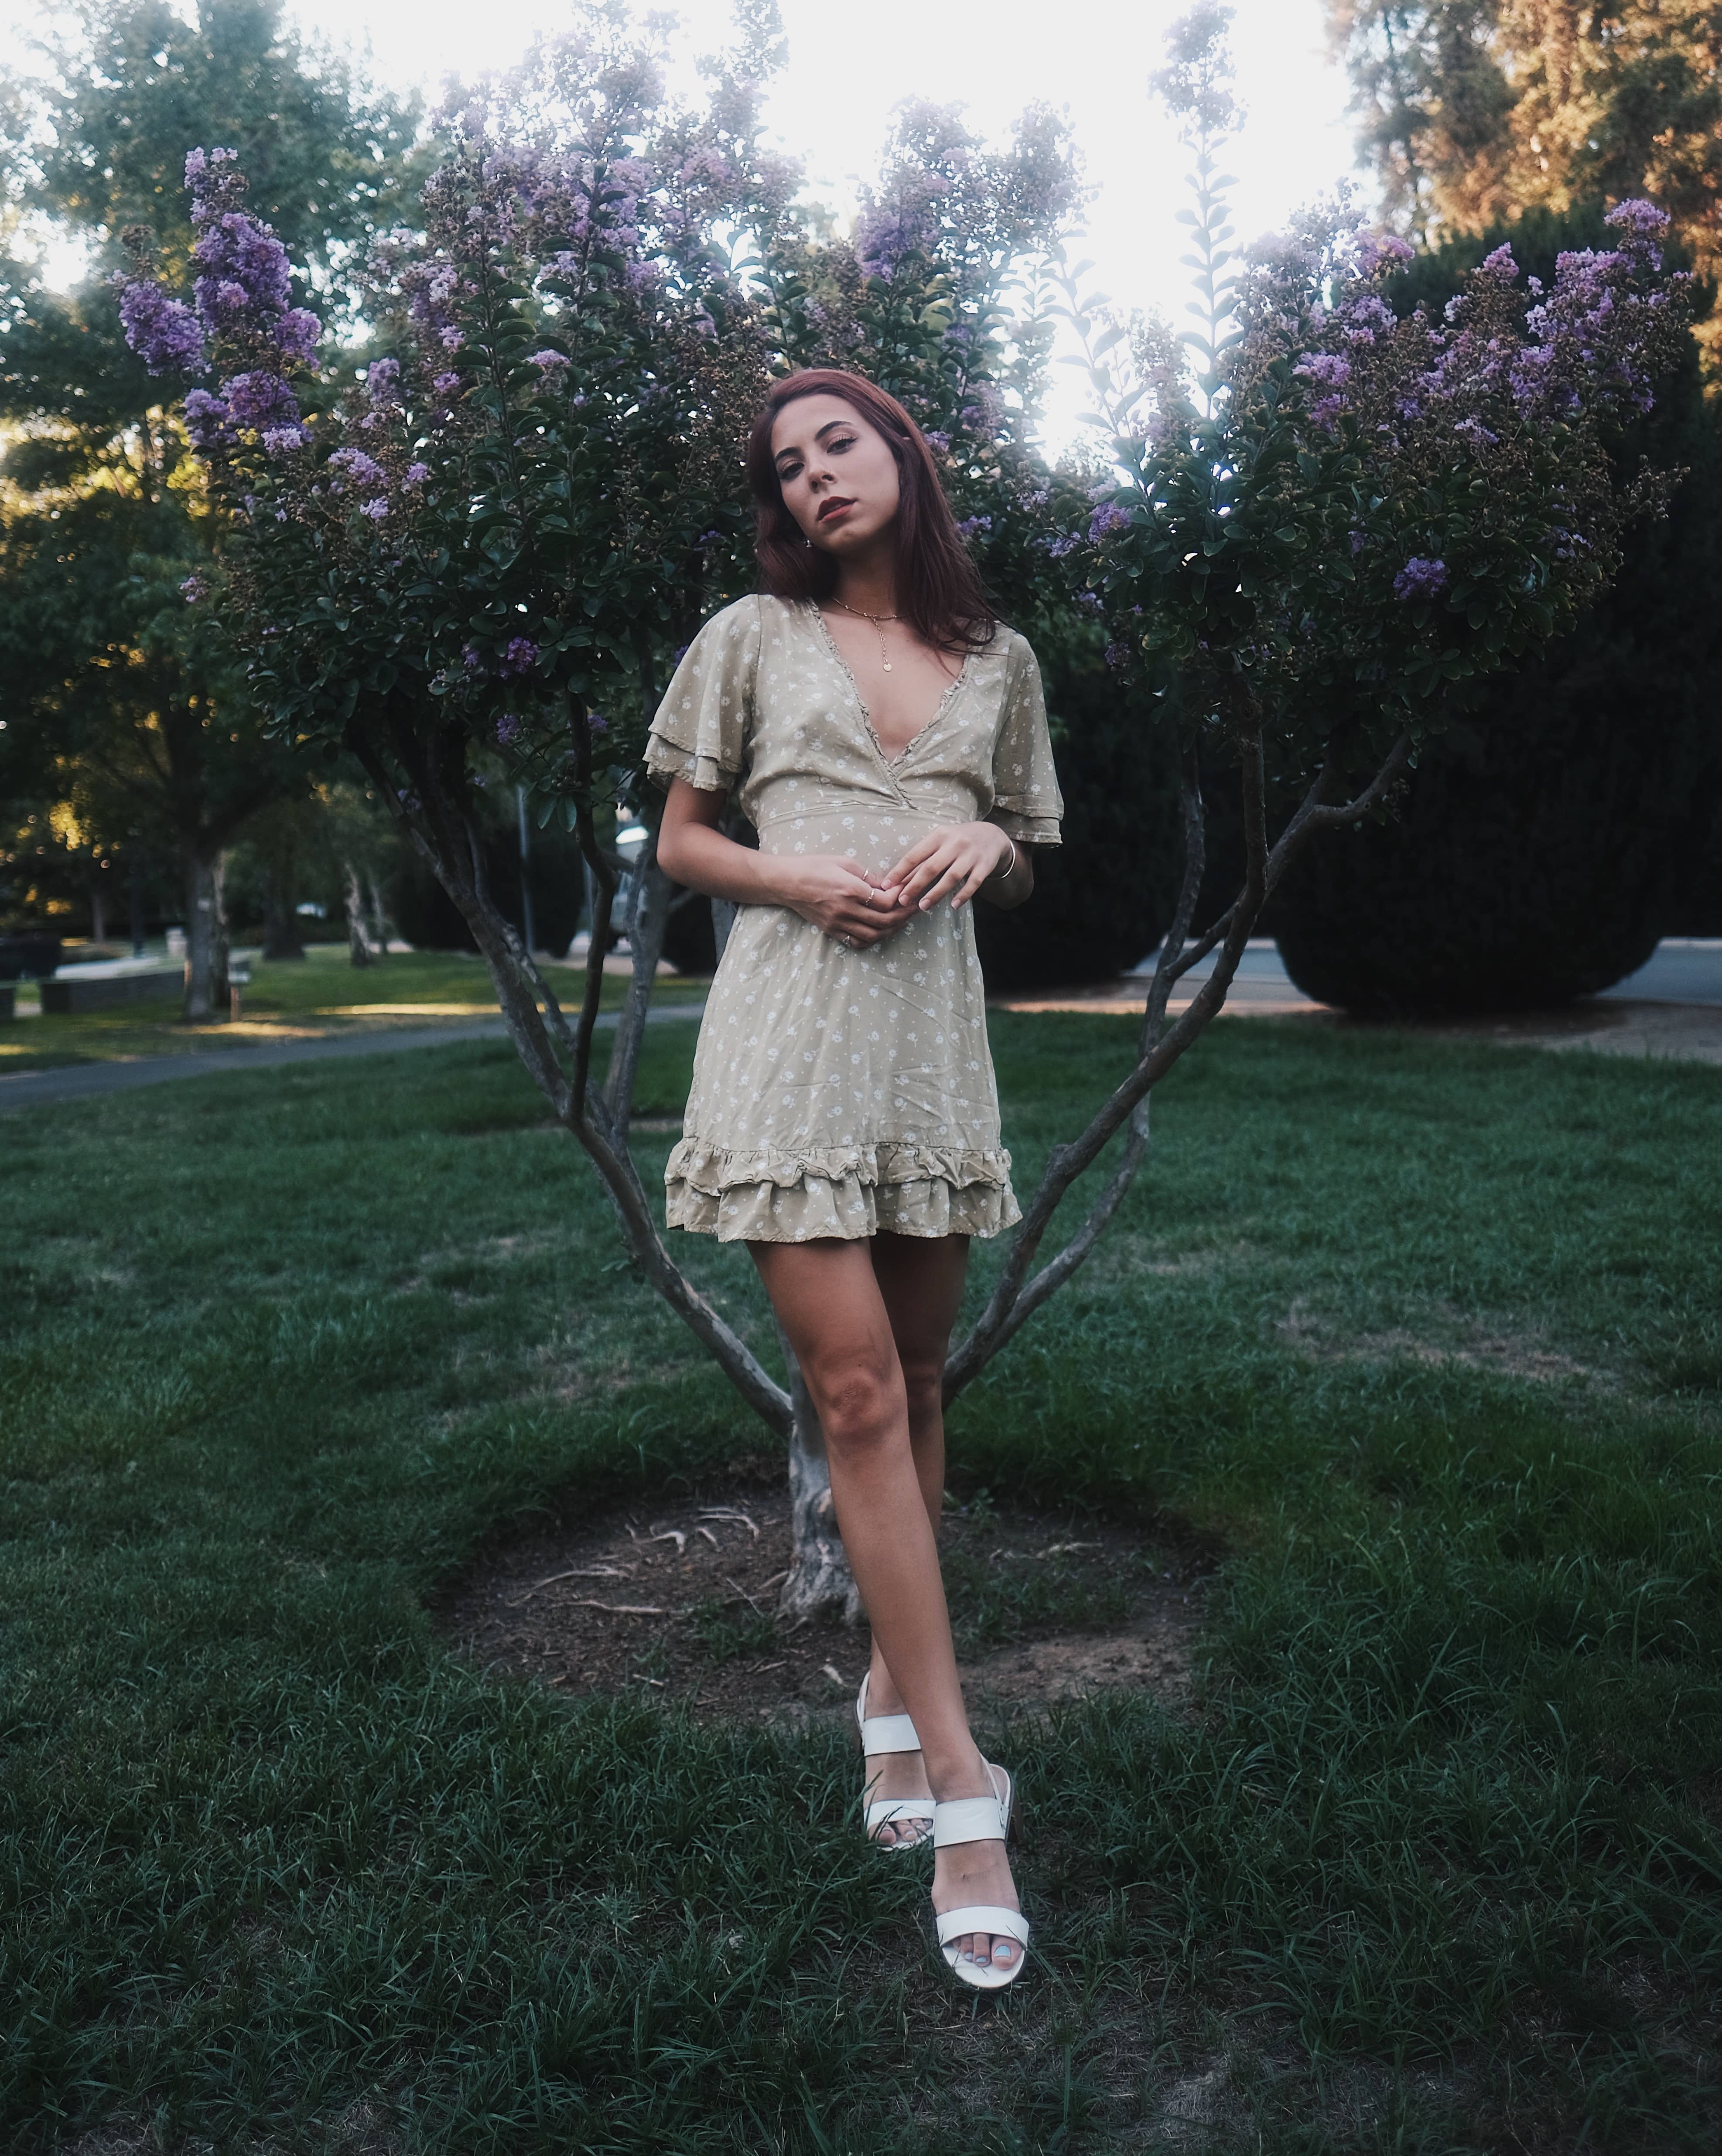
K&F Concept Black Diffusion Filter 1/2 stop | XF16mm F1.4 X-T4 | @esterakristal
Here is an example of full body with the backlight. You can see how the Black Diffusion Filter soften out the back sunlight. It created an atmosphere for the overall photo.
K&F Concept Black Diffusion Filter 1/2 stop | XF16mm F1.4 X-T4 | @esterakristal
As I mentioned in my previous blog post, the black mist diffusion filter is great for strong sunlight. The stronger the sunlight available, the dreamier the diffused layer get. This type of filter is great for life style photos with some happy vibes.
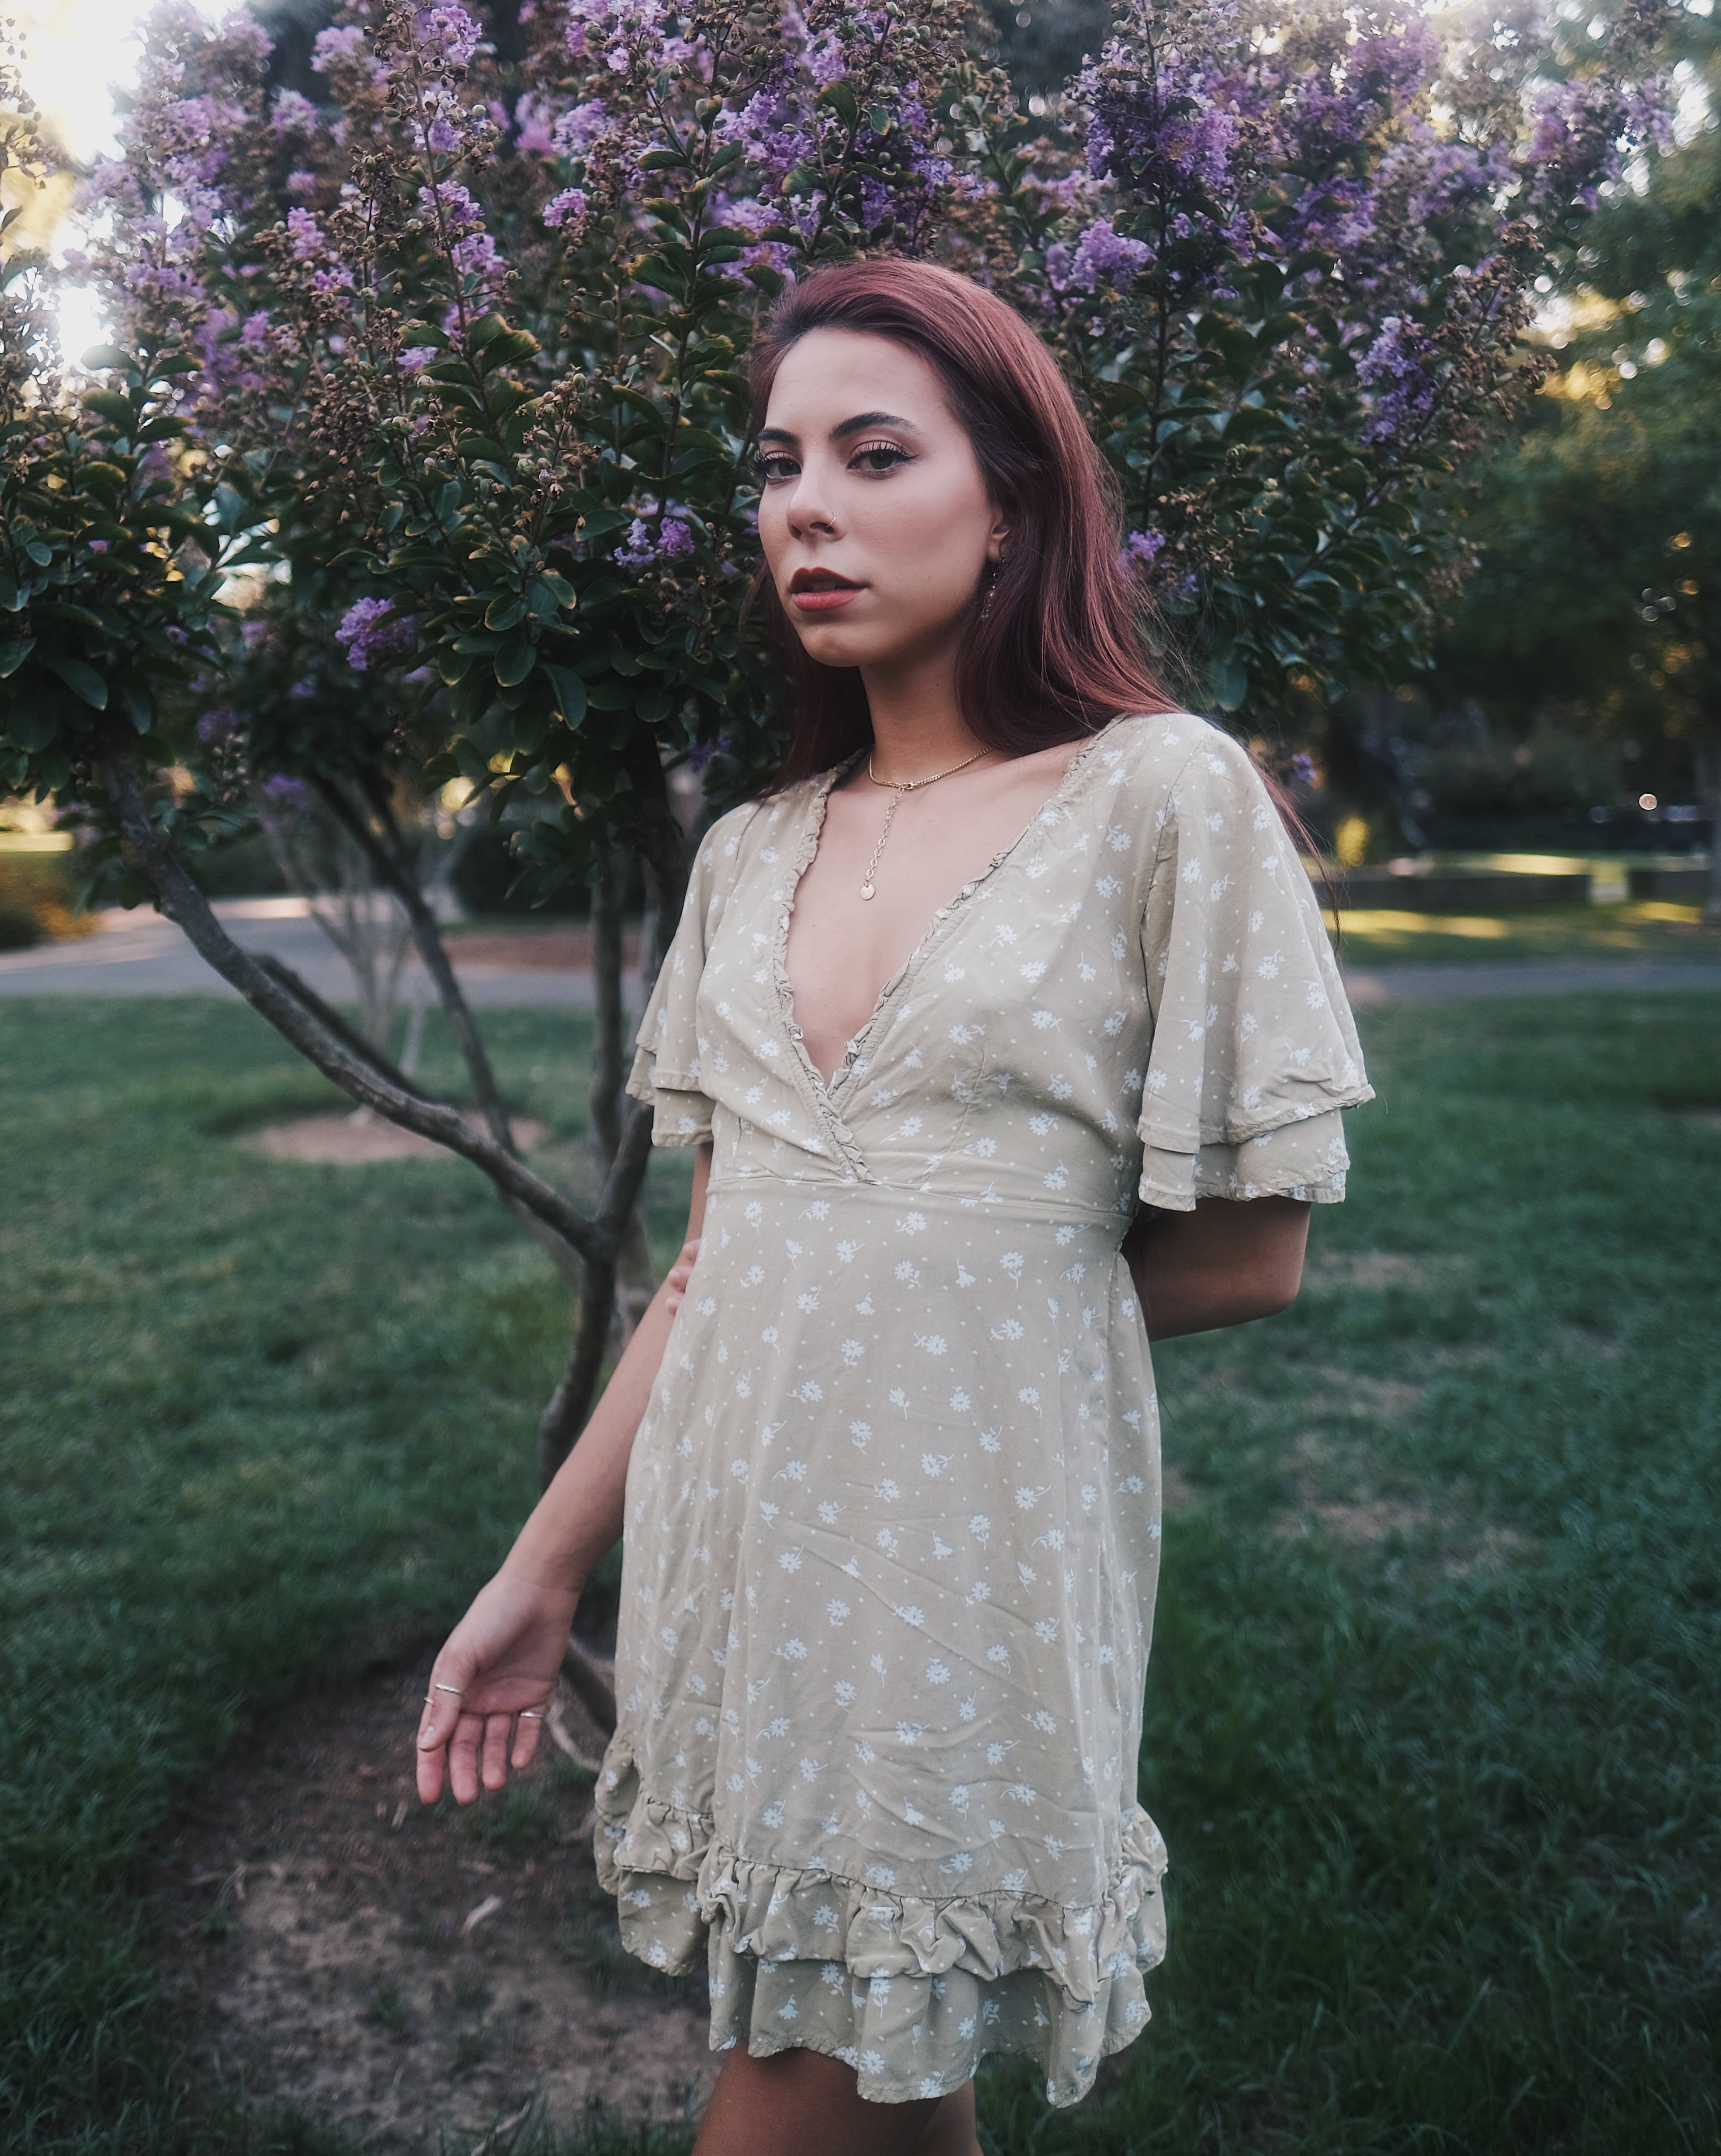
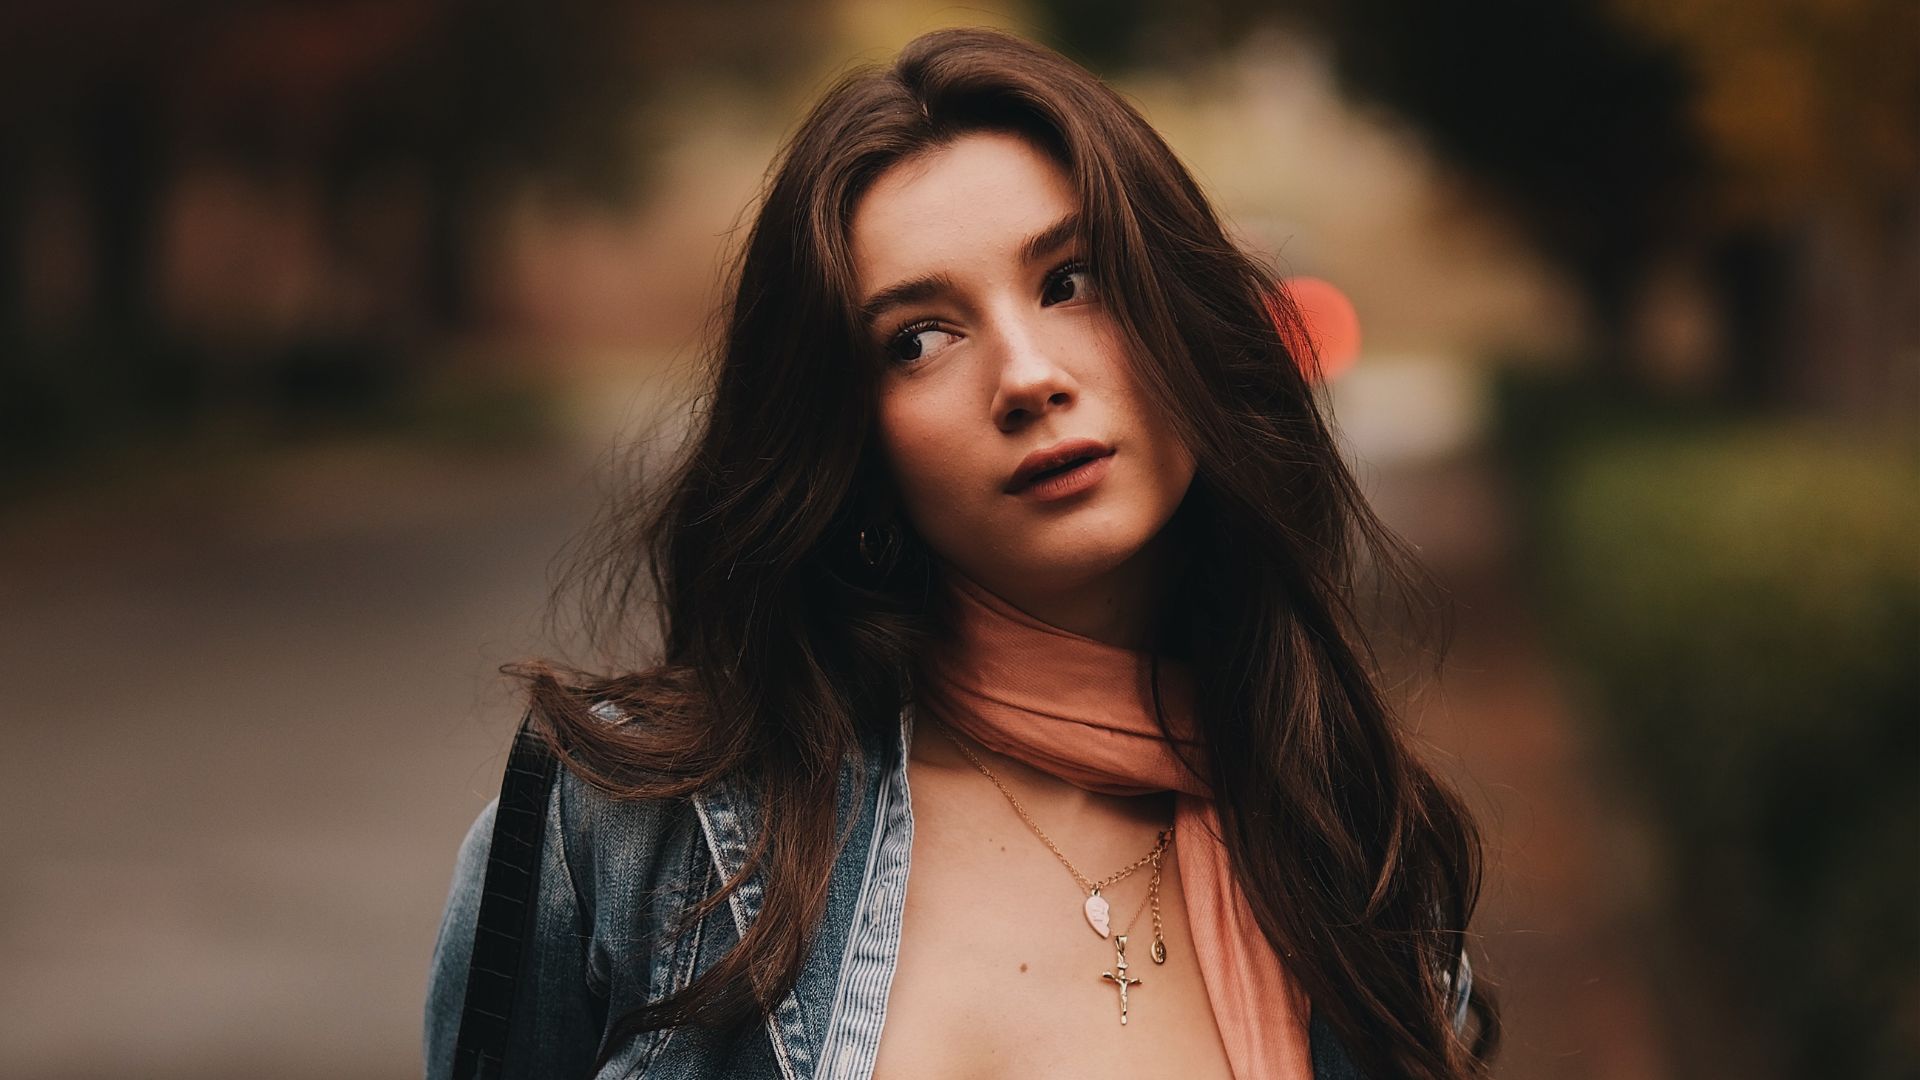
Even Lighting on the Diffusion Filter
After shooting some backlight on the 16mm F1.4 with the K&F Concept diffusion filter, we went to a shaded area and shot some even lighting (soft natural light) portrait to see how the filter worked on the natural soft lighting.
K&F Concept Black Diffusion Filter 1/2 stop | XF16mm F1.4 X-T4 | @esterakristal
As shown in the photo above, the soft light works pretty well with the diffusion filter. I really like the top part of the image, where the soft light leaks through the leaves, creating a fog like layer on the bokeh.
K&F Concept Black Diffusion Filter 1/2 stop | XF16mm F1.4 X-T4 | @esterakristal
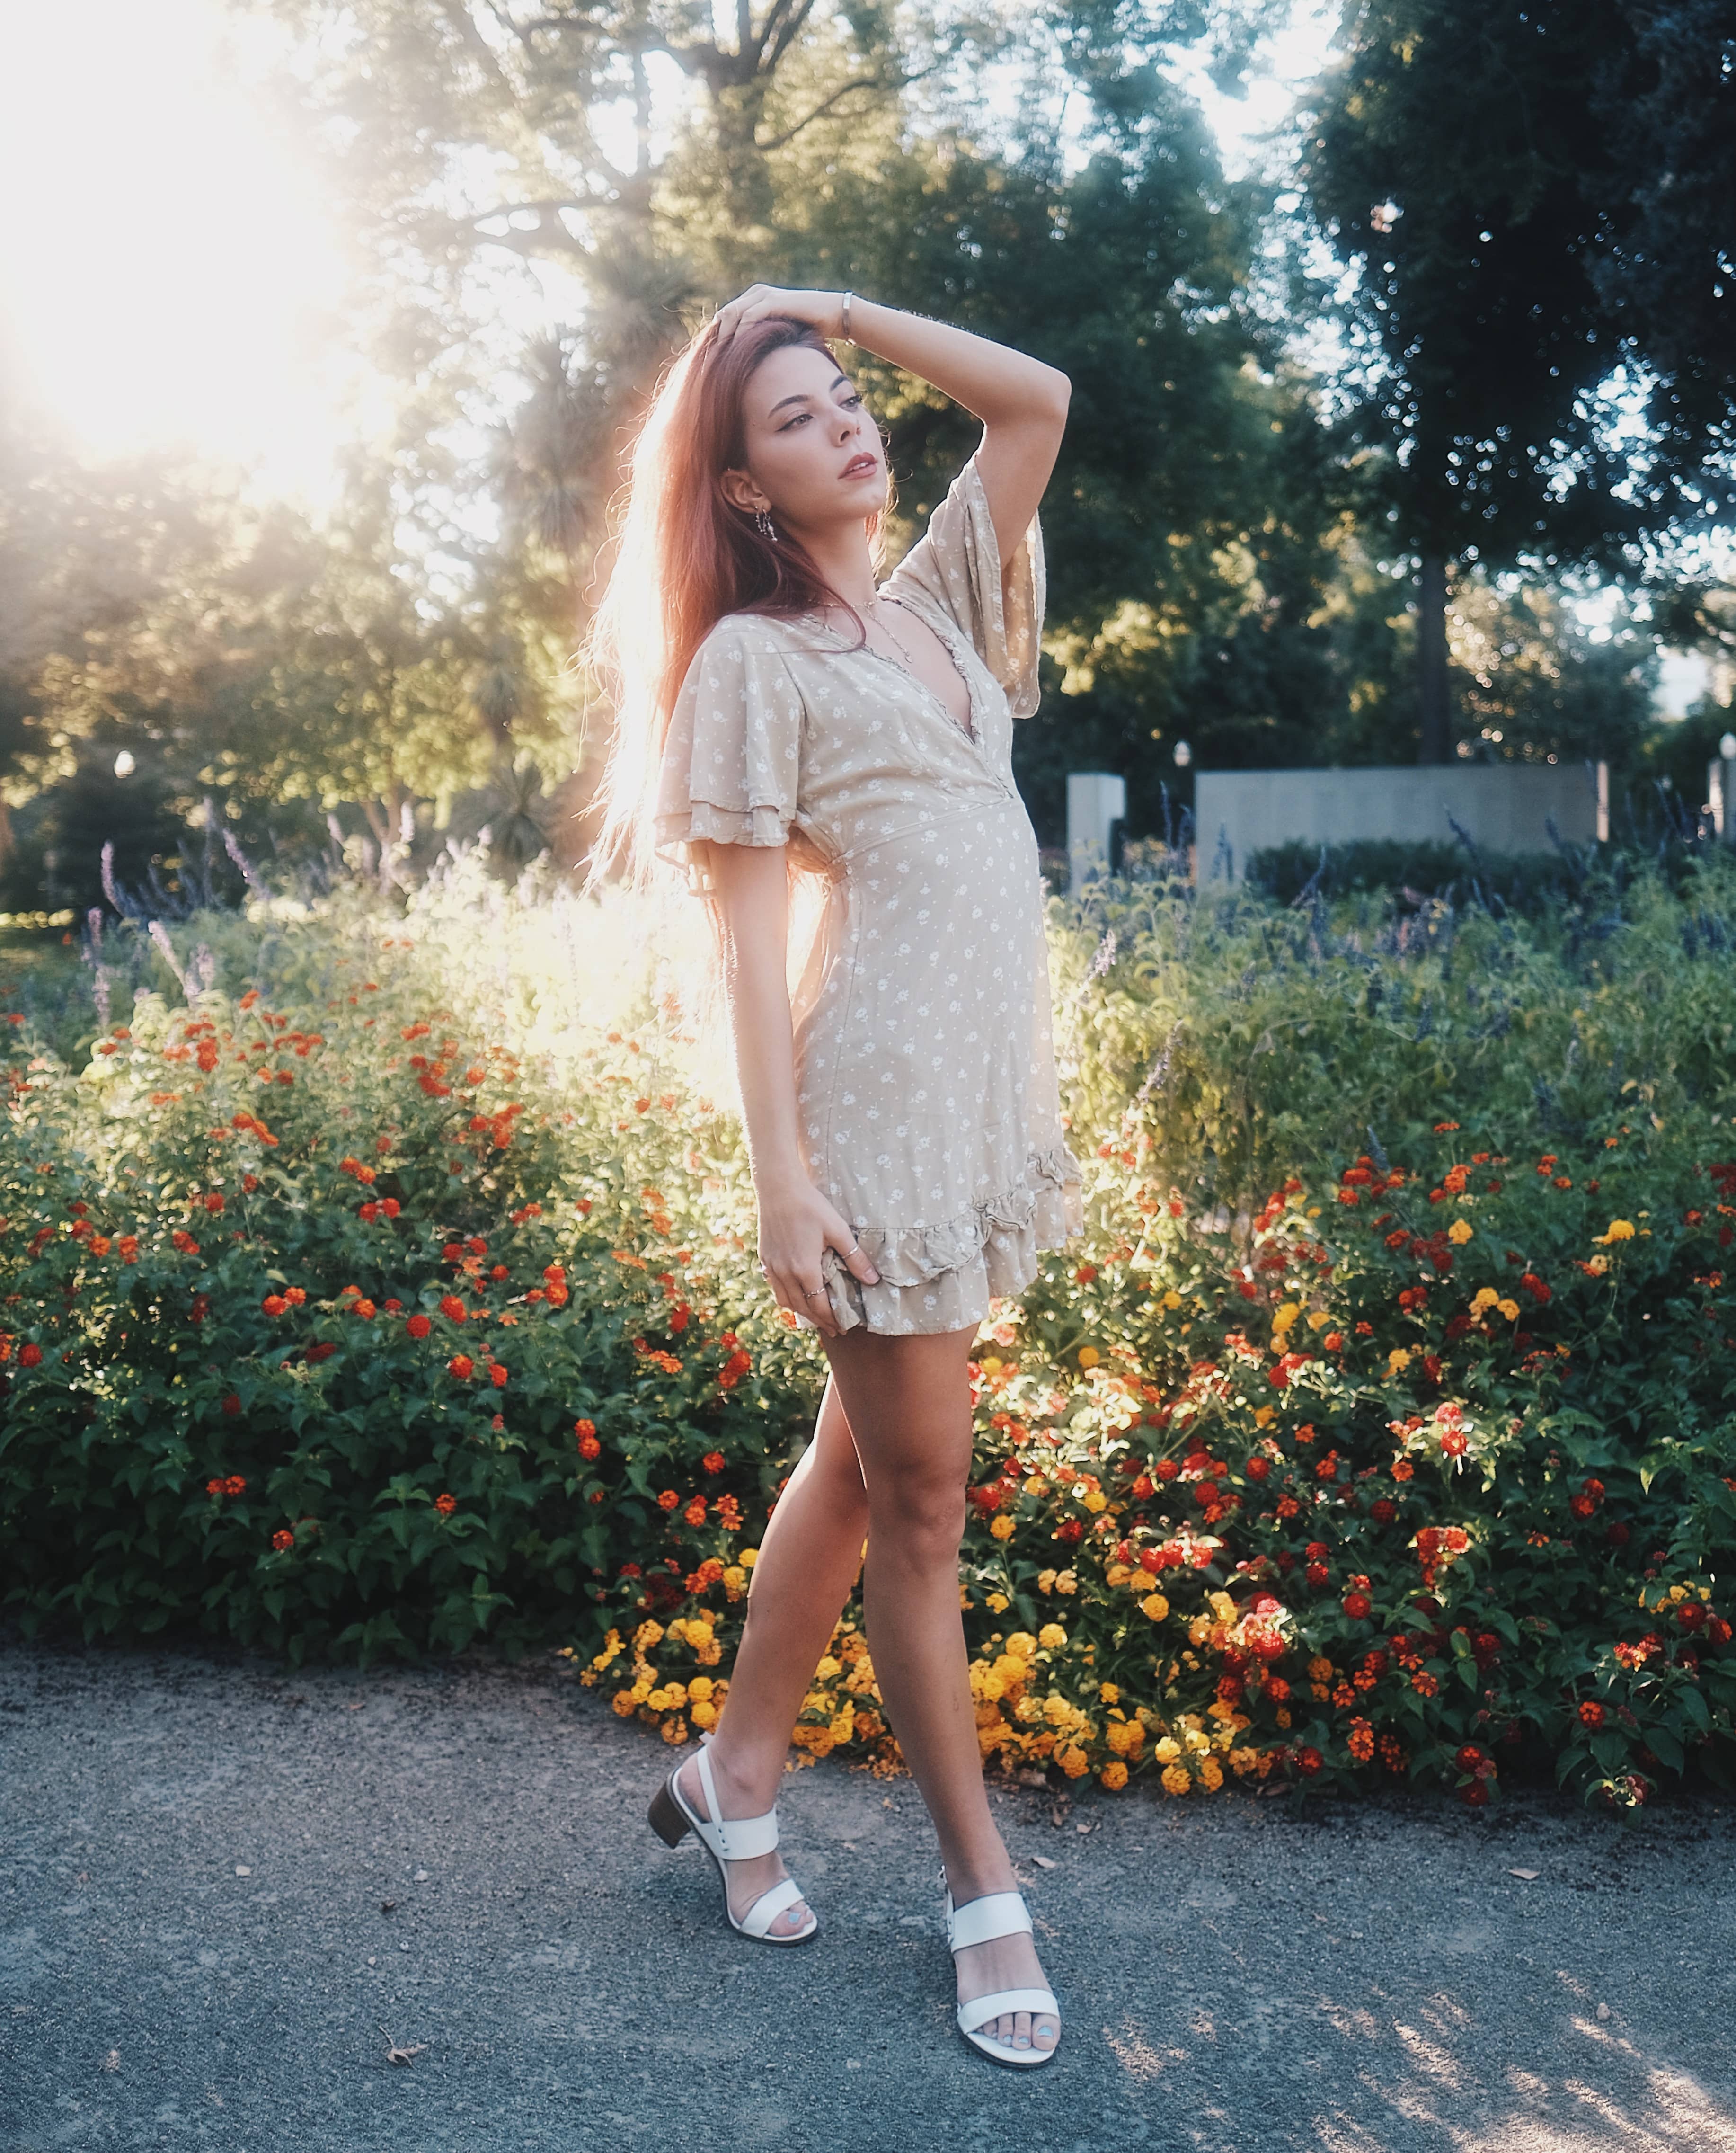
Because it's 16mm, the composition for full body needs to be very careful. Make sure no tree branches coming out behind the head. As you can see above, I lower my camera angle so that the head will be in the leaves area without any distraction.
K&F Concept Black Diffusion Filter 1/2 stop | XF16mm F1.4 X-T4 | @esterakristal
Overall, soft light in the shaded area works very well on the portrait, especially combining the effect from the diffusion filter. I am going to show couple more examples below:
K&F Concept Black Diffusion Filter 1/2 stop | XF16mm F1.4 X-T4 | @esterakristal
K&F Concept Black Diffusion Filter 1/2 stop | XF16mm F1.4 X-T4 | @esterakristal
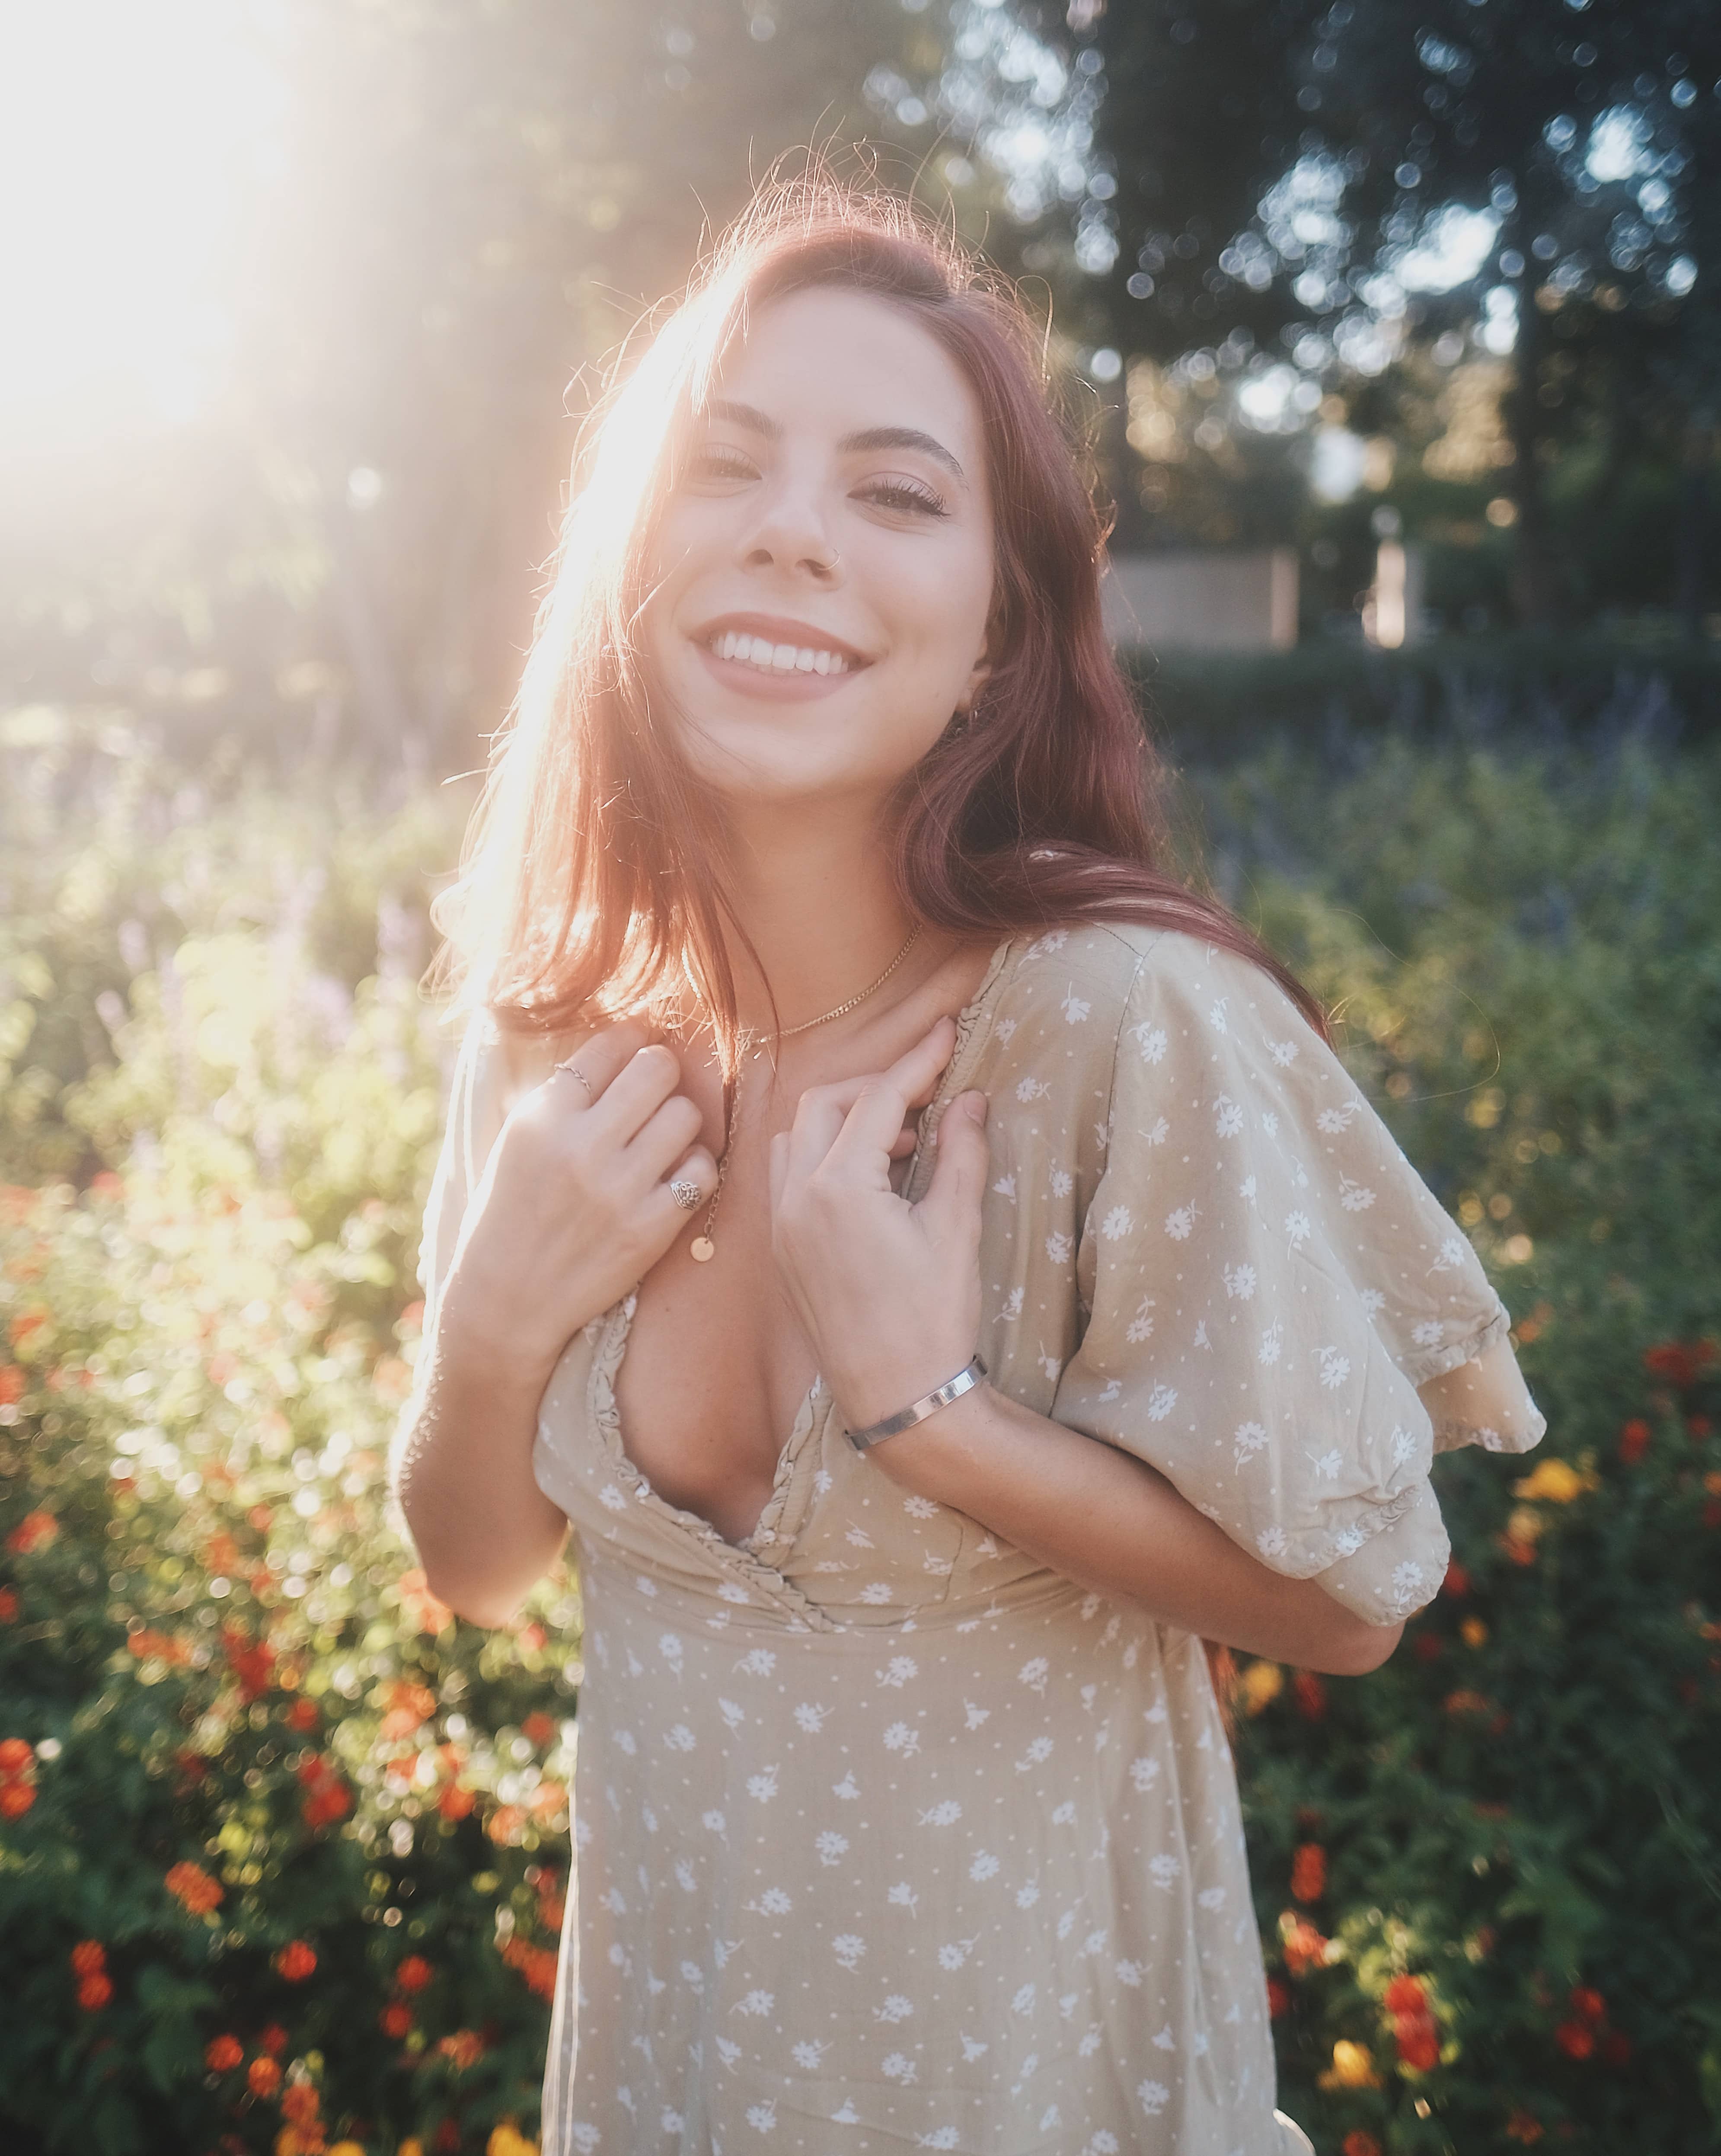
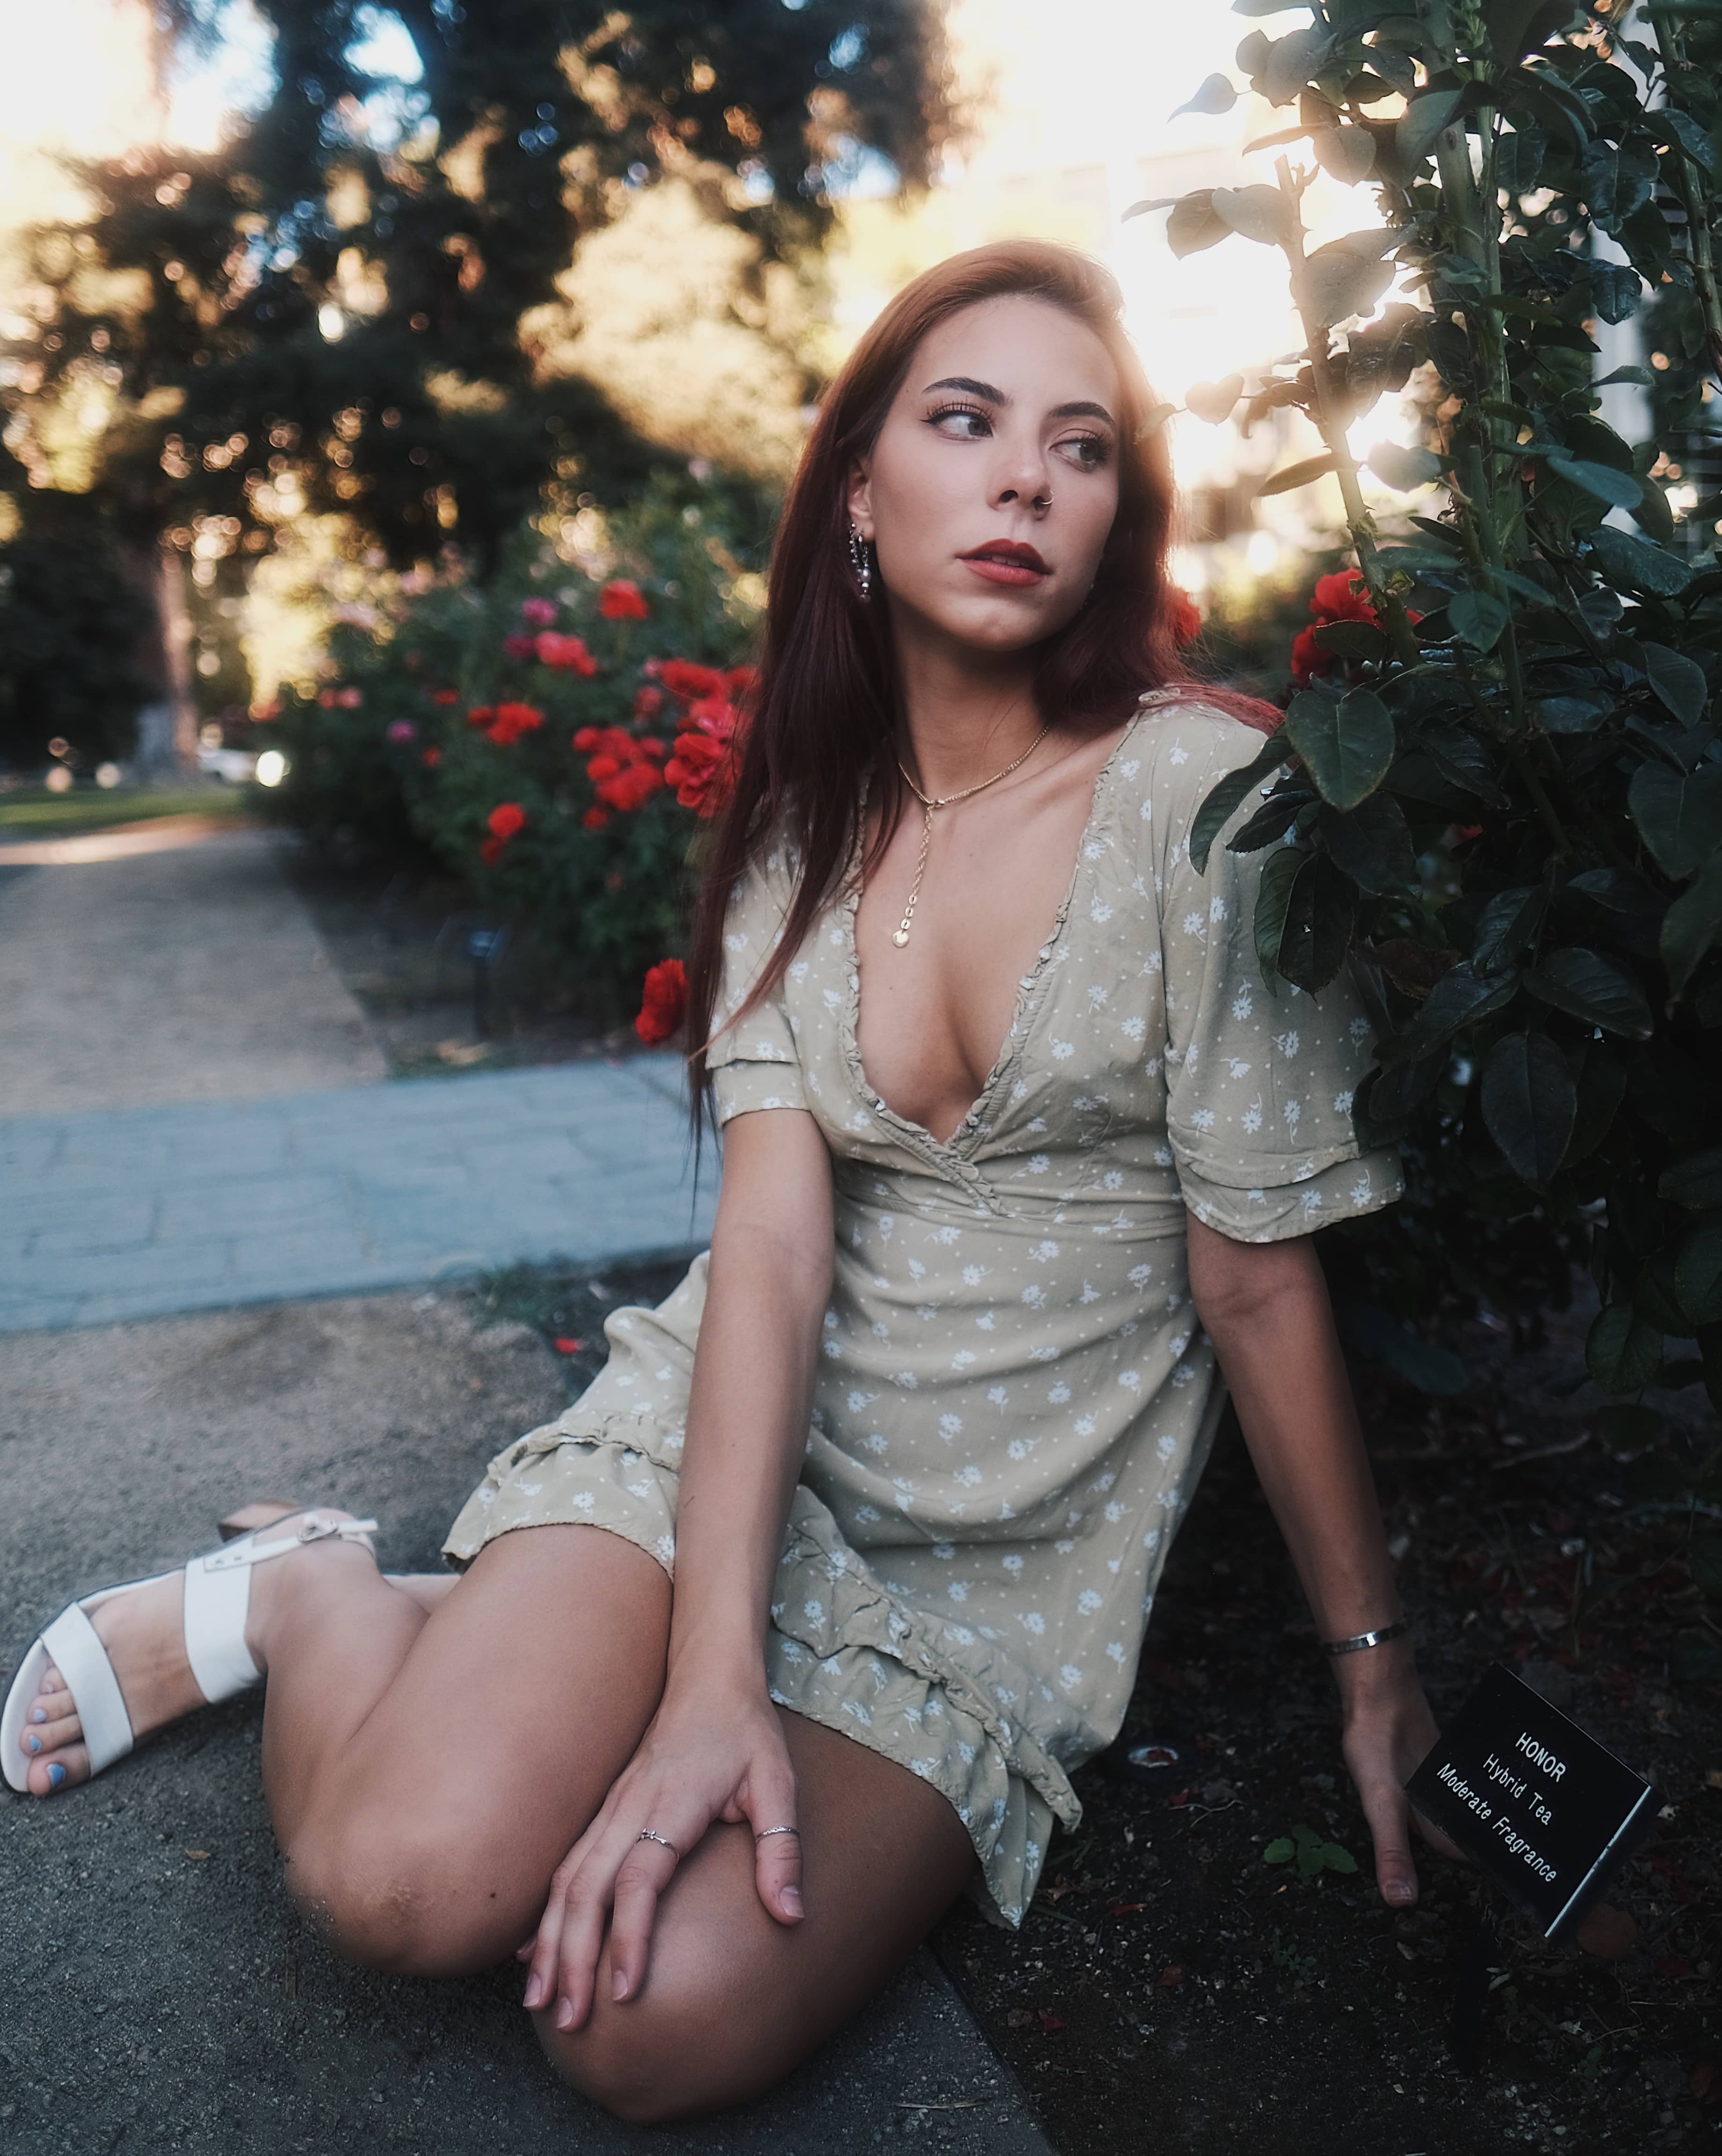
Front lighting portraits
Next, I was going to shoot some strong front lighting on this 16mm F1.4 with the diffusion filter on.

K&F Concept Black Diffusion Filter 1/2 stop | XF16mm F1.4 X-T4 | @esterakristal
Interesting to know after taking a look at the result, the font light portrait won't have the strong dreamy effect like the backlight. I think it's because there are not so many of the reflection for the light to get diffused.
K&F Concept Black Diffusion Filter 1/2 stop | XF16mm F1.4 X-T4 | @esterakristal
In the photo above, take a look at the bracelet reflection on the left hand of the model, the black diffusion filter diffused the reflected light.
K&F Concept Black Diffusion Filter 1/2 stop | XF16mm F1.4 X-T4 | @esterakristal
Same as the first photo, where there is not much reflection in the photo, the diffusion filter won't activate the dreamy effect. I would suggest if you want to get the maximum dreamy effect, you need to find some angles where there is strong sunlight reflected into the direction toward the lens.
Diffusion Filter Tip - if you want to get the maximum dreamy effect, make sure there is strong light within the photo for the diffusion filter to diffuse.
In summary, I walked through different scenarios today using XF 16mm F1.4 X-T4 & the K&F Concept Diffusion filter. No matter what kind of lighting you choose to shoot with this filter, make sure you are conscious on light direction because the light direction determine how dreamy you photo will get. Happy creating :)
Black diffusion filter: https://bit.ly/2WPm1cl
Magnetic filter: https://bit.ly/2VaplOk
10% OFF code: KF10US
Other Links:
Black diffusion filter 1/2 stop: https://amzn.to/3kWsSsD
Black diffusion filter 1 stop: https://amzn.to/2WPqFqV
K&F Store: https://amzn.to/3n6OWmN
10% OFF code: KFCUS002 valid until September 30
16mm F1.4 WR: https://amzn.to/2QA1K2A
Fujifilm X-T4: https://amzn.to/3pV6kKa
Thanks for reading :) More photos will be uploaded in my Instagram account: @caliallstaring.
Related Posts
Fujifilm
Capturing Spring Style: XF90mm F2 WR Fujifilm X-H2 Portraits - A Photoshoot Walkthrough
Before diving into the photoshoot itself, let's take a peek at the planning process. The choice of the XF90mm F2 lens for this shoot was intentional.
Fujifilm
Fujifilm Lenses for Portraits: XF33mm F1.4 WR vs XF35mm F1.4 vs Viltrox 33mm F1.4
Today I am going to talk about the three X-mount lenses for portraits at the Fujifilm focal length of 33mm and 35mm, which are about 50mm full frame equivalent. These lenses are all new XF33mm F1.
Fujifilm
Which Fujifilm Portraits Lens Is Better for Your New X-T5 or X-H2 Camera? 50mm F1, 56mm, 90mm
Hi everyone, today I am going to compare four different portraits lenses that I have used on the Fujifilm X-H2 body, which has the same 5th generation 40mp sensor for X-T5.
Newsletter
Stay in the loop
Explore
From the Gallery


