Video & Editing
Here Are the Settings for YouTube Live Stream in HD with OBS Software
Hello everyone :) I just started my YouTube live stream yesterday in my Channel "Caliallstaring" using OBS Software (Open Broadcaster Software). I did some configuration setting changes on the OBS streaming software to get the HD stream quality in YouTube. I will use this blog post as a documentation on what my settings are in case you are dealing with the quality setting.
-
Install the OBS app to your computer:https://obsproject.com/
-
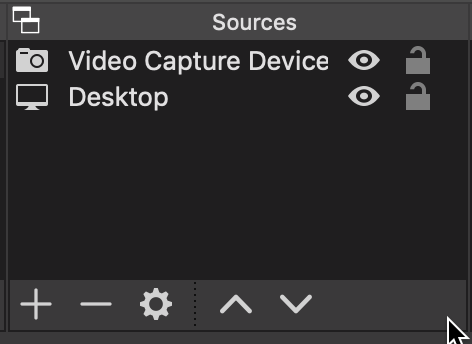
Set multiple sources to the scene. (as screenshot below) One is your webcam, while the other is the desktop background. OBS is pretty flexible to have many different sources for streaming.
Once the two sources added, you will see the screen such as the following:
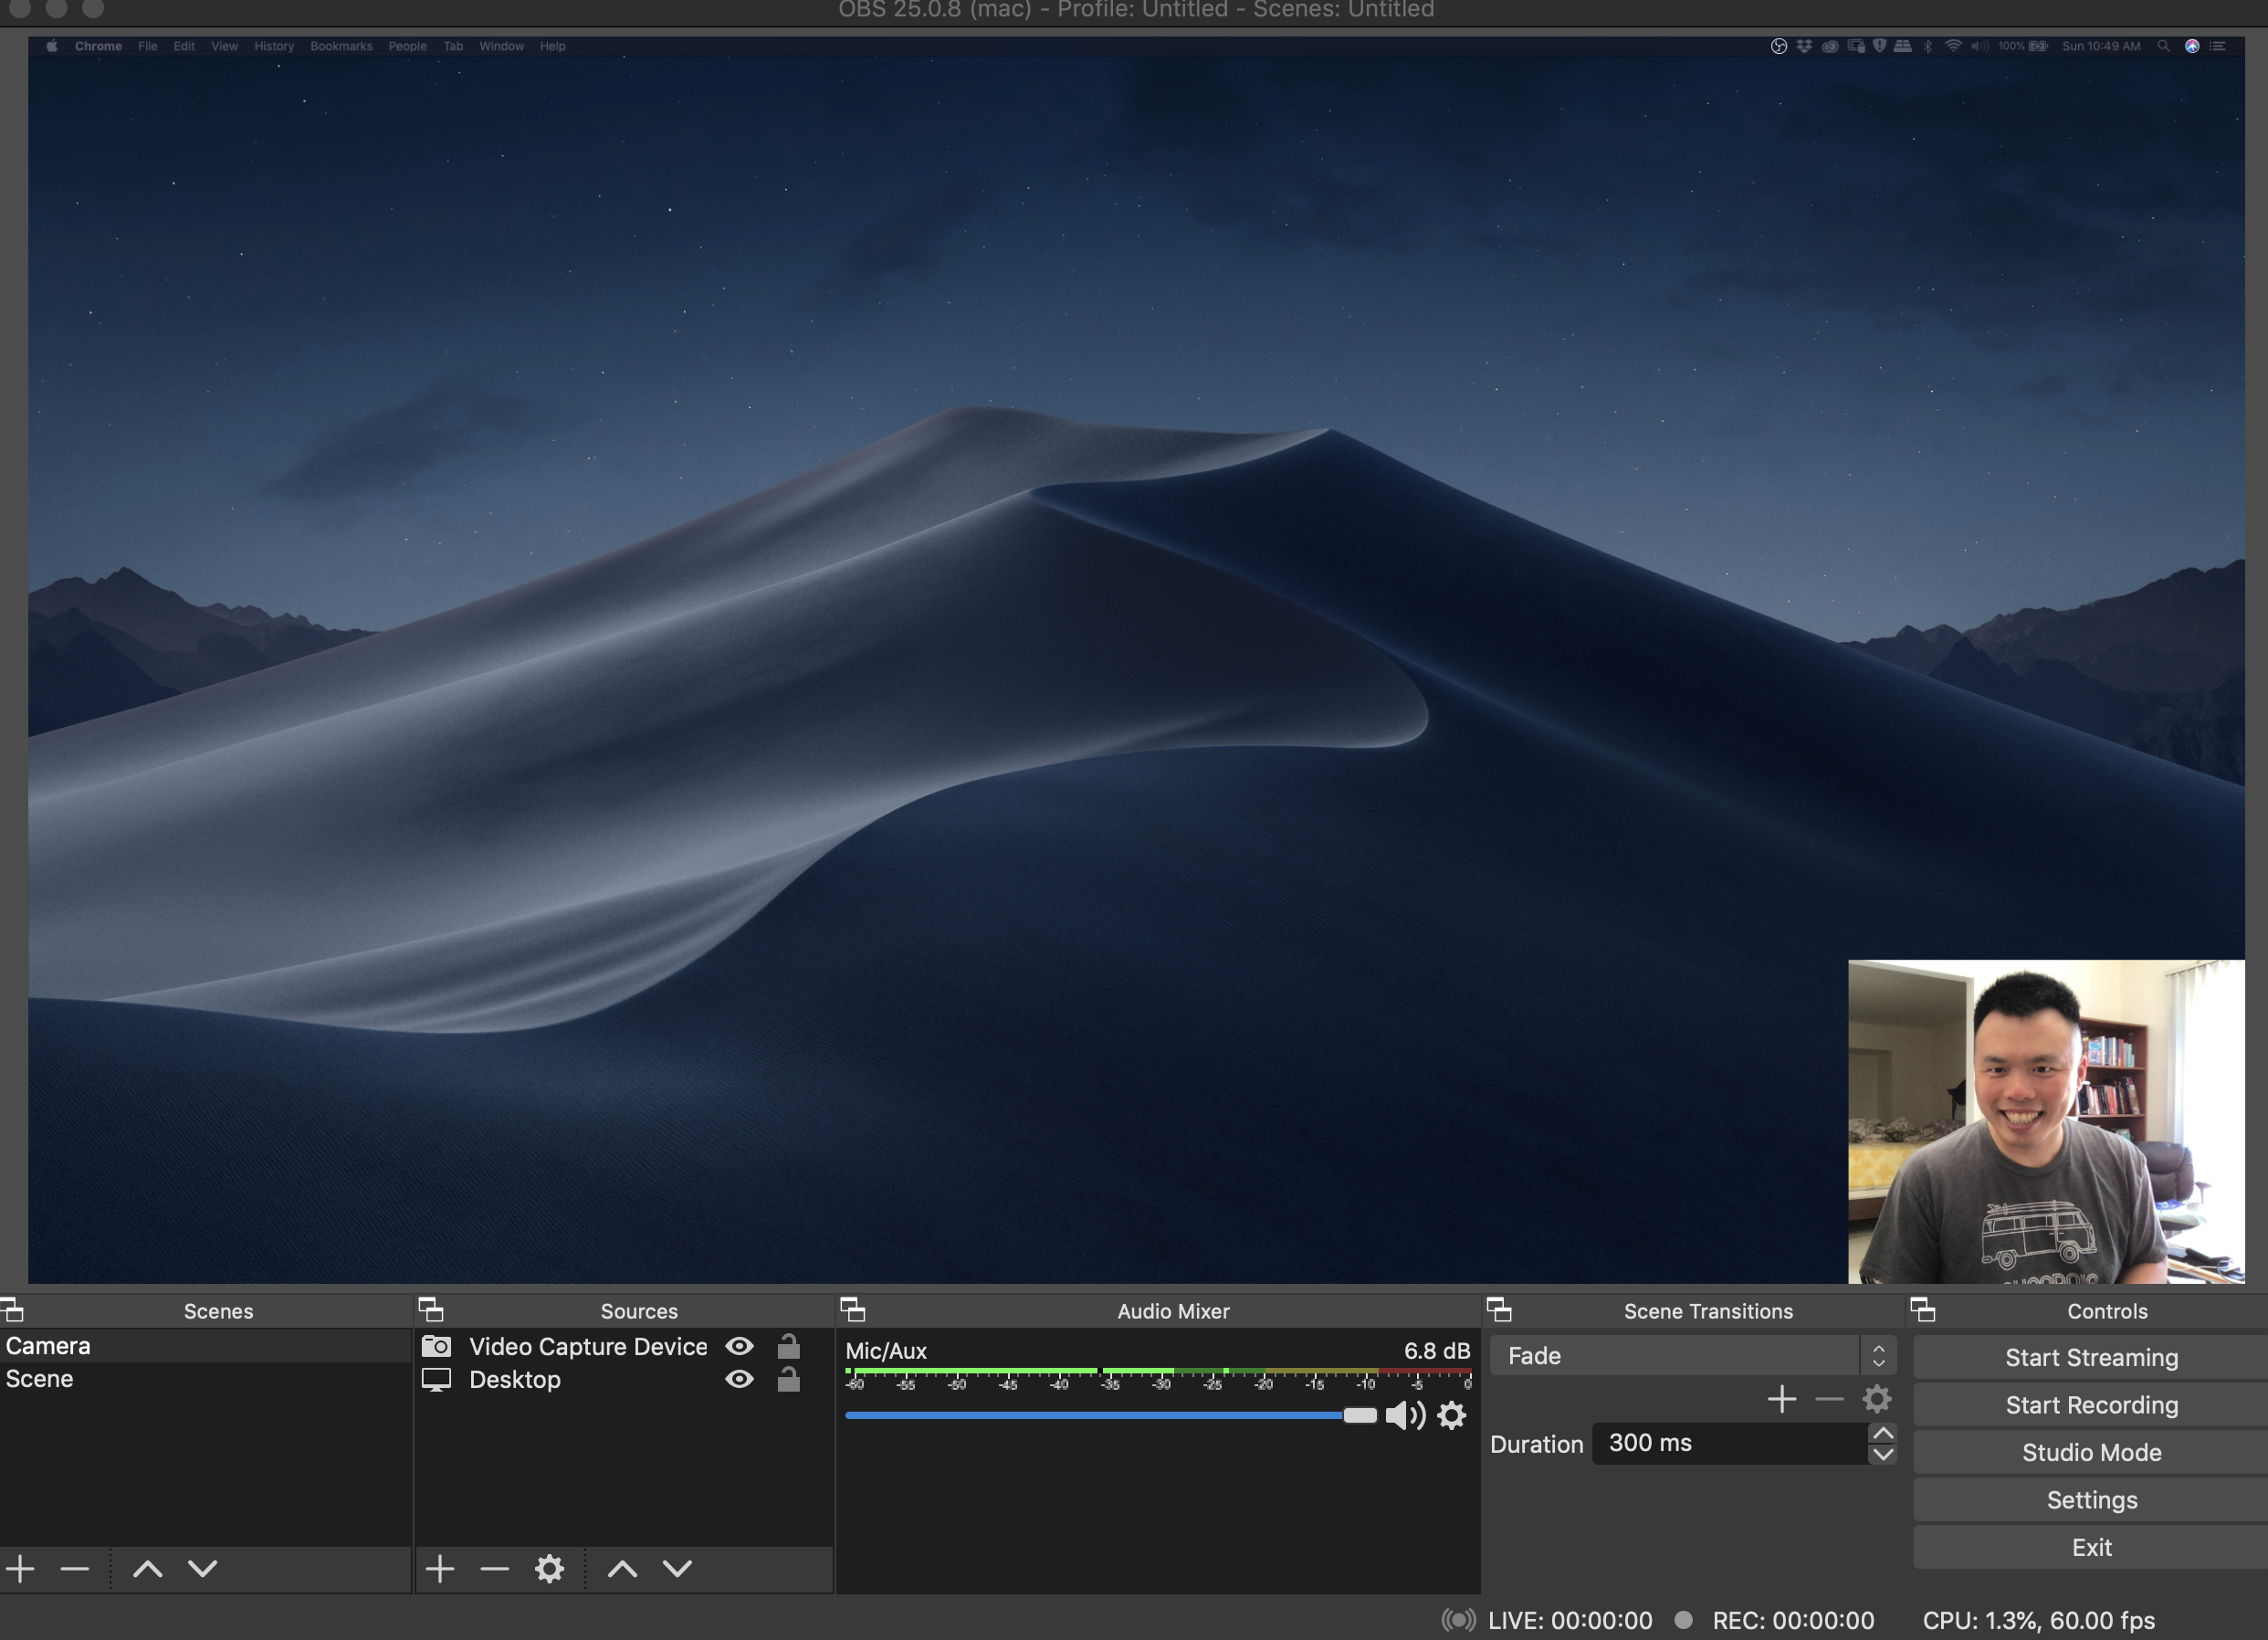
- Click the "Settings" button in the lower right corner and set the following settings for the video output:
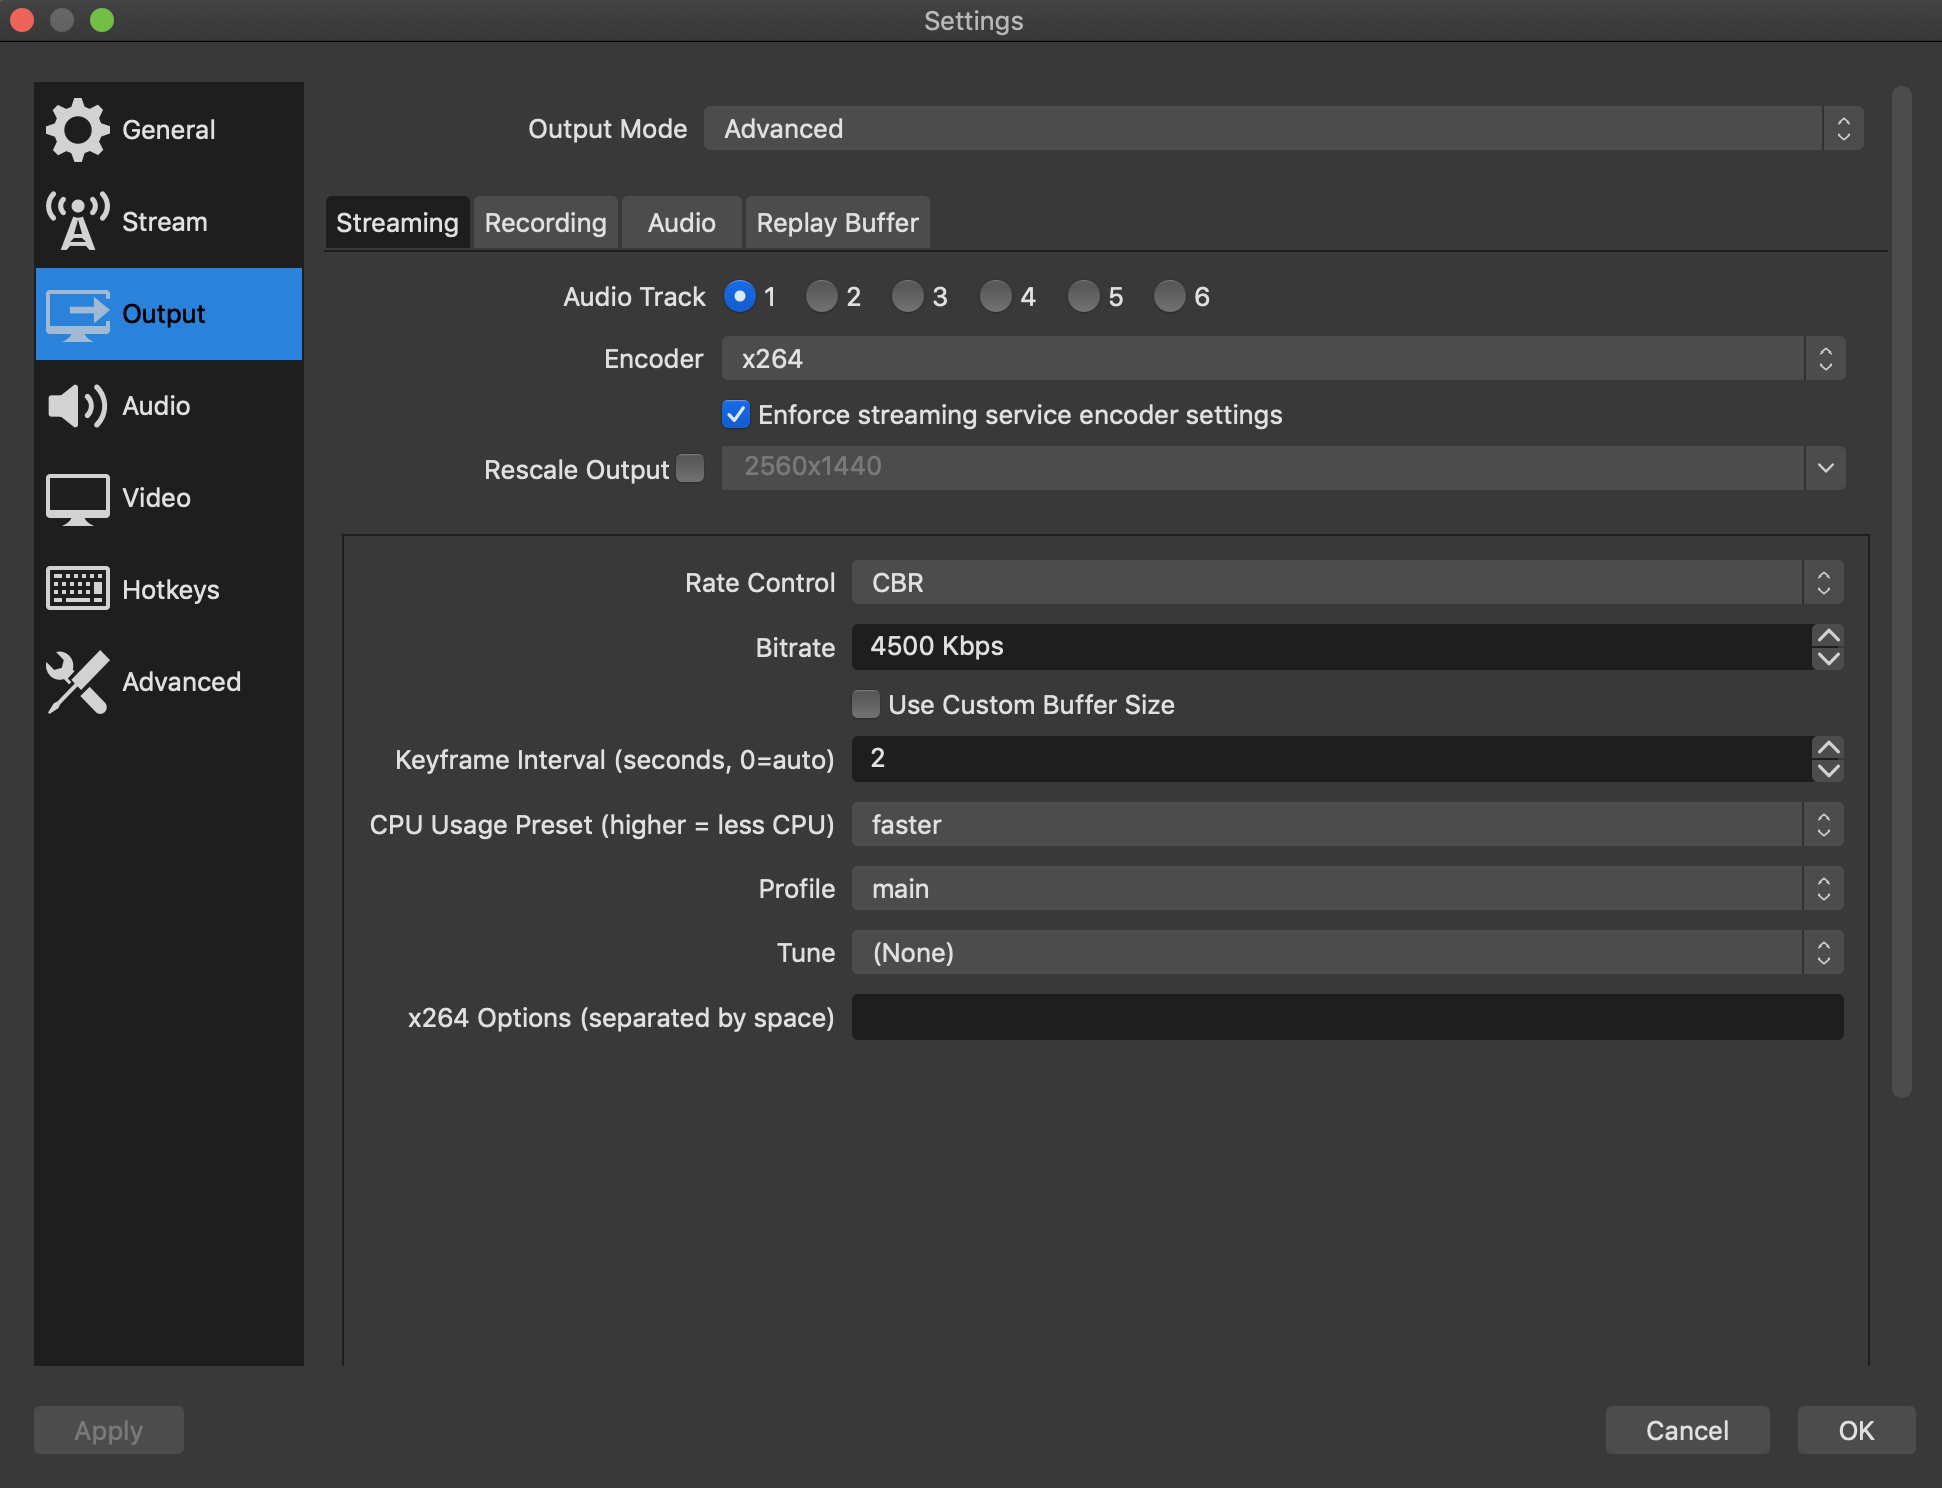
In the Output tab, use the following. Change the Birate to lower Kbps if you have a lower speed connection.
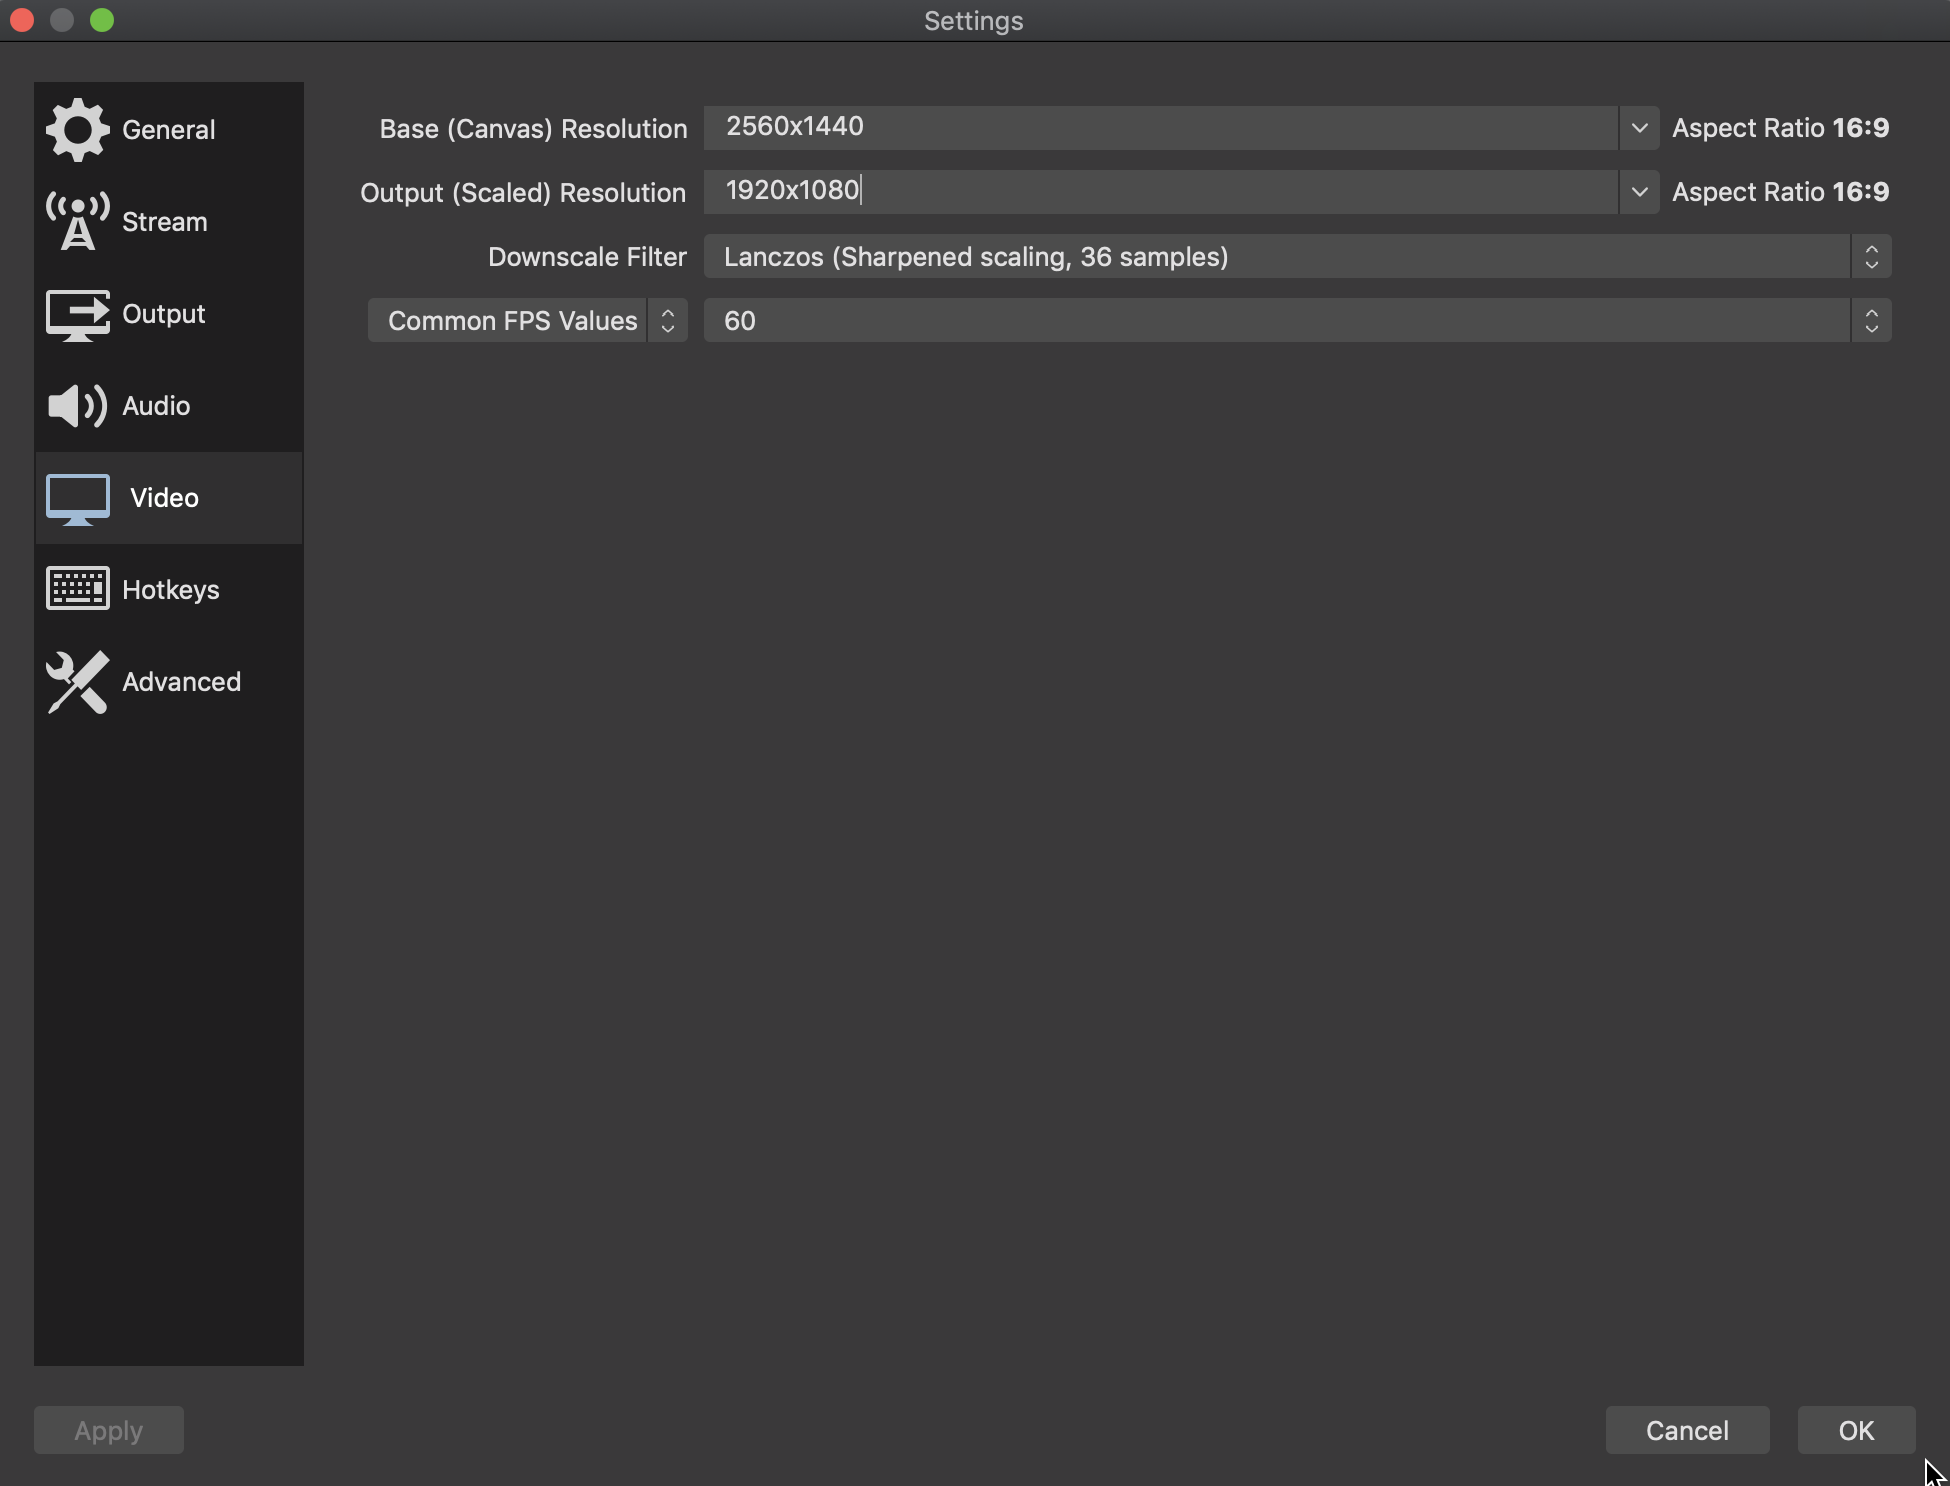
And here is the Video tab: (1920 x 1080) for 1080p YouTube quality:
In Summary, OBS is very nice for streaming with multi-cam or multi-screens set up. I use this quick blog post to document what I have done in case you are dealing with the quality issue in YouTube Live streaming.
Also, for those of you who want me to do a constructive critique on your Instragram feed during my YouTube Live, make sure to comment with your Instagram handle in my Instagram account's latest post or my latest YouTube video. I will go through those photography accounts in my YouTube Live stream.
Search #CaliallstaringLive in youtube for my Live recorded videos.
Thanks for reading :) More photos will be uploaded in my Instagram account: @caliallstaring.
Support
Enjoyed this post?
Every review means renting or buying gear, booking models, and scouting locations. If this helped you make a gear decision, a coffee goes straight toward the next one.
Related Posts
Video & Editing
How to Edit and Export HD Footage of a Vertical Instagram Reel Video Through Final Cut Pro X
In the ever-evolving world of social media, creating eye-catching and high-quality content is essential to capture your audience's attention.

Video & Editing
My Atomos Ninja V Recording Setup
Hi All, I got lots of questions on how I recorded the camera LCD screen. My simple answer is that I use Atomos Ninja v to record my BTS video.
Sony
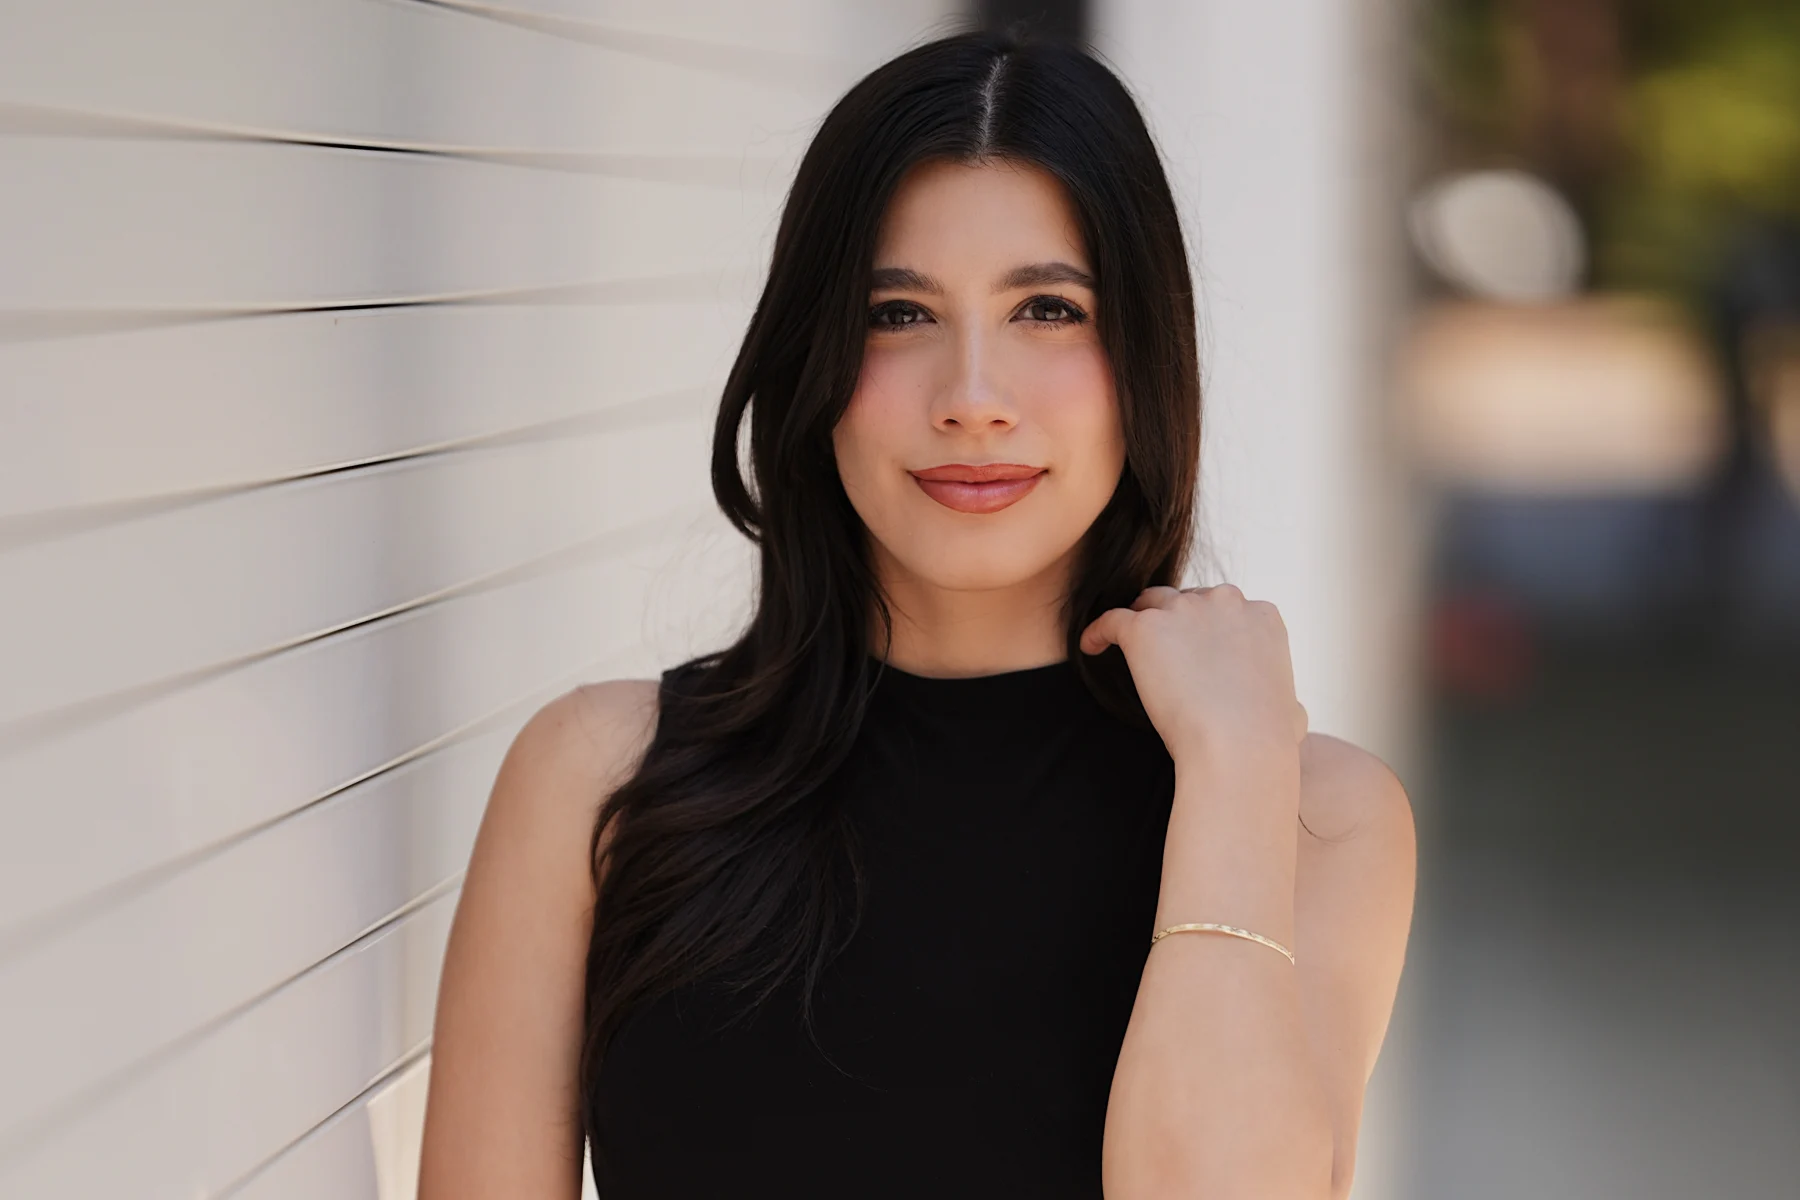
Sony A7IV + Samyang AF 135mm F1.8: Downtown Street Portraits with Aranza
Downtown street portraits on the Sony A7IV with the Samyang AF 135mm F1.8, shot across a few different city backdrops with Aranza — plus a quick lens swap to the Sigma 85mm F1.4 Art for a change of outfit and look.
Newsletter
Stay in the loop
Explore
From the Gallery