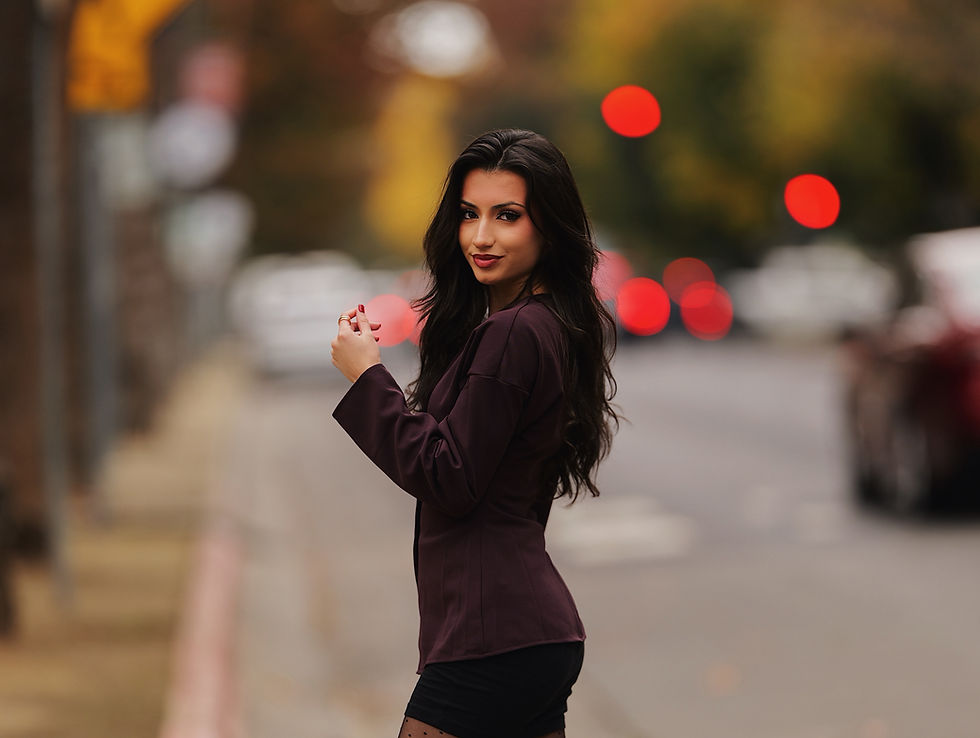
My Fujifilm X-T4 AF-C and Classic Chrome Portraits Settings & How I switched to manual settings
- caliallstaring
- Sep 6, 2022
- 3 min read
Hi everyone, today I am going to share my AF-C settings and classic chrome portraits settings on my Fujifilm X-T4
Key Points
AF-C setting
Classic Chrome Settings
How I switched to manual settings
AF-C setting
The first item I am setting for AF-C is Release/Focus Priority setting:


By doing this, it will allow the camera to have the focus first before allowing the shutter being pressed. From my experience, this improves the focus success rate of the portraits I get.
The next auto focus setting I want to show is the AF-C custom setting:

If you are using Zone or Wide Tracking, you can set the Zone Area Switching to Front if your portraits is always in the front without foreground. However, if you have some foreground as framing, you should choose center to avoid the focus point switching.
I chose the Auto for me because I have different scenarios in different photoshoot. If needed, I will switch the focus point to "Full" mode that i can use a single focus point to tell the camera where to focus.
Classic Chrome setting
Next is my classic chrome settings for the Fujifilm X-T4:
Color +1, Sharpness +1, NR (-4), Color Chrome Effect: weak, Color Chrome Blue: weak. Classic Chrome. White balance: 6500K to 6800K


For video, I have the same classic chrome settings as above and I choose the 4k 59.94P for the high definition videos.

How I switched to manual settings
As many of you may know, I was shooting Aperture Priority mode with minimum shutter 1/125s for a long time. It was since the beginning of my photography journey in 2013. Just recently, I started to try the manual shooting, which I control the Shutter Speed, Aperture, and ISO manually. I find that some of my previous issues while shooting portraits went away.
One of the main issues I had with aperture priority mode in Fujifilm cameras or other mirrorless cameras was the image exposure was jumping around depending on the subtle lighting changes and the environment such as shadow changes. I felt like some images are much brighter than the others because of the Aperture priority mode and auto metering.
This happens to me in both photos and videos. During certain footage, if I use the aperture priority mode and let the camera decide the shutter speed or iso, the footage exposure will be inconsistent.
I found that most of my photoshoots are limited to 2 or 3 locations. Once I have the set the correct exposure using manual shutter speed, aperture, and ISO, I don't have to worry about the exposure anymore unless I change the camera angles or switching to other locations. I found that my photos and videos have more consistent exposure at each location.
Also, for backlight images or backlight video, they are even more consistent now.
For example, for backlight photoshoot, I set to 1/200s, F1, ISO 160 (Fujifilm X-T4 XF50mm F1.0 WR SOOC JPEGs) for the next four photos:


Model: @tiaandreaa
All these four images are straight out of the camera JPEGs. As you can see, all four images are consistent with the balance exposure.
In summary, today I provided my auto focus settings and also my classic chrome photo/video settings. I also explained why I switched to manual photoshoot instead of aperture priority mode photoshoot.
Thanks for reading :) More photos will be uploaded in my Instagram account: @caliallstaring.


Comments