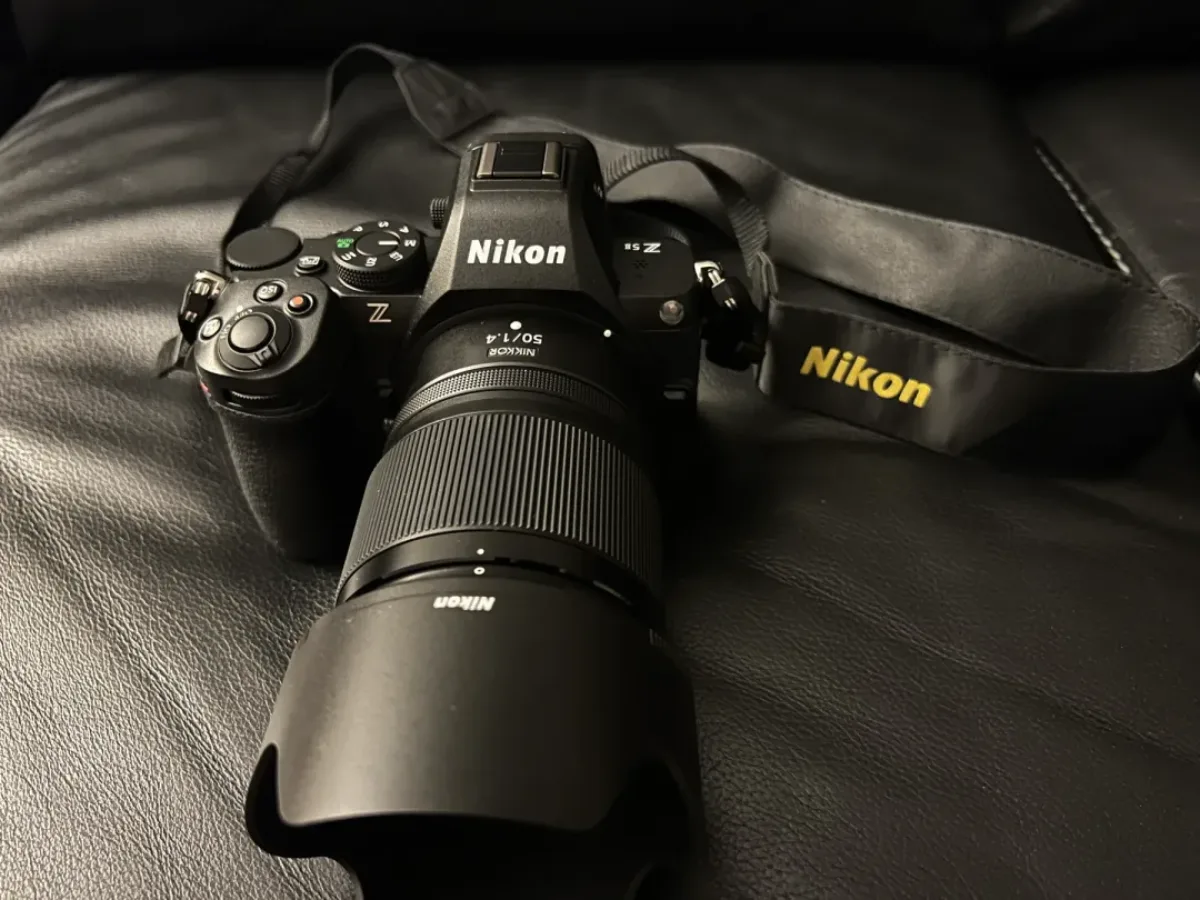
Camera Settings
My Photography Workflow
Updated: Jul 15, 2020
Introduction
Hi all, I want to share with you my photography as a hobby photographer. I will show you my workflow from the beginning to the end. Keep in mind that my workflow might not suitable for your situation. You can keep these workflow steps as reference.
Here are the steps I am going to cover in this article:
- Preparation
- Inspiration
- Photoshoot
- Post
- Editing
Step 1: Prepare for the photoshoot
Preparation is the key to success. I start my preparation by saving a theme of inspos photos that I like to have for my next shoot. Below are couple of the Inspos sources that I use.
- Pinterest - easy to search on certain theme.
- Instagram Saved Collection - Easy access from my instagram account without switching app. Collection helps to categorize the theme of your shoots.
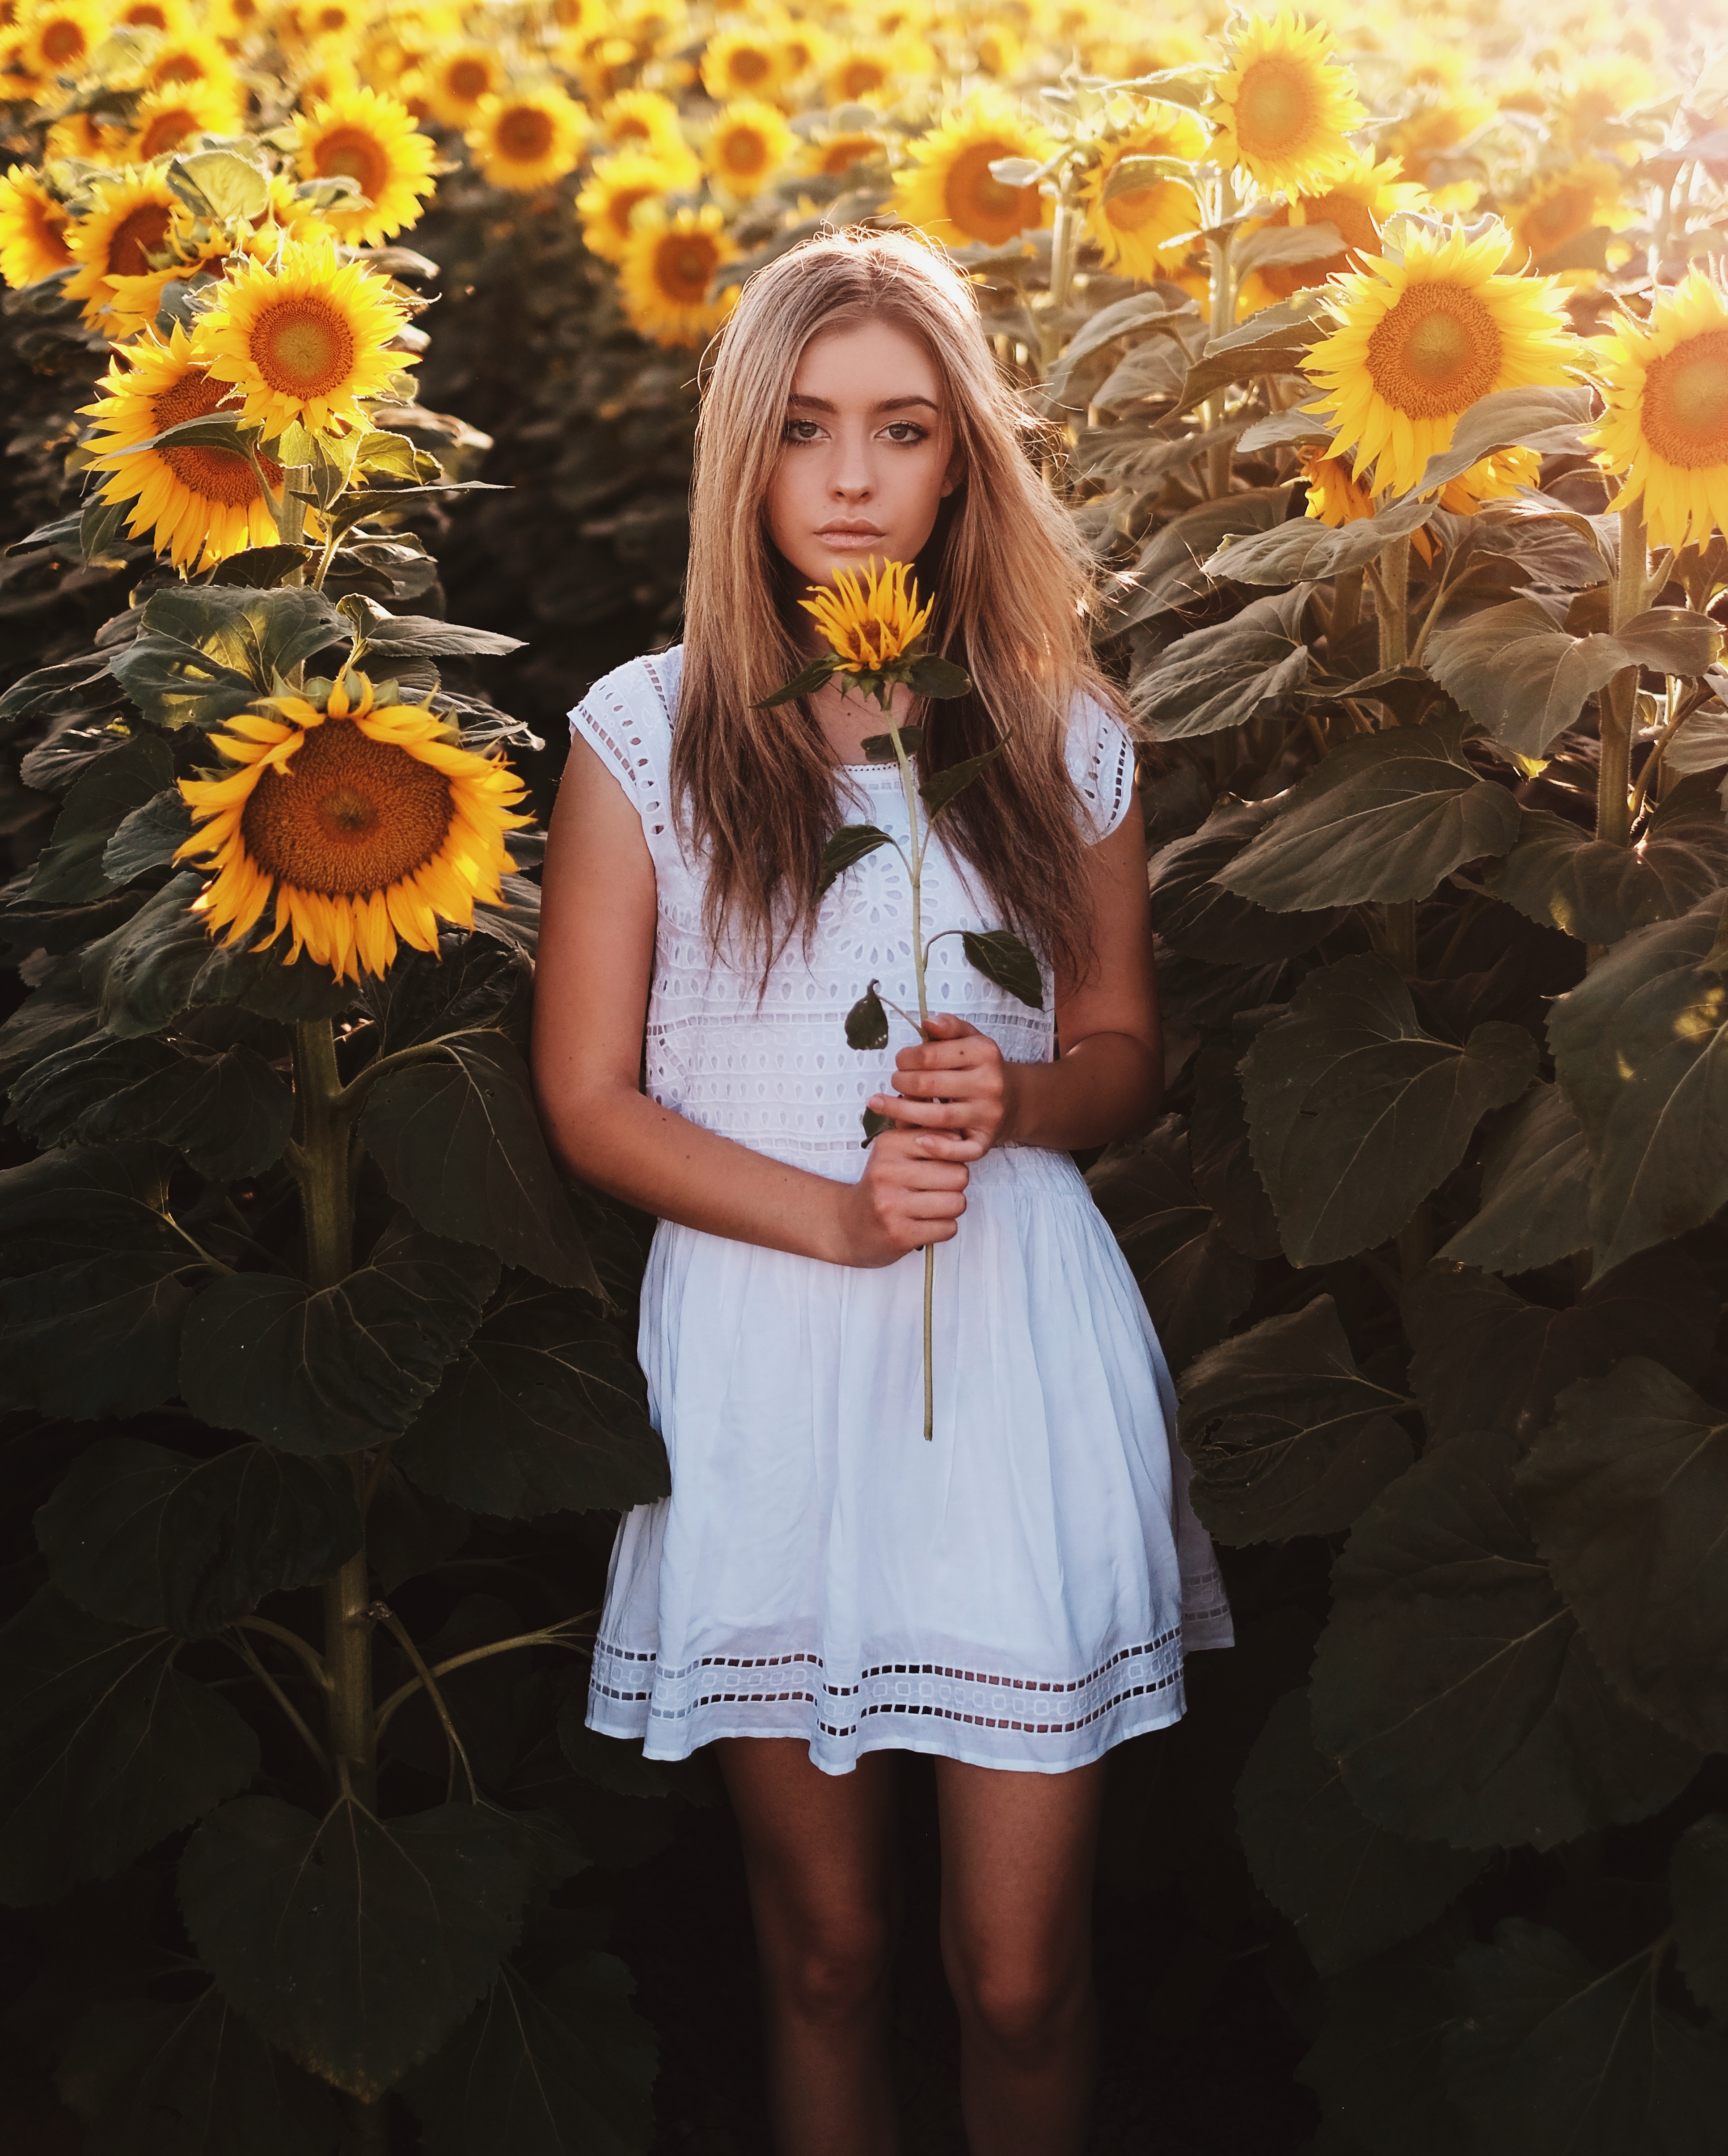
Some example of my themes are: Sunset Backlight, Through the Windows Portraits, and Colors, etc.
Step 2: Share the inspiration with models
After I have a set of photos in a certain theme, I would share this set to the model that I am going to shoot. Sharing inspiration with models will allow me to have feedback and suggestion from the models. Sometimes, my theme might not match the clothing they want to shoot, or models don't have certain style of outfits within this theme. Sharing and discussing with models allows you to make adjustment early.
Step 3: During Photoshoot
Updated 2020: I started shooting JPEG plus Compressed Raw in all my cameras so that I have both file format in case I need to recover some lighting in Lightroom later. The other two setting tips are still valid:
- Minimum auto shutter speed is set to 1/125s to avoid blur in the photos. Sharp photos will allow me to save time in the post on sharping images.
- Exposure compensation dial - I use this dial a lot while shooting to adjust the brightness based on the environment. This will help save the time for post editing exposure adjustment.
Here is my backlight tips during the photoshoot:
Step 4: After the photoshoot
After the photoshoot, I will do the following:
- If I am not home yet, I will use an IOS SD card reader to transfer some photos from my SD card to my iPhone 7 Plus.
- When I get home, I will put all the photos into a dropbox folder and upload into the Dropbox cloud. I usually keep the dropbox folder for about 3 months. Then, I send the Dropbox link to the model for them to browse through as well.
- I use the AirDrop from my MacBook Pro to transfer original photos quickly to my iPhone to edit the photos.
Step 5: Post editing photos
For photos editing, I use Lightroom & iPhone to edit photos. Here are some of the tools from my iPhone for editing.
- VSCO - this is my main editing application. I don't do the VSCO X subscription. Instead, I only bought the VSCO filters. (Below is a video explaining how I edit photos.)
- Snapseed - very useful tool for skin patching.
- Facetune 2 - very good for skin retouching.
I use these three phone apps primary.
Lightroom:
VSCO:
Step 6: Posting Photos on Instagram
Once I finish the editing of a set of photos, I will have the following tasks in my pipeline:
- UNUM - Upload some photos to an Instagram feed planning app called UNUM. This helps a lot for organizing my feed and keep the feed consistent in terms of tones and themes that you want your feed to have. (See below for my UNUM tutorial video)
- Trello - I use this app to organize my hashtags.
- Instagram - When it's time to post, I usually post 2 to 3 photos a day. It depends on your audience's most active hours. Usually, the lunch hour in east coast time has the most active users for me. I guess it's because lunch hour people check their phone most often.
Summary
In summary, my workflow is very specific to me as a hobby photographer. Based on your situation, your workflow may be different. I hope any of the steps above could give you some new ideas toward improving photography workflow. Check out my Instagram @caliallstaring for more photos.
Related Posts
Camera Settings
Nikon Z5II Camera Settings for Portraits: Best Auto Focus Setup Guide
Complete Nikon Z5II camera settings guide for portrait photography — exposure mode, JPEG quality, white balance, AF-C, 3D tracking, and focus priority settings explained.
Camera Settings
Portrait Photography: Essential Poses and Compositions for Stunning Shots
Welcome to my blog post on portrait photography! Whether you're a seasoned photographer or just starting out, understanding different poses and compositions is key.
Camera Settings
Which Stops of Black Pro Mist Filter Should You Use for Your Lenses Portraits? K&F Concept
Today I am going to talk about my experience on using K&F Concept Black Diffusion filters on different lenses with various focal length, and what is the best stop for the particular focal length's por…
Newsletter
Stay in the loop
Explore
From the Gallery


