Camera Settings
Fujifilm X-H2 Camera Settings for Portraits: Film Simulation Recipes & Autofocus Setup Guide
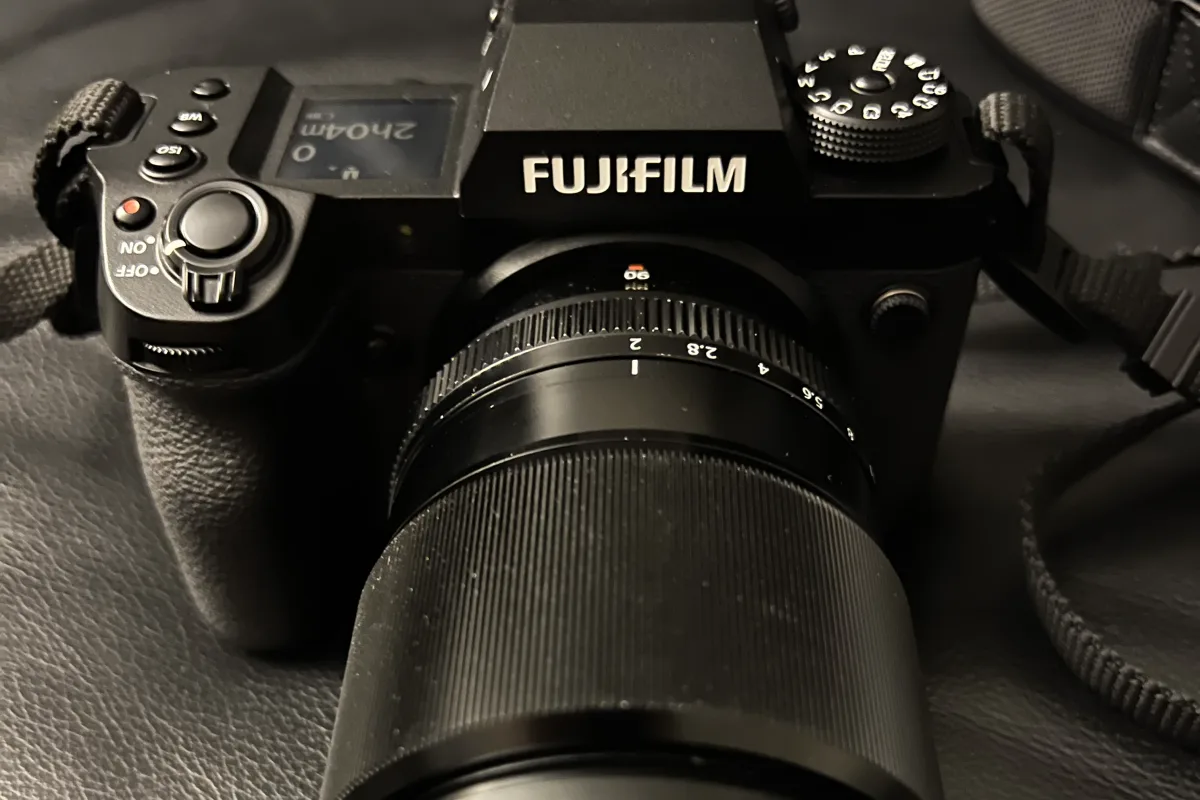
I get asked constantly what my in-camera settings are for the Fujifilm X-H2, so here's the full breakdown — my two go-to film simulation recipes, how I set white balance on location, and the exact autofocus menu setup I use to keep faces and eyes locked during portrait sessions.
Base Image Quality Settings
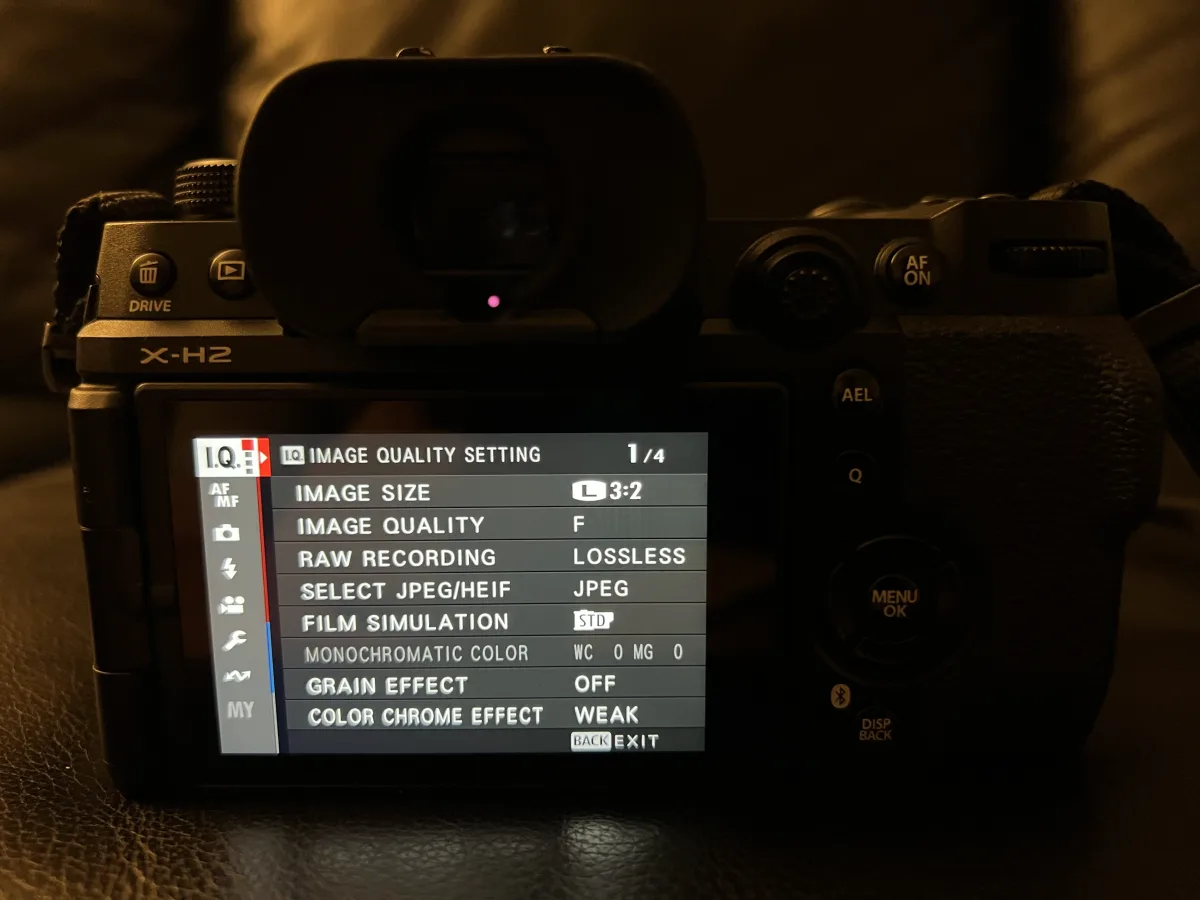
Under I.Q. → Image Quality Setting, here's my baseline before applying either recipe:
- Image Size: L 3:2 — full sensor, no cropping
- Image Quality: F (Fine)
- RAW Recording: Lossless — I shoot RAW + JPEG so I always have the option to reprocess later
- Select JPEG/HEIF: JPEG
- Grain Effect: Off — I prefer clean files and add grain in editing if I want it
- Color Chrome Effect: Weak (this stays on for both recipes below — more on why in a second)
Color Chrome Effect is Fujifilm's tone-mapping for saturated colors — it pulls back highlight clipping in reds and oranges (skin tones, sunsets) so they don't blow out or go flat. "Weak" gives a noticeable improvement without over-processing the image, which is why it's part of both recipes.
Recipe 1: Classic Chrome — Golden Hour / Film Look
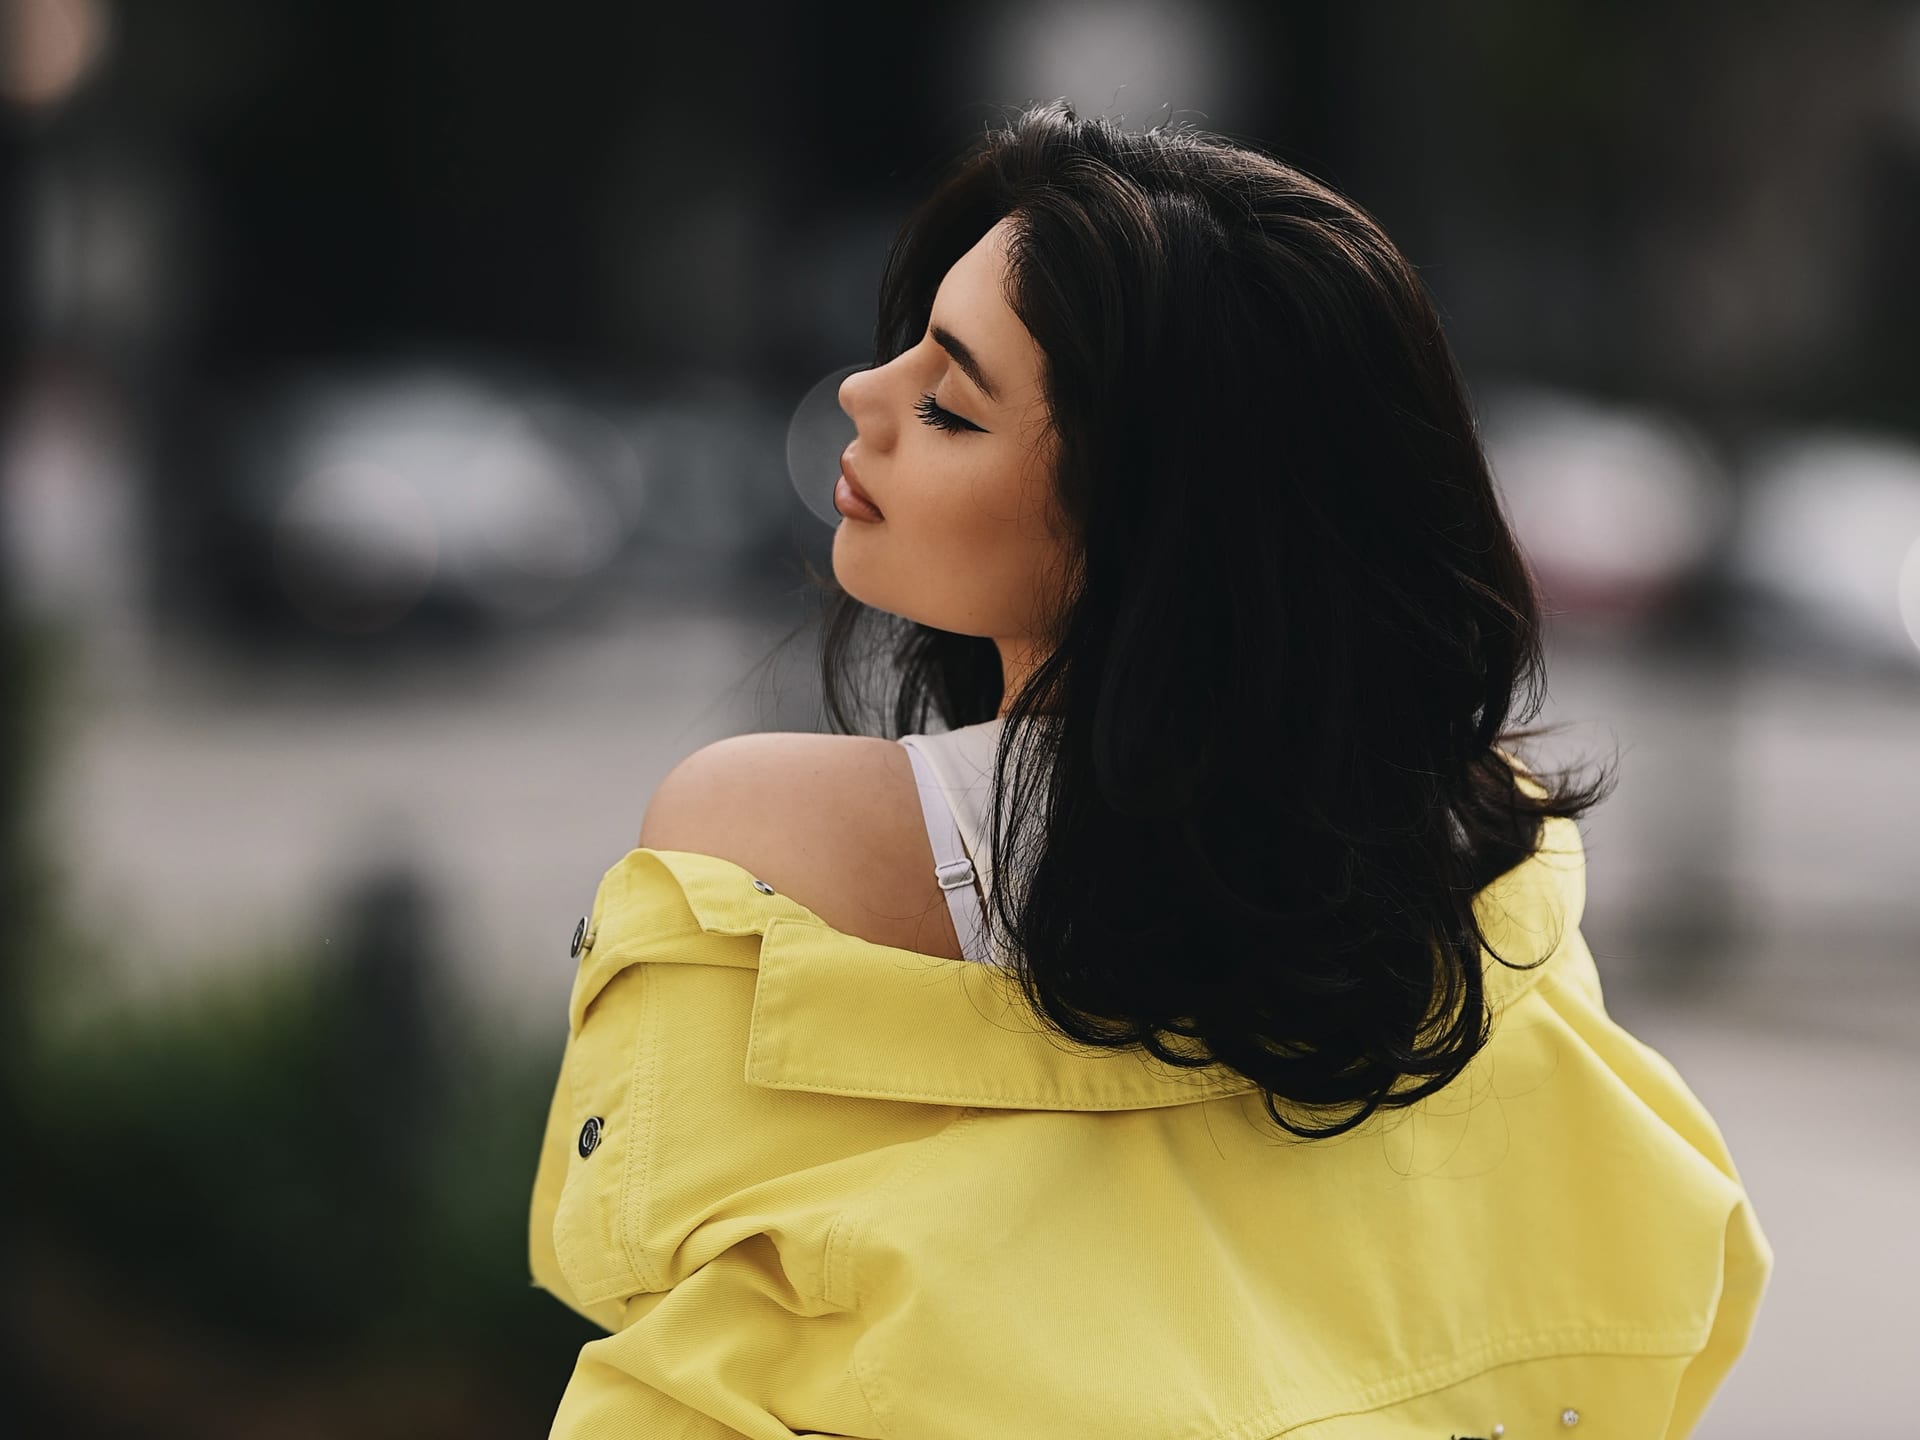
My go-to for sunset-style portraits. Classic Chrome has a naturally muted, desaturated character that reads more "film" than any other Fujifilm simulation — slightly cooler shadows, subdued color, and a documentary feel.
- Film Simulation: Classic Chrome
- Color: +3
- Highlight: -1
- Shadow: 0
- Sharpness: +1
- Noise Reduction: -2
- Color Chrome Effect: Weak
- Color Chrome Blue: Weak
- White Balance: 6100K
Notice the Color is pushed to +3 here — that's intentional. Classic Chrome's baseline saturation is already low, so pushing Color up compensates for that muted starting point without losing the simulation's signature look. Highlight -1 protects the sky and any backlit rim light from clipping during golden hour, and Sharpness +1 with NR -2 keeps skin texture crisp without the smoothed-over look heavier noise reduction settings can produce.
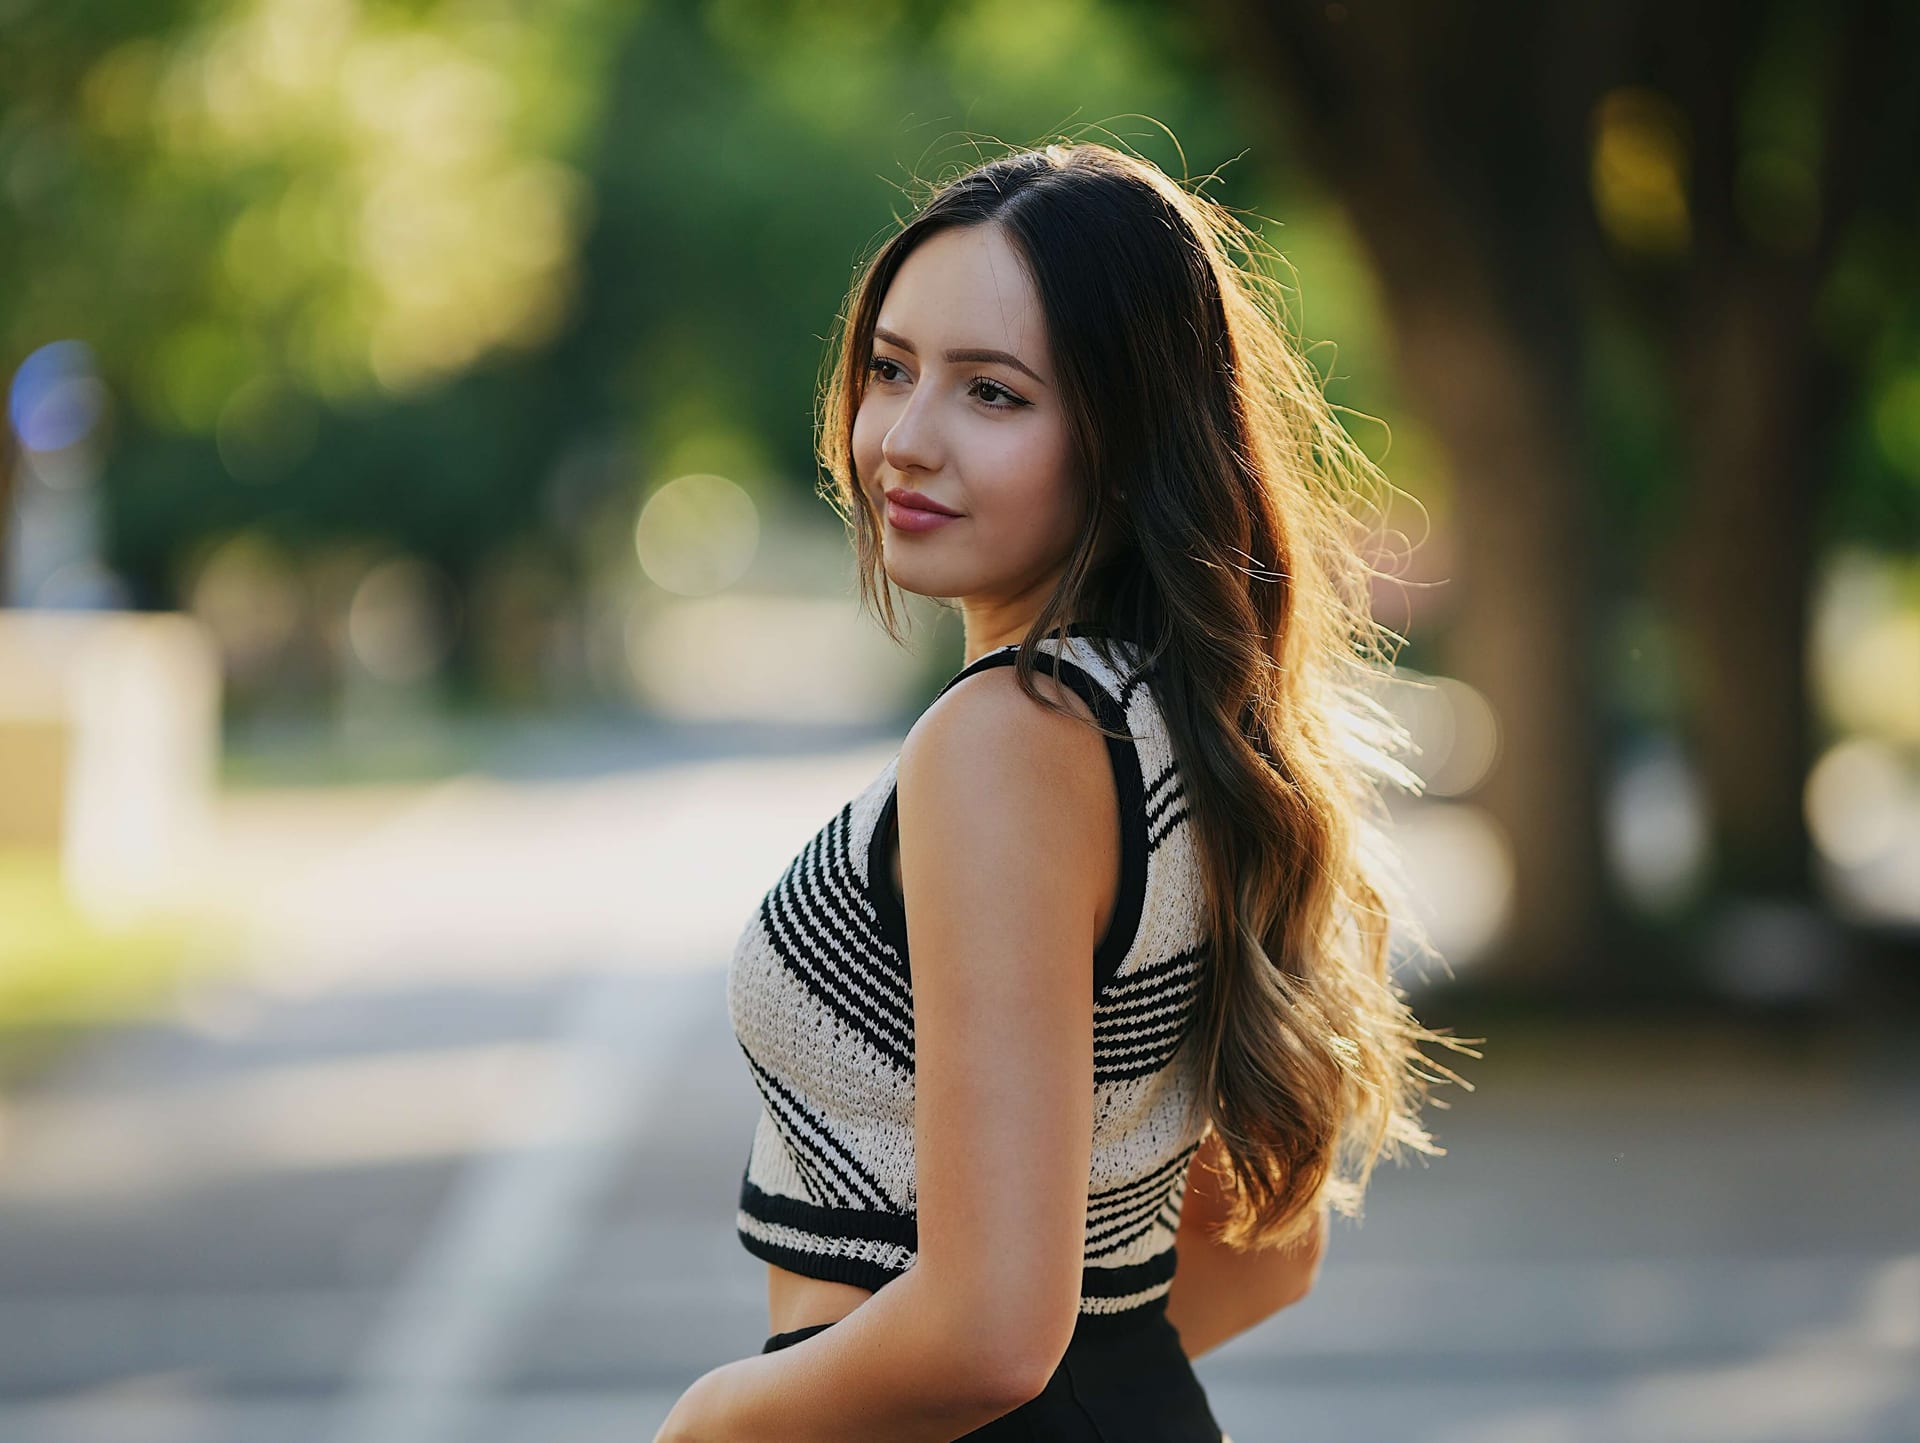
This recipe is at its best in warm, low-angle light — an hour before sunset through golden hour. The muted color palette works with the light instead of fighting it.
Recipe 2: Provia — Balanced, Standard Portraits
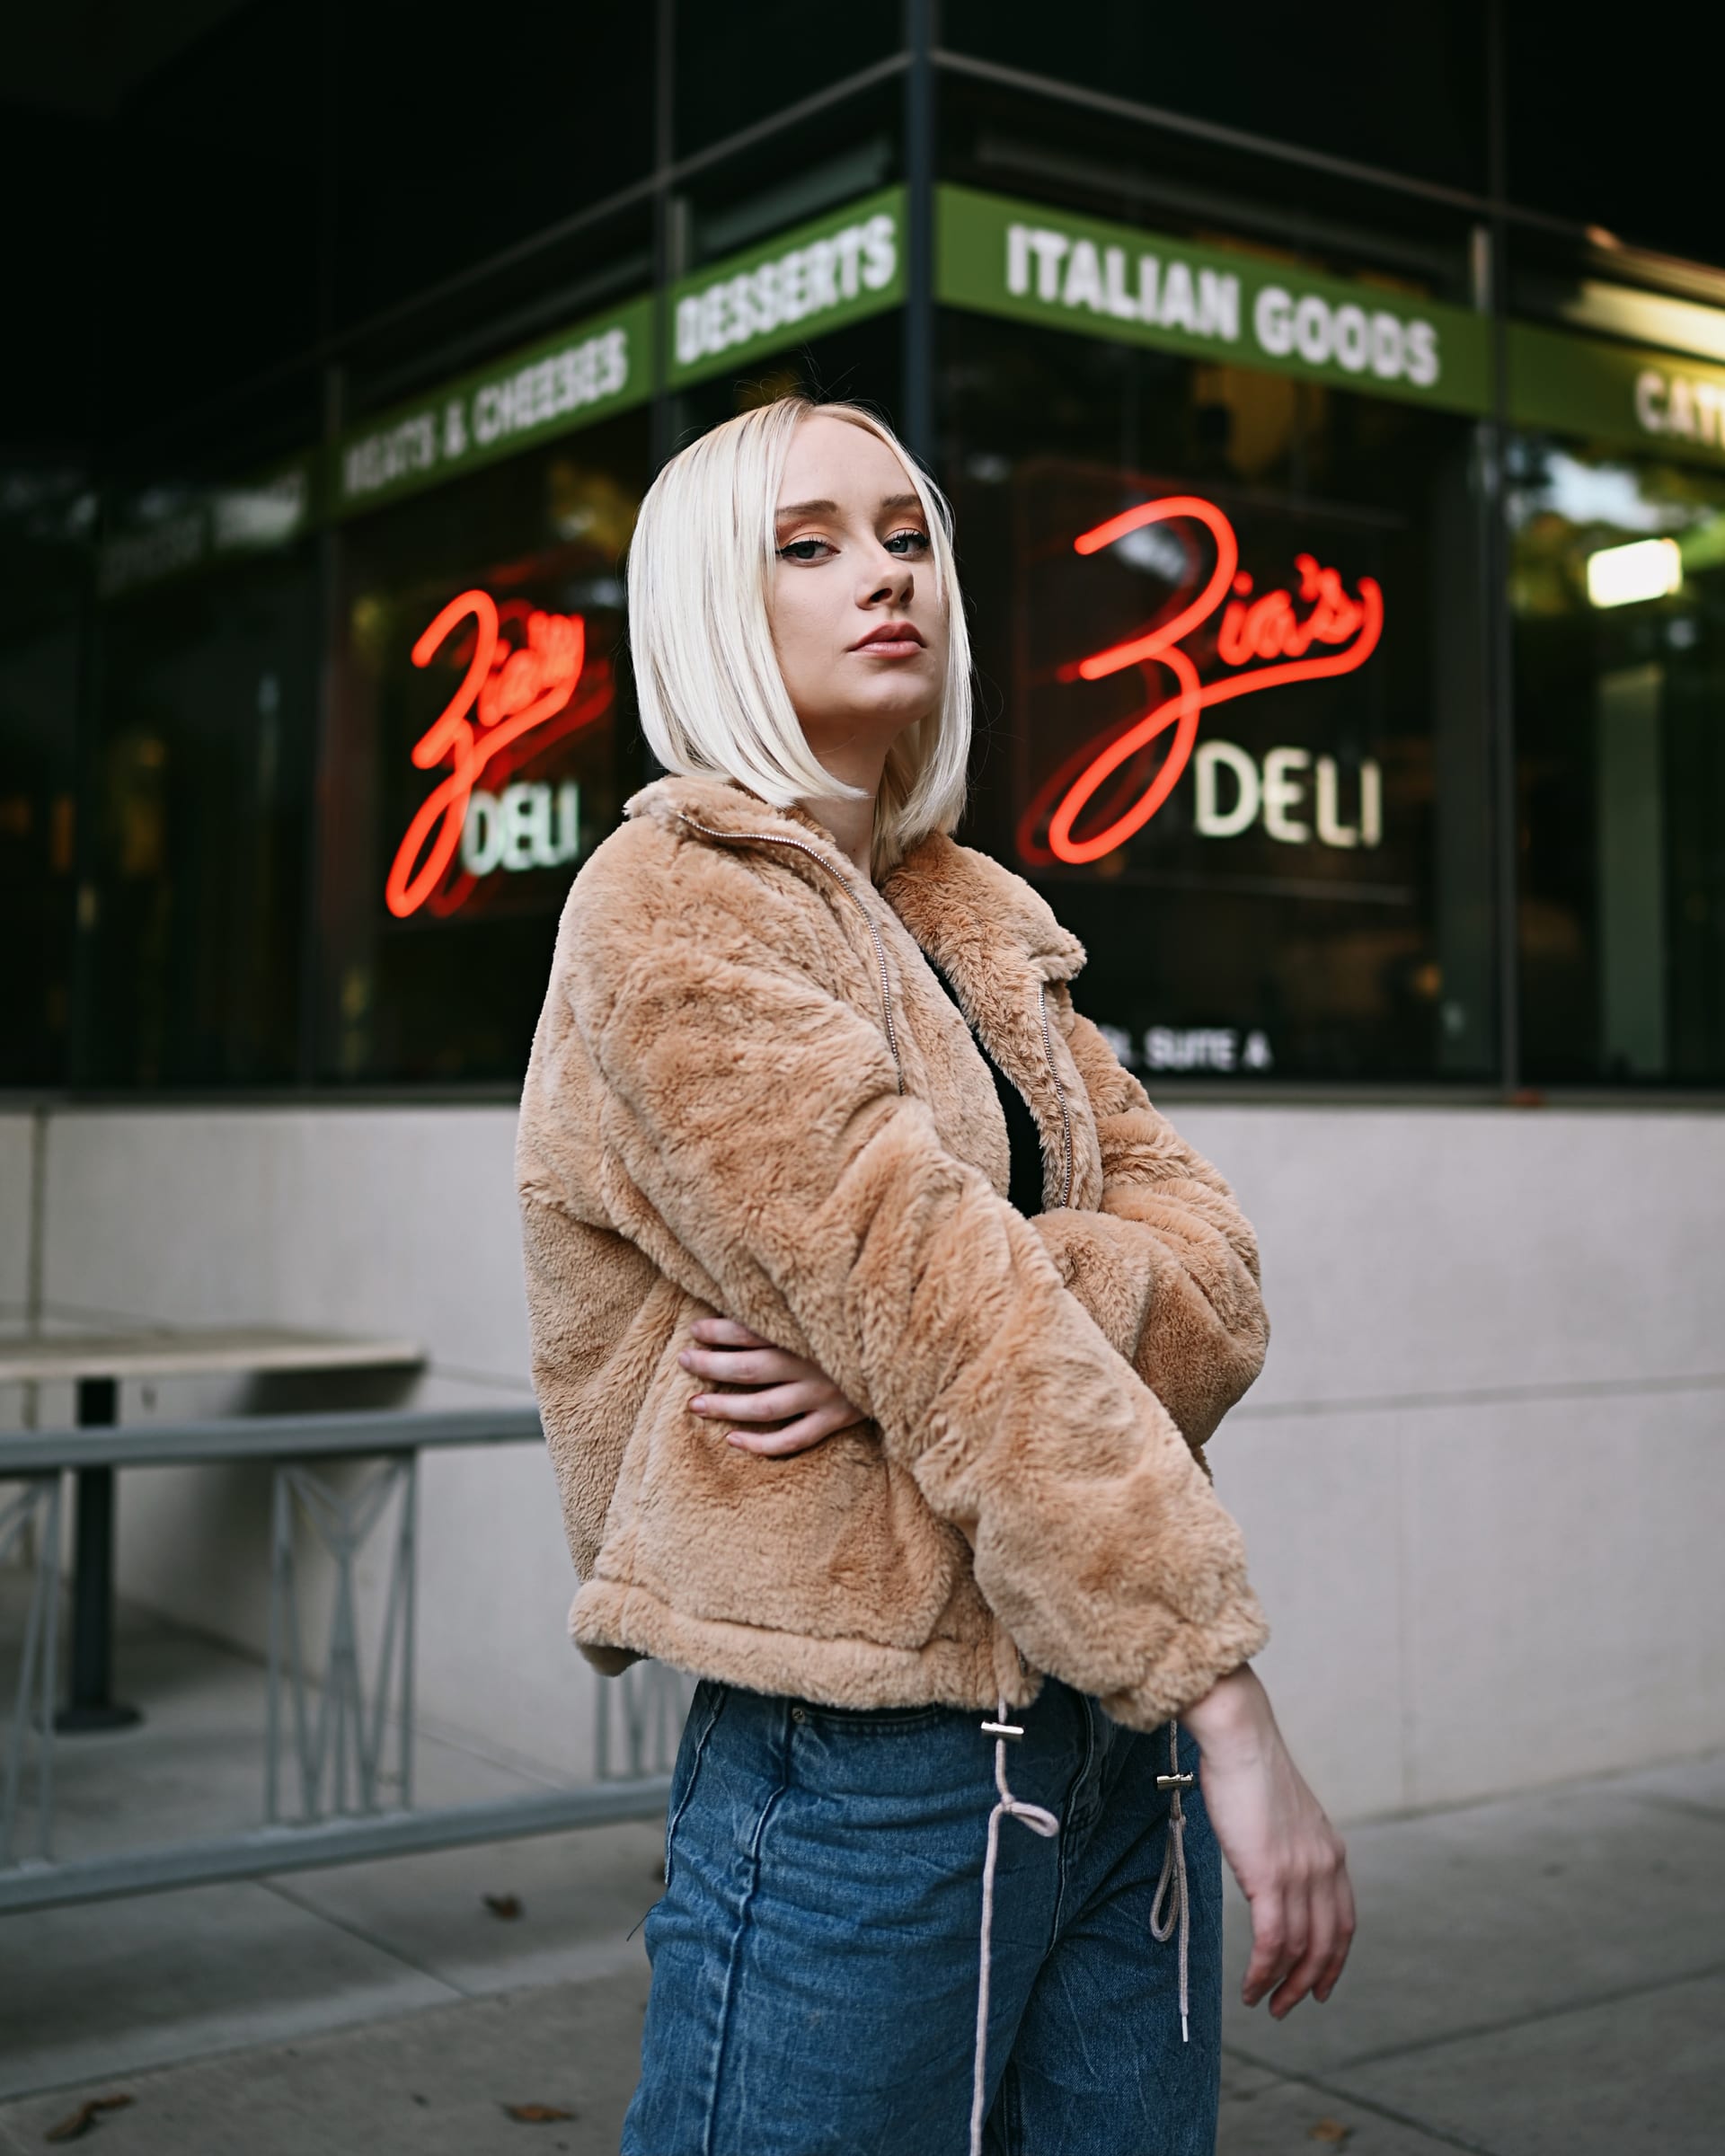
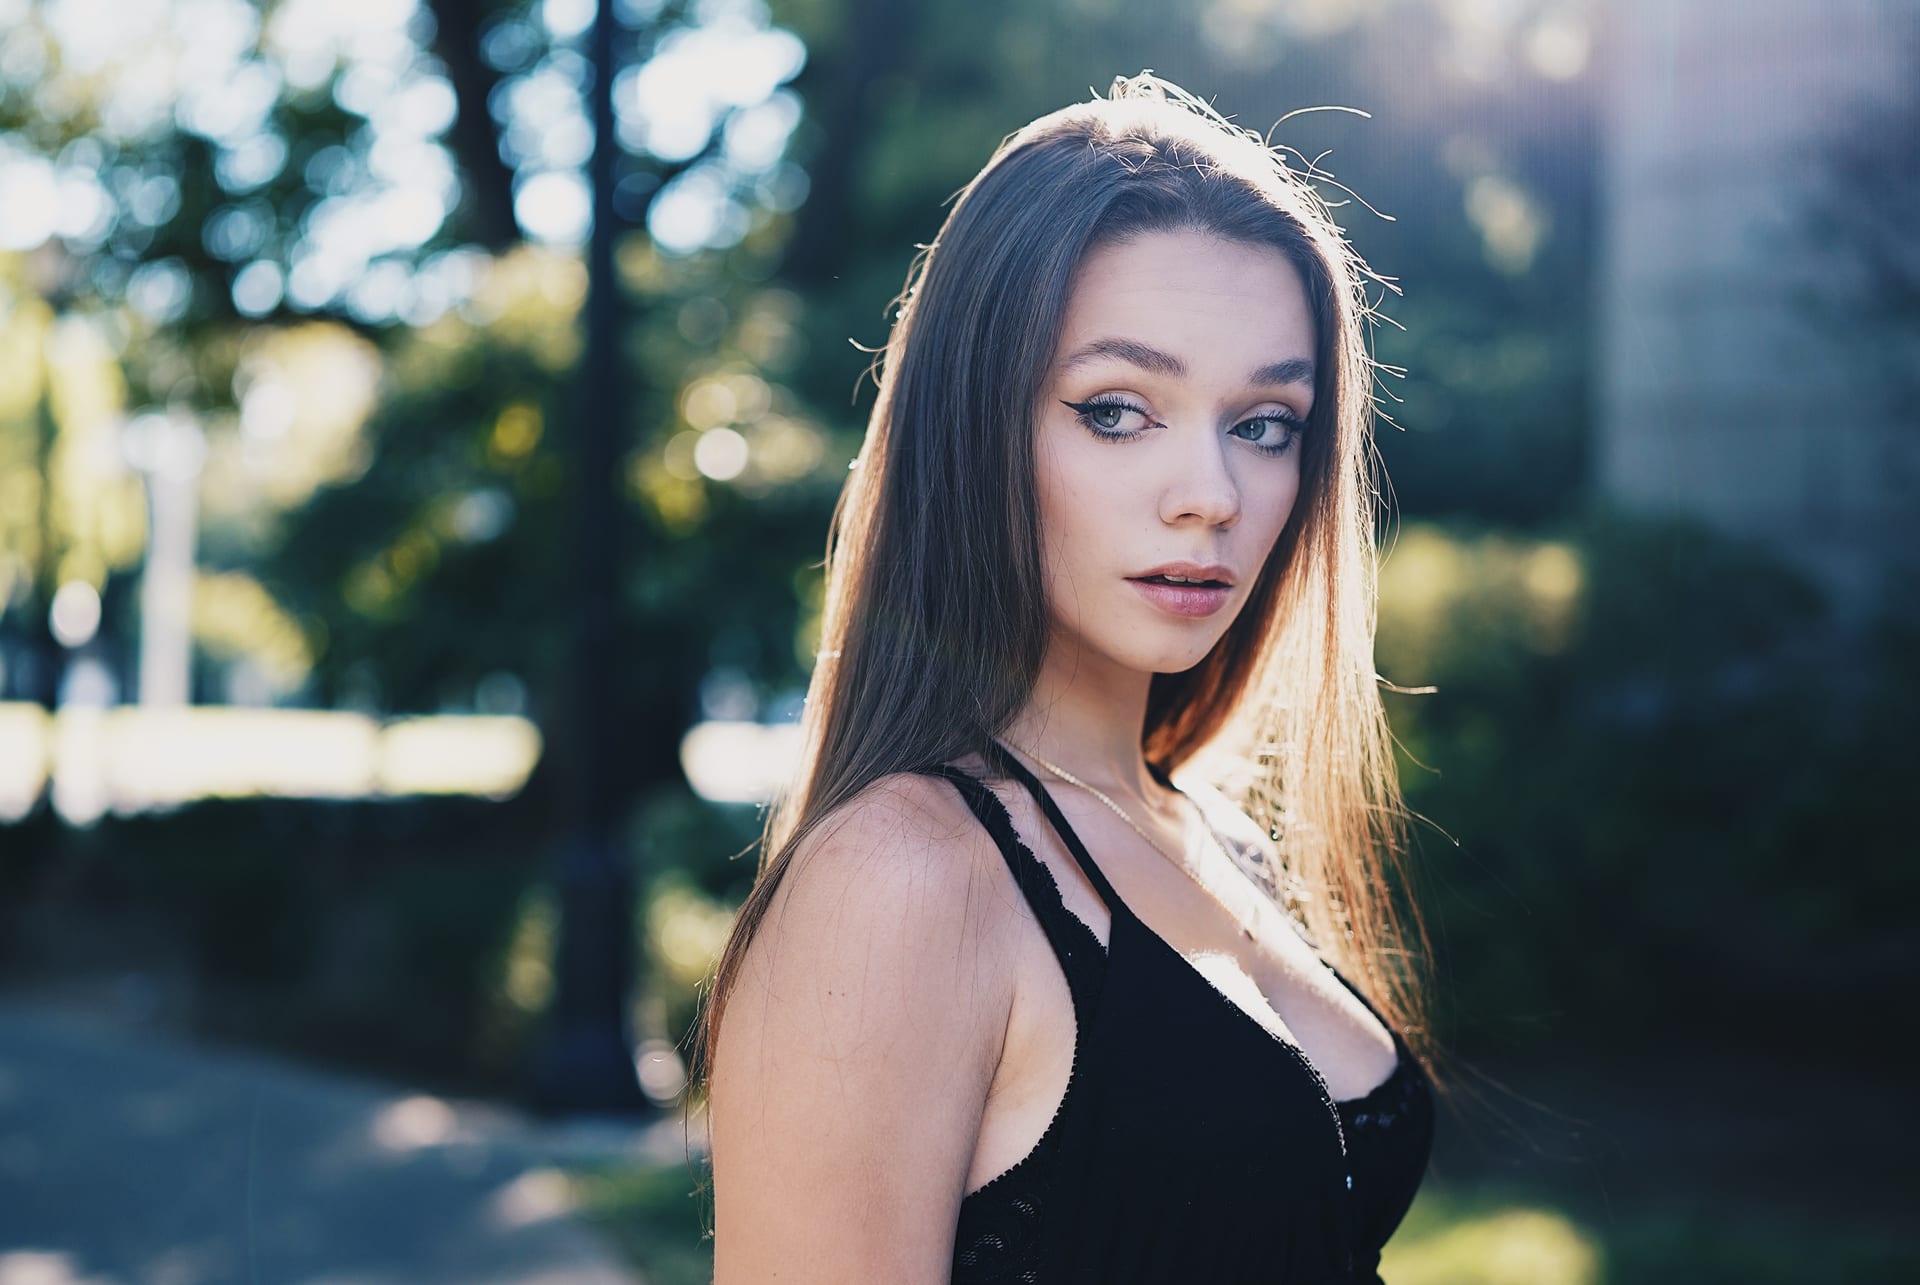
Provia is Fujifilm's standard simulation, closest to a "true to life" color rendition. I use this one for portraits where I want a cleaner, more neutral look than Classic Chrome — daytime sessions, indoor work, or any shoot where accurate skin tone matters more than a stylized mood.
- Film Simulation: Provia
- Color: -1
- Highlight: -1
- Shadow: 0
- Sharpness: +1
- Noise Reduction: -2
- Color Chrome Effect: Weak
- Color Chrome Blue: Weak
- White Balance: 6000K
Provia runs more saturated out of the box than Classic Chrome, so here I pull Color down to -1 to rebalance it — this keeps skin tones from looking oversaturated or waxy while still holding onto Provia's accurate, standard character. Highlight, Sharpness, and NR stay consistent with the Classic Chrome recipe above for the same reasons — protecting highlights and keeping skin detail natural.
Dialing In White Balance on Location
Both recipes list a starting Kelvin value (6100K for Classic Chrome, 6000K for Provia), but treat those as a starting point, not a rule. Adjust the custom white balance slightly based on your actual lighting:
- Shooting in open shade or overcast light? Nudge the Kelvin value down slightly (cooler) — shade skews warm/orange on its own, and starting at 6000-6100K can push things too warm.
- Shooting into direct golden-hour sun? You can push a little warmer (higher Kelvin) to lean into the warmth rather than neutralize it — this is where Classic Chrome especially shines.
- Mixed lighting (shade + direct sun in the same frame)? Pick the Kelvin value that matches your subject's light, not the background — skin tone accuracy on your subject matters more than background color consistency.
Take a test shot, check it against your subject's actual skin tone on the LCD, and adjust in 100-200K increments until it reads naturally. This is the single biggest lever for getting a "finished" JPEG straight out of camera.
Shooting Mode Quick Menu
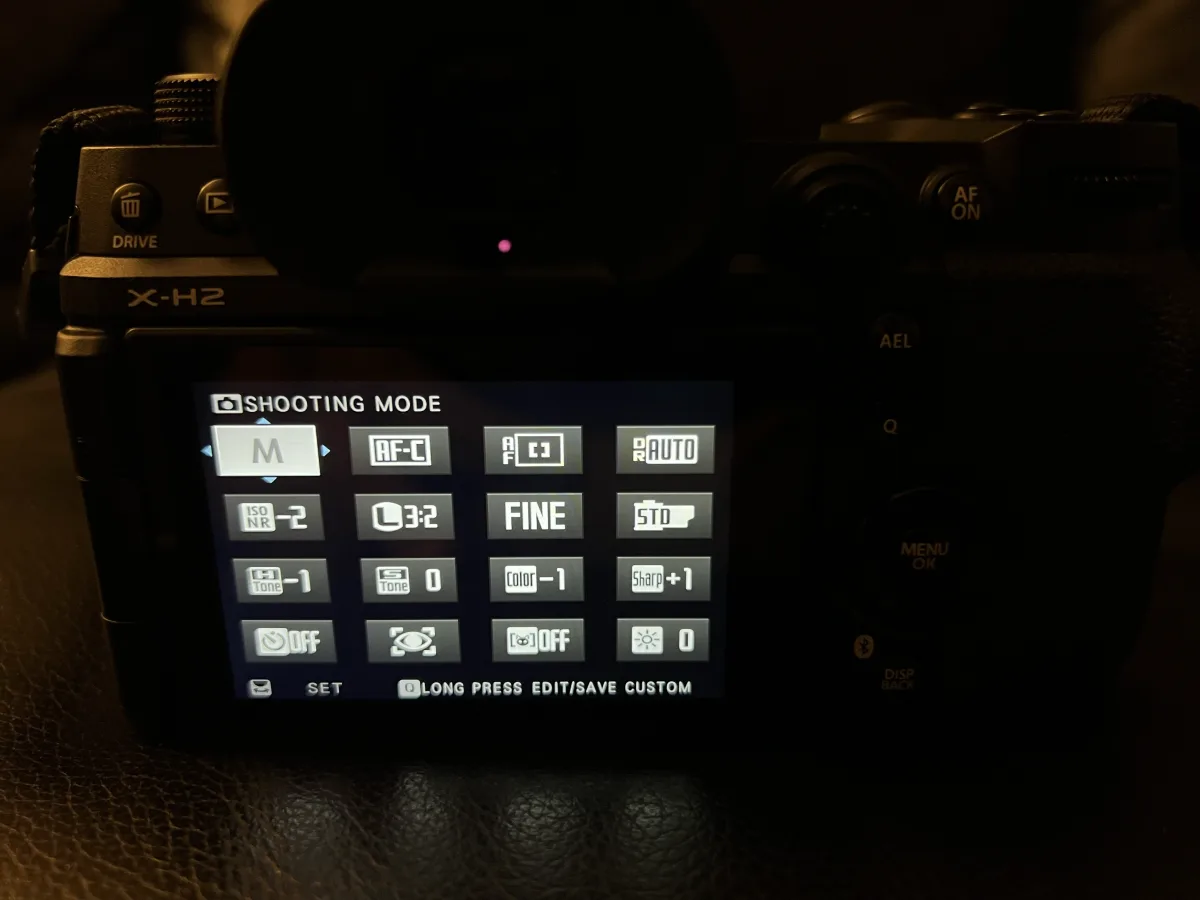
This is my Q-menu Shooting Mode overview at a glance for a typical portrait session: Manual exposure, AF-C focus mode, ISO NR -2, L 3:2 image size, Fine quality, Standard dynamic range, and the Tone/Color/Sharpness values from whichever recipe I'm running that day.
Autofocus Setup for Portraits
Focus Mode: AF-C
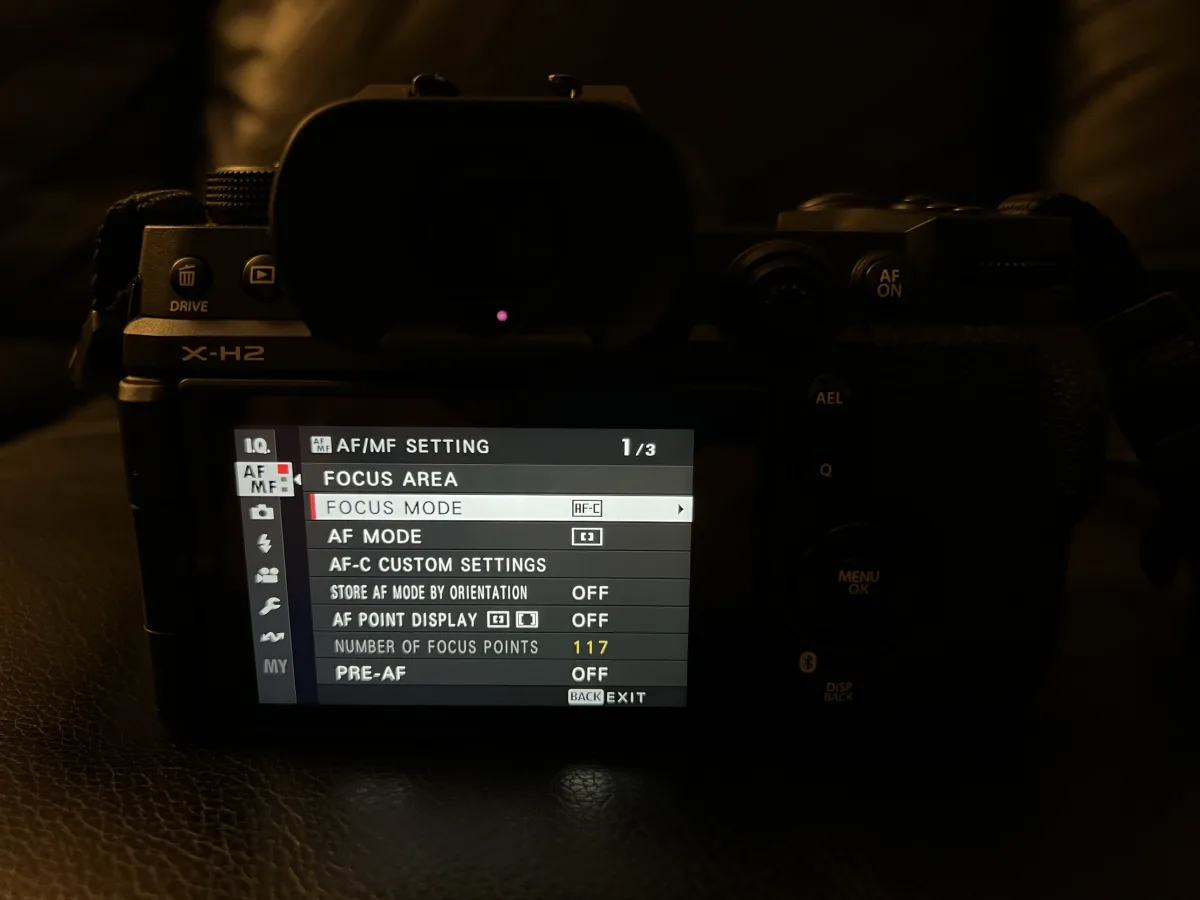
Under AF/MF Setting → Focus Mode, I run AF-C (Continuous) for every portrait session. Same logic as any mirrorless system — AF-C keeps re-acquiring focus as long as the shutter is half-pressed, so a subject shifting weight, turning their head, or walking toward camera doesn't cost you the shot while you re-focus.
AF-C Custom Settings: Tracking Sensitivity
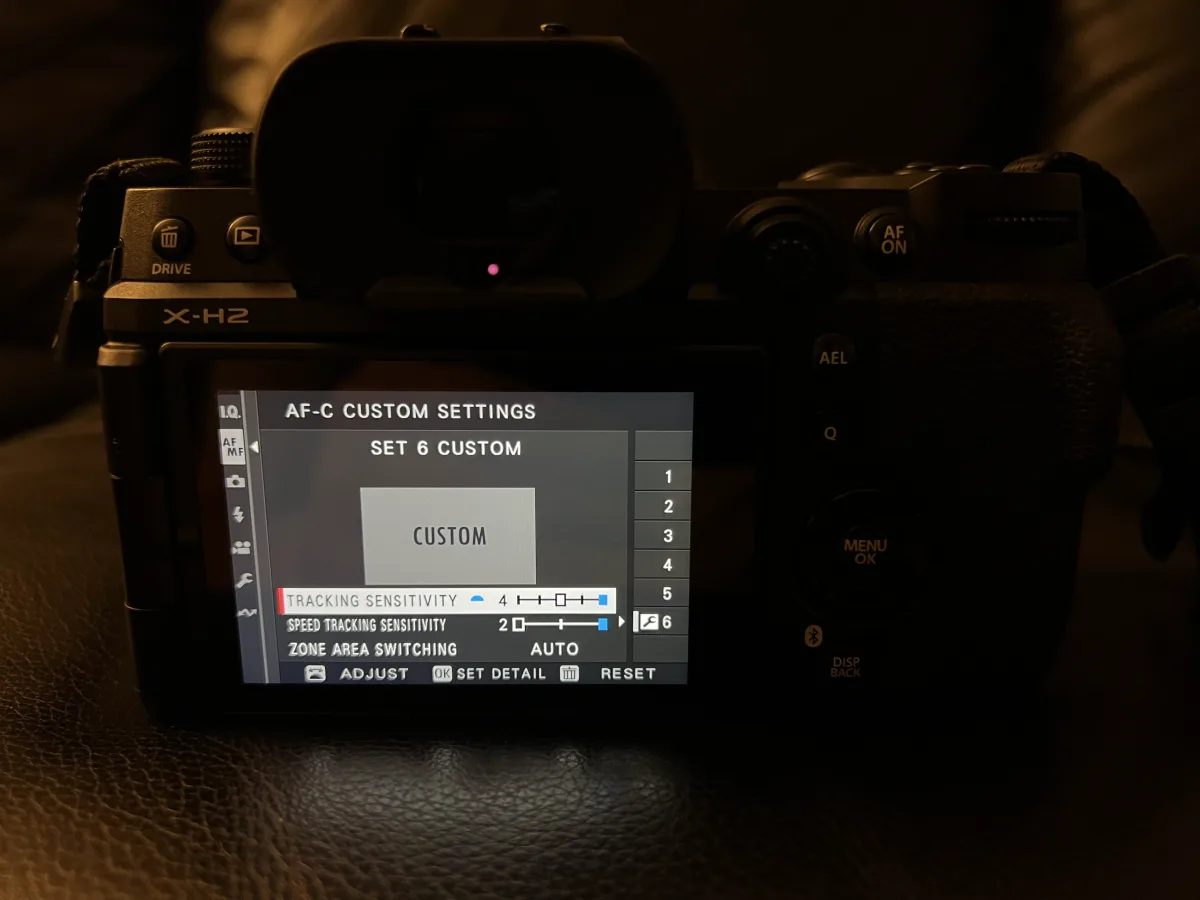
I use Custom Set 6 with Tracking Sensitivity at 4 and Speed Tracking Sensitivity at 2, Zone Area Switching set to Auto. Tracking Sensitivity 4 (out of 5) means the camera holds onto your subject fairly persistently rather than jumping to something that briefly crosses the frame — useful when shooting on busy streets or in crowds where people walk between you and your subject. Speed Tracking Sensitivity at 2 keeps focus transitions smooth rather than snapping instantly when your subject's depth changes, which matters at wide apertures where depth of field is razor thin.
Face/Eye Detection: On
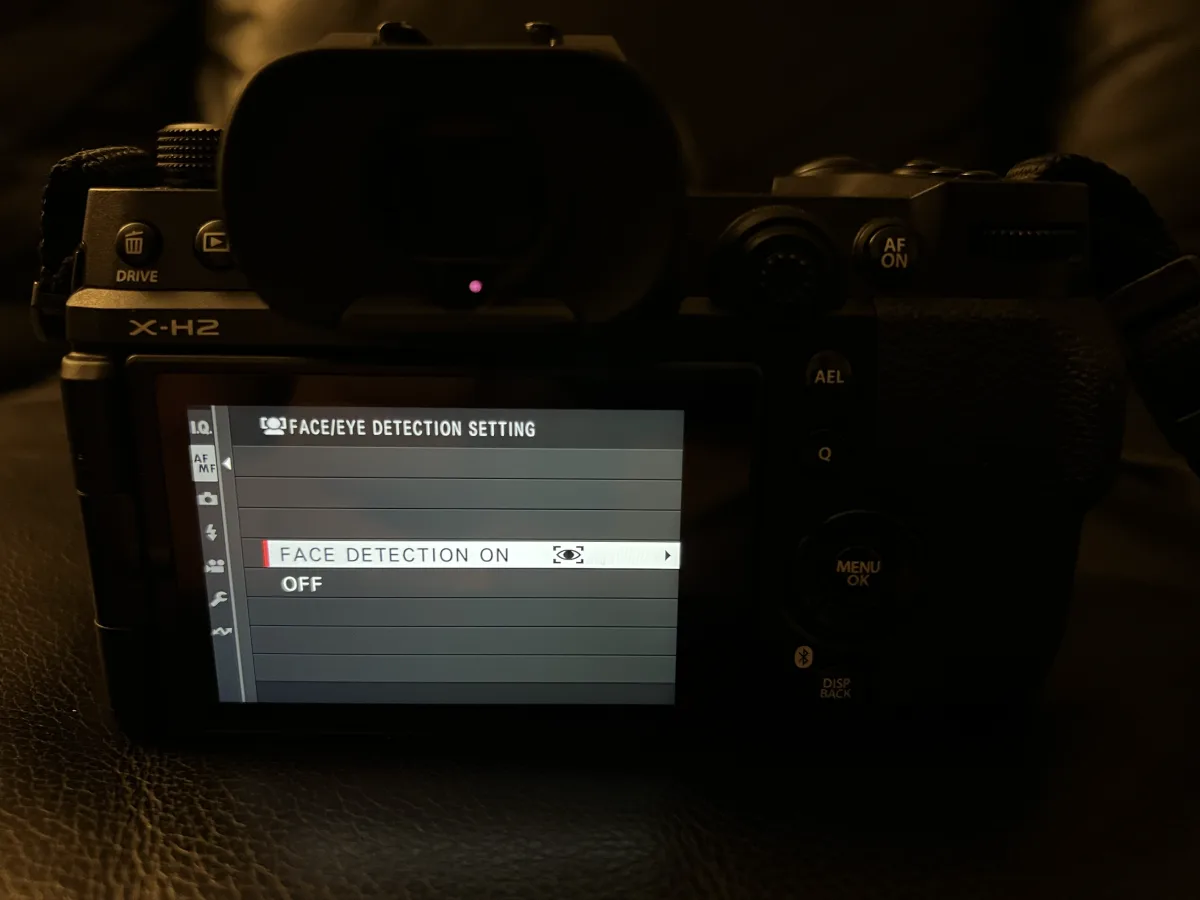
Face Detection: On. This is the setting that matters most for portraits — the camera actively looks for a face in frame and prioritizes it for focus over the standard zone/wide area AF. Combined with AF-C and the tracking sensitivity above, this is what lets me focus on composition and posing instead of manually placing an AF point on the eye for every single frame.
Additional AF/MF Settings
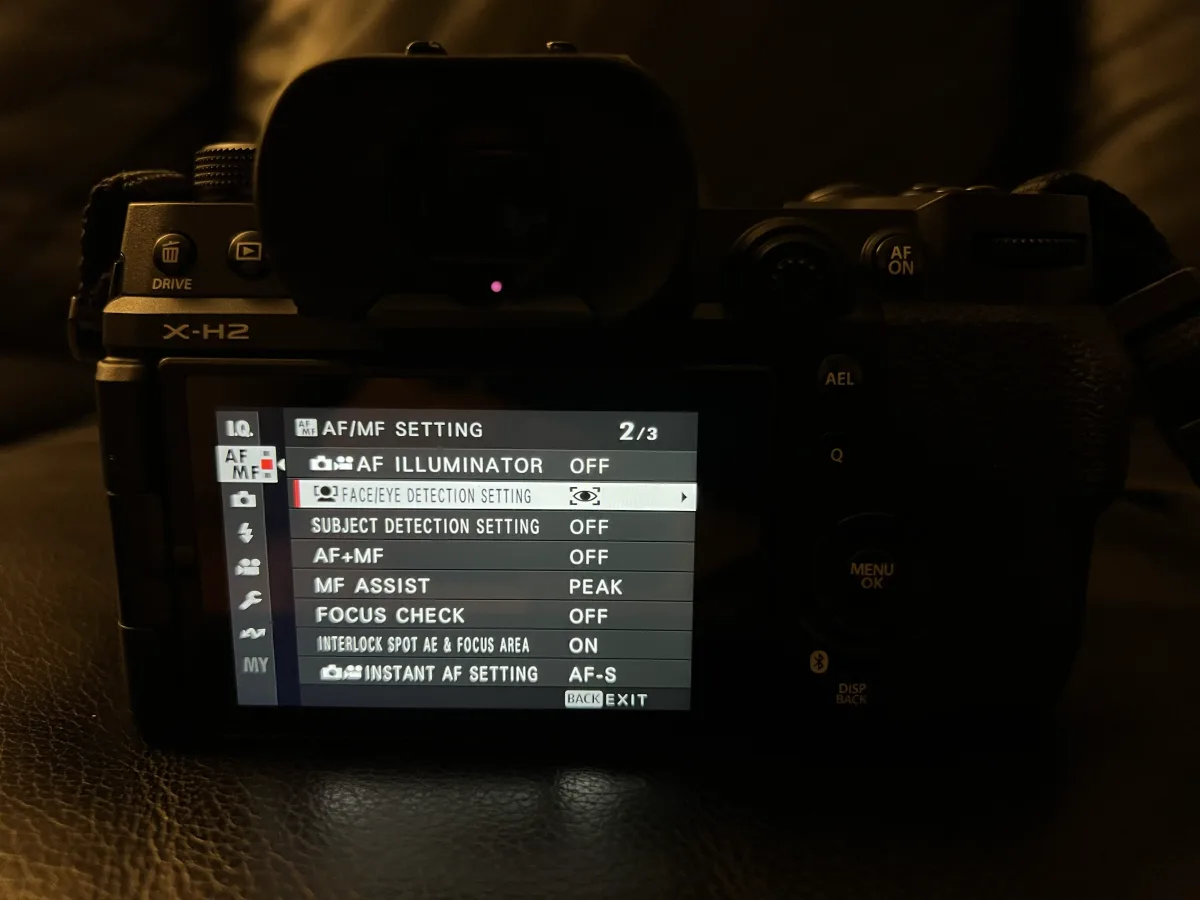
A few settings from the second AF/MF menu page worth calling out:
- AF Illuminator: Off — I don't want the front AF-assist lamp firing during a portrait session; it's distracting for the model and unnecessary in daylight.
- MF Assist: Peak — focus peaking is on for the rare times I switch to manual focus.
- Interlock Spot AE & Focus Area: On — this ties spot metering to wherever the active focus point is, so exposure reads off the subject's face rather than the whole frame.
- Instant AF Setting: AF-S — when using the instant AF button/half-press override, it briefly switches to single-shot AF-S for a quick, decisive lock rather than continuous tracking.
Video Settings (For B-Roll)
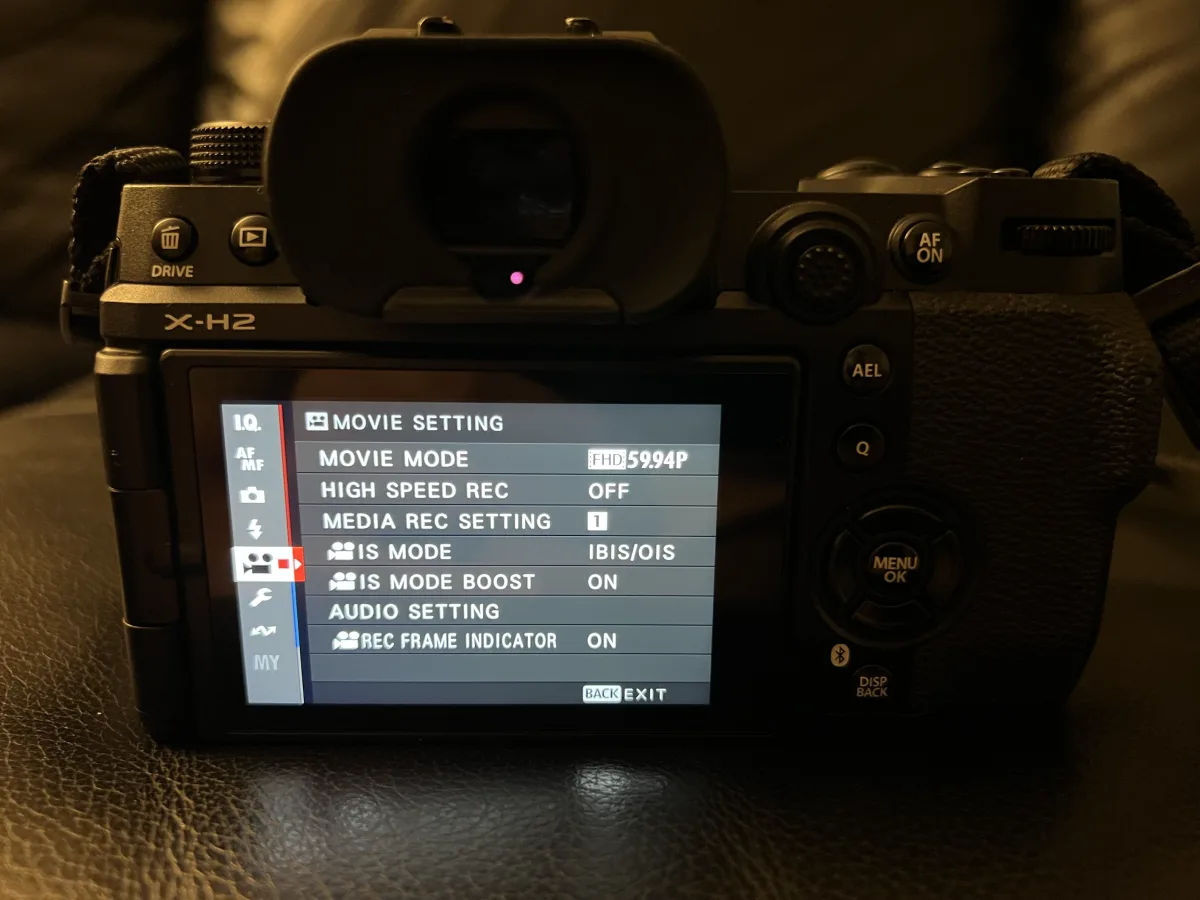
For behind-the-scenes B-roll during a shoot, I keep it simple: FHD 59.94p, IS Mode set to IBIS/OIS with IS Mode Boost On for steadier handheld footage. I don't need 4K for quick B-roll clips, and the smaller file size and easier handheld stabilization at 1080p60 is the more practical choice when I'm juggling stills and video in the same session.
Verdict
Between the two recipes, Classic Chrome is my pick for golden-hour, moodier sessions, and Provia is the go-to when I want an accurate, standard look that holds up across different lighting without leaning stylized. The autofocus setup — AF-C, Face Detection On, Tracking Sensitivity 4 — has been reliable for keeping focus locked through movement without me babysitting the AF point.
I'll keep refining these as I shoot more with the X-H2. Subscribe on YouTube and follow @caliallstaring on Instagram for upcoming sessions shot with these settings.
Support
Enjoyed this post?
Every review means renting or buying gear, booking models, and scouting locations. If this helped you make a gear decision, a coffee goes straight toward the next one.
Related Posts
Camera Settings
Lumix S5II + Sigma 135mm F1.4: My Camera Settings for Portraits
The exact Lumix S5II camera settings I use with the Sigma 135mm F1.4 DG Art for portraits — white balance, photo style, AF subject detection, image quality, and video settings, explained step by step.
Camera Settings
Nikon Z5II Camera Settings for Portraits: Best Auto Focus Setup Guide
Complete Nikon Z5II camera settings guide for portrait photography — exposure mode, JPEG quality, white balance, AF-C, 3D tracking, and focus priority settings explained.
Nikon
Nikon Z6III + Nikkor Z 50mm f/1.2 S: First Fall Portraits with Rosina in Midtown Sacramento
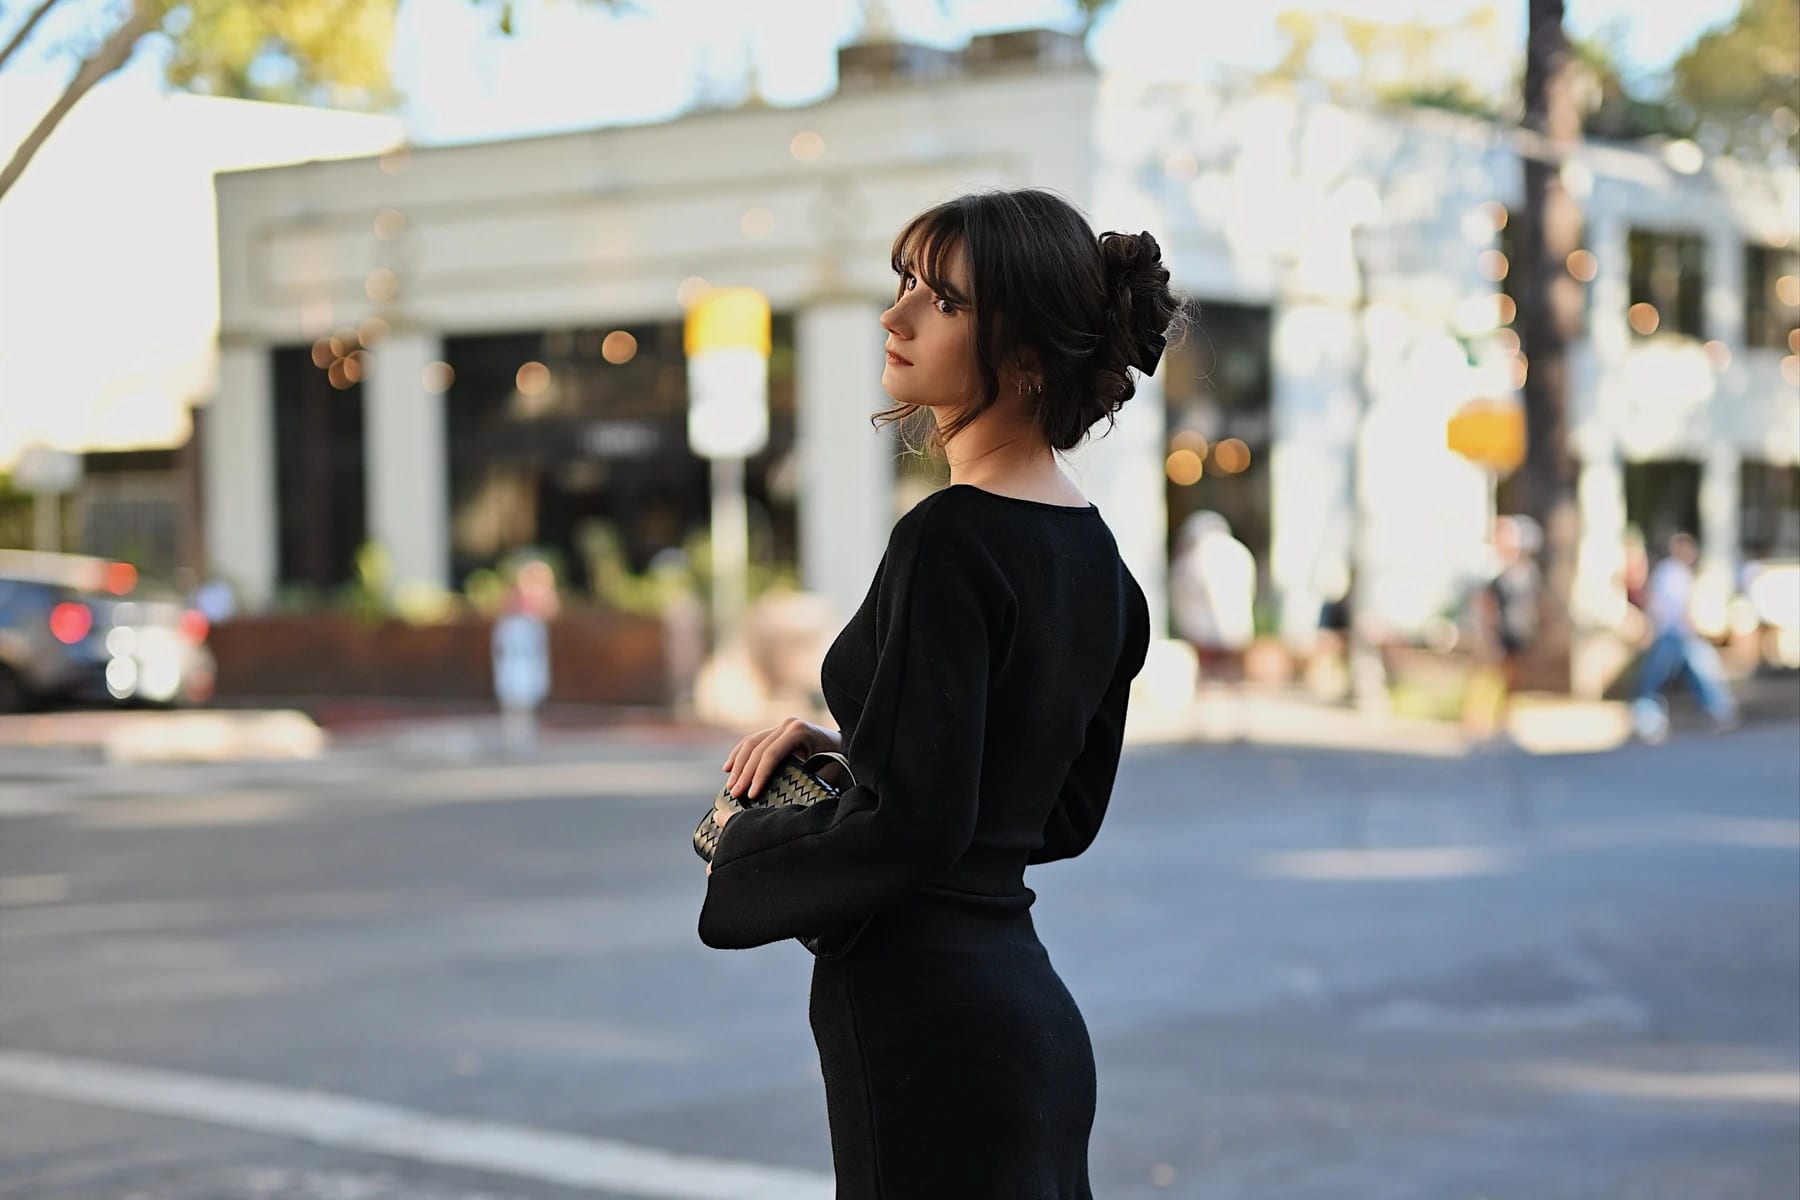
Backlit fall portraits with Rosina in Midtown Sacramento: a black sweater dress shot wide open at f/1.2 on the Nikon Z6III and Nikkor Z 50mm f/1.2 S.
Newsletter
Stay in the loop
Explore
From the Gallery