Camera Settings
Nikon Z5II Camera Settings for Portraits: Best Auto Focus Setup Guide

Big thanks to Nikon USA for loaning me the Nikon Z5II to test and create content with. I'm planning to put this camera through its full pace — shooting a lot of portrait sessions with it to see how it handles real-world work. Before heading into the first photoshoot, I sat down and dialed in my initial settings. Here's exactly what I changed and why.
Gear:
Exposure Mode: Manual (M)
I always shoot in Manual mode for portrait sessions. The reason is simple — consistency. When you're moving around a location and the light isn't changing drastically, M mode locks in the same exposure for every frame. Auto modes will try to compensate for dark backgrounds or bright skies, which causes your exposure to drift shot to shot. With M mode, what you set is what you get, every time.
For outdoor portraits in good light I typically start at f/1.4, 1/500s, ISO 100 and adjust from there. The command dials in M mode let me control shutter speed with the front dial and aperture with the rear — exactly the layout I set up below.
Command Dials: Tv Front / Av Rear in M Mode

In the Custom Settings → f2 Command dials menu, I set M mode so the front dial controls shutter speed (Tv) and the rear dial controls aperture (Av). This is the most natural layout for me — shutter is the setting I adjust most often on location, so it gets the front dial that's easiest to reach while shooting.
Image Quality: JPEG Fine★
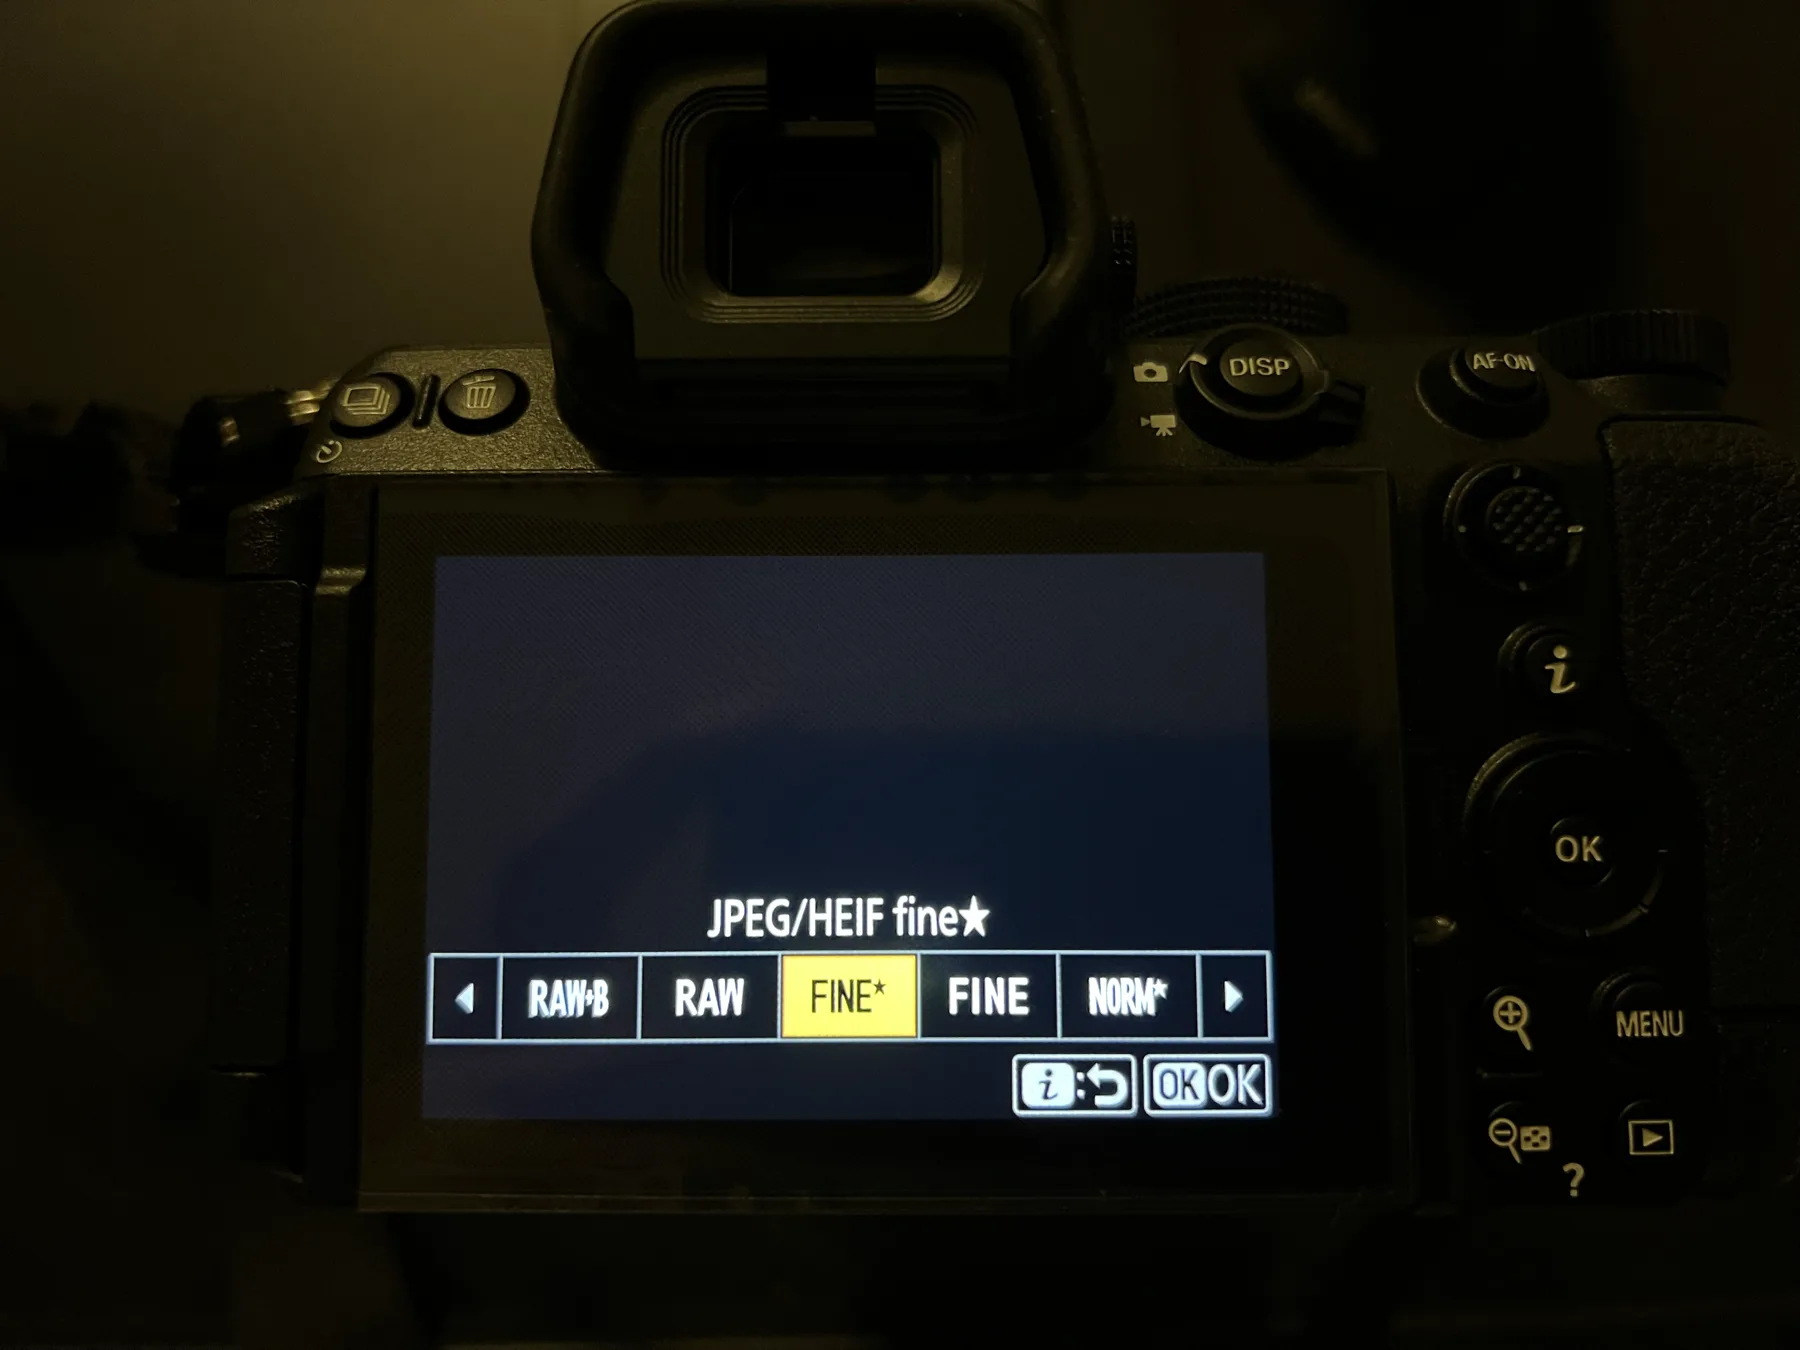
I'm shooting JPEG Fine★ (the highest JPEG quality option) rather than RAW. Here's my reasoning: I've gotten my in-camera color and exposure dialed in well enough that I don't need the latitude of RAW for major corrections. JPEG Fine★ gives me excellent image quality at a fraction of the file size, which means faster card writes, more shots per card, and — most importantly — way less editing time.
My editing workflow runs entirely through the VSCO app on iPhone. I import the JPEGs, apply a preset, make minor tweaks, and I'm done. No Lightroom, no desktop editing. JPEG + VSCO mobile = fast, consistent results that let me focus on shooting more.
Dual Card Slots: JPEG on Both
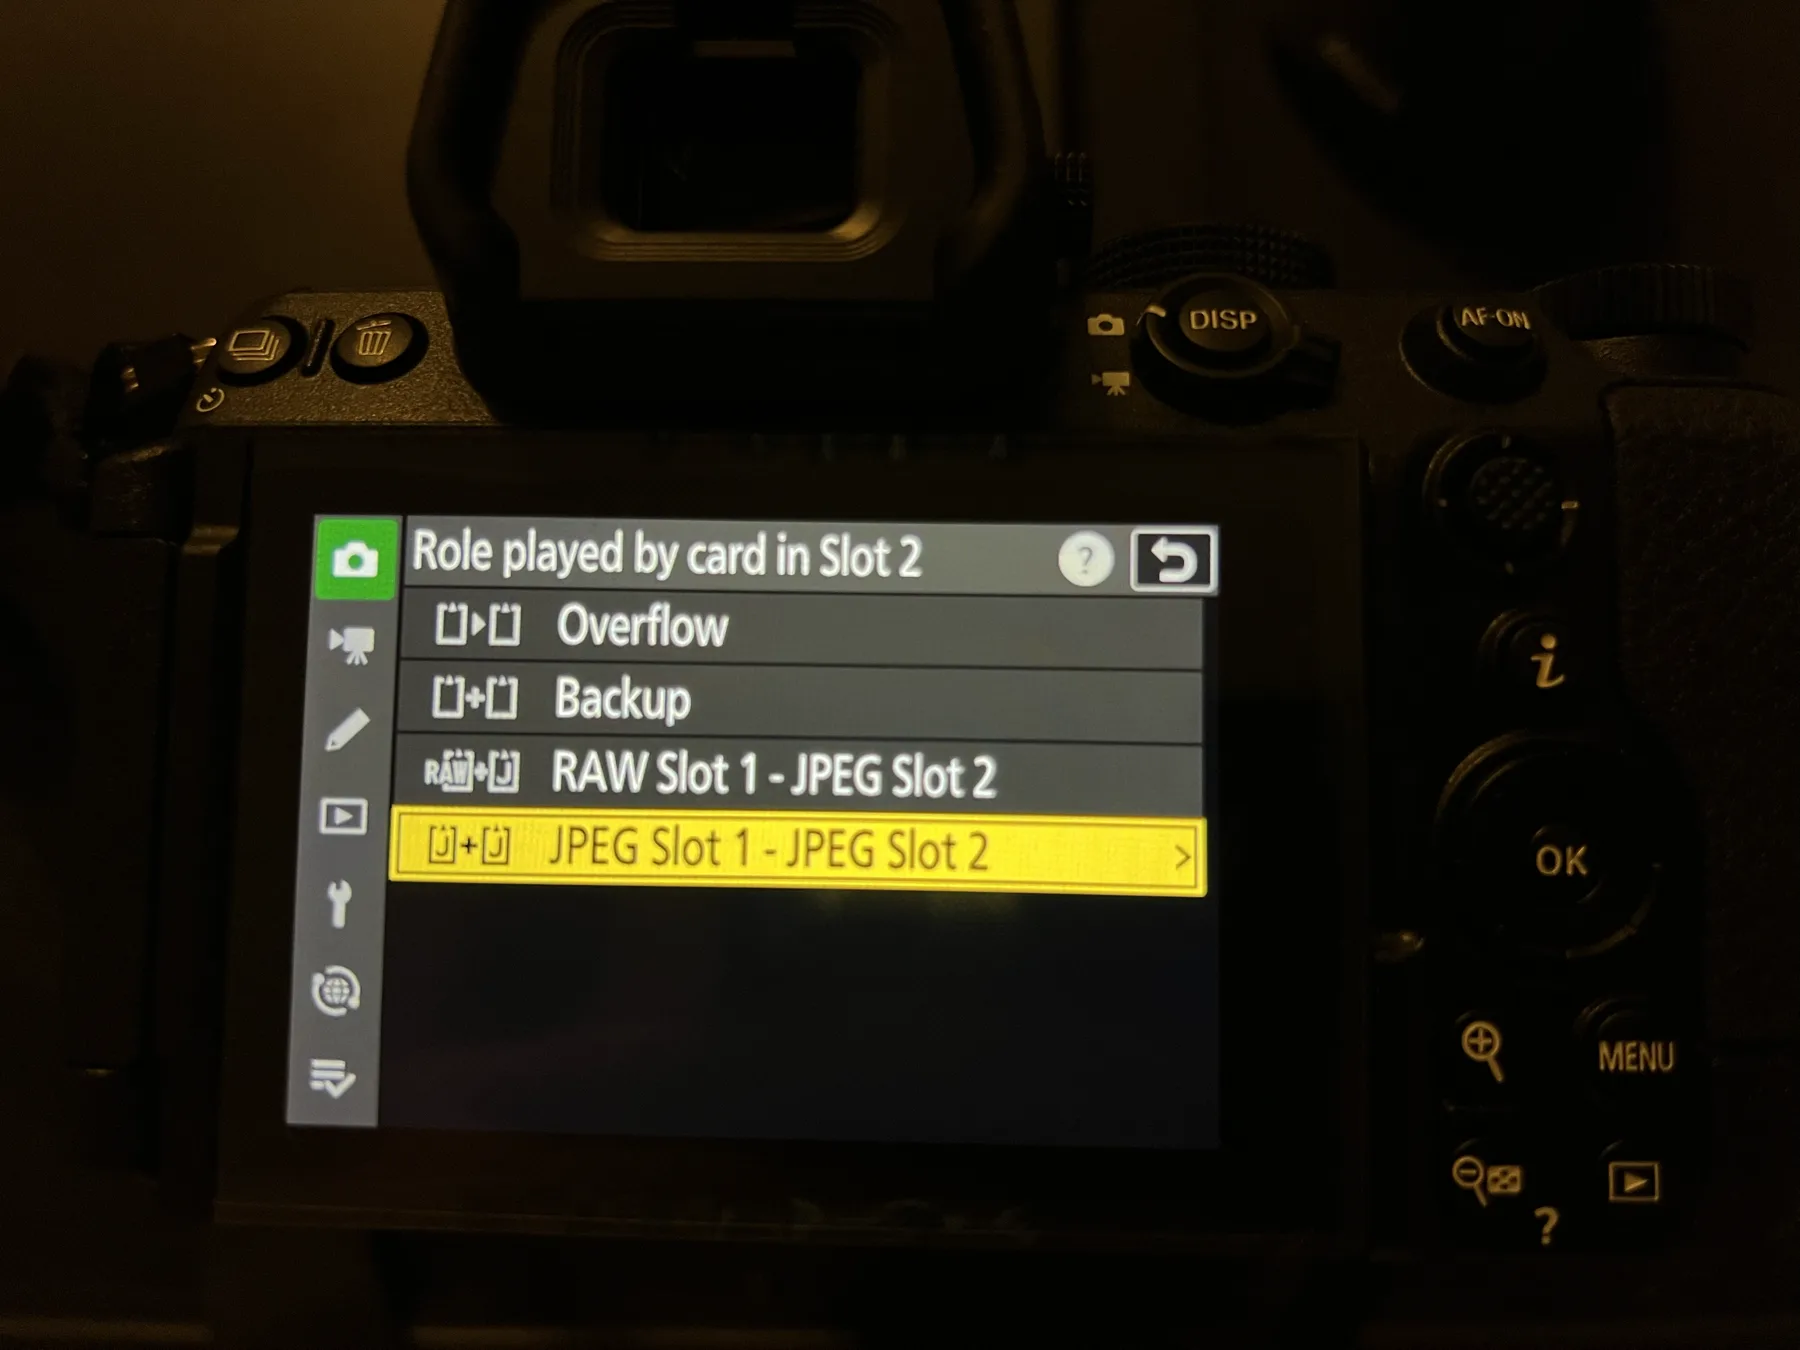
The Z5II has two card slots, and I set it to JPEG Slot 1 + JPEG Slot 2 — writing the same JPEG files to both cards simultaneously. This is a backup strategy. If one card fails or gets corrupted, the entire shoot is on the second card. For client work, this is non-negotiable peace of mind.
ISO: 100, Auto ISO Off
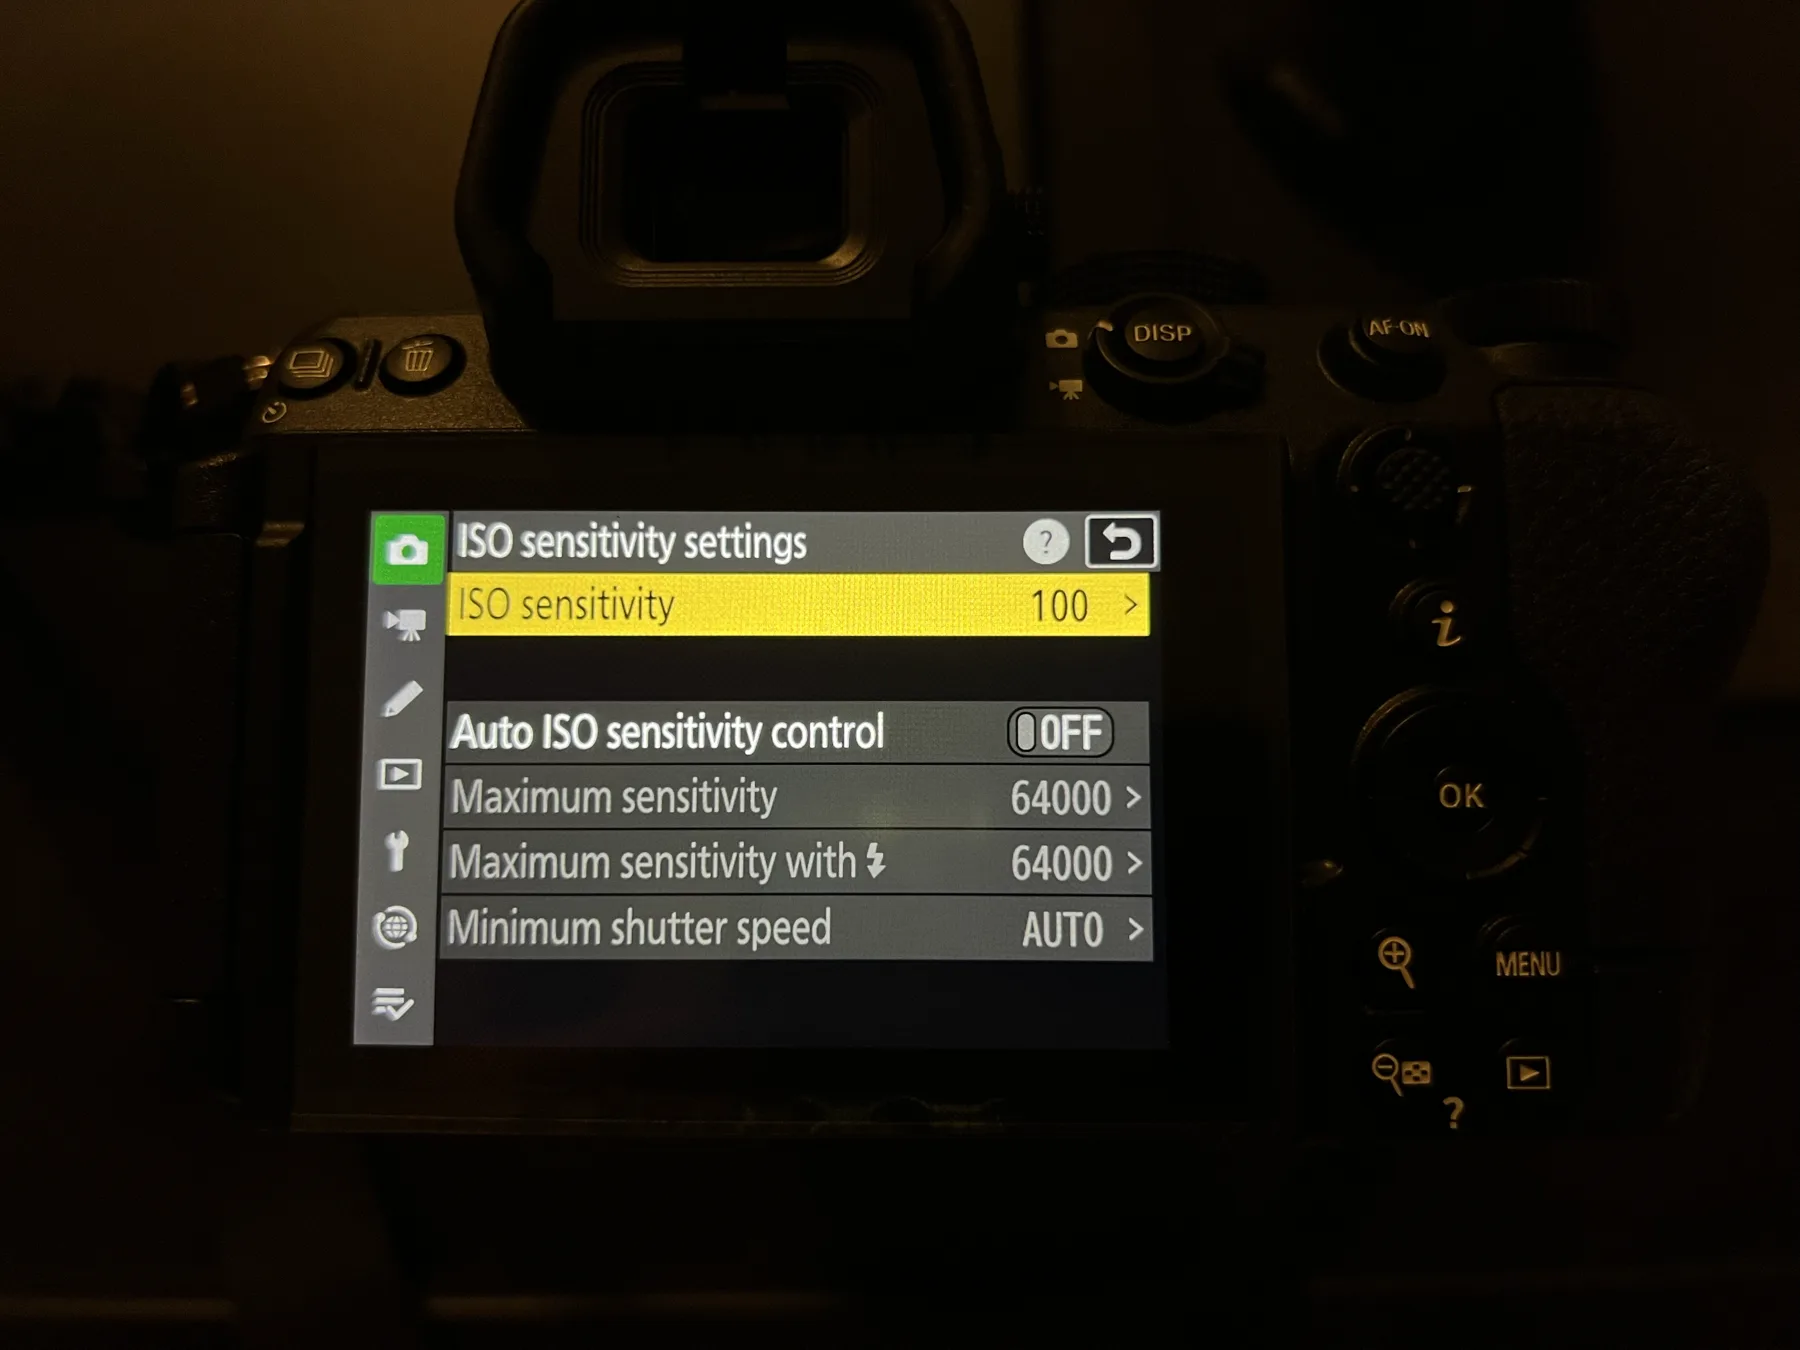
I set base ISO to 100 and turn Auto ISO off. Since I'm in Manual mode and want full control over exposure, letting the camera adjust ISO automatically would defeat the purpose. I set ISO manually based on conditions — 100 for bright outdoor, going up as needed if I move into shade or indoors.
White Balance: 5700K
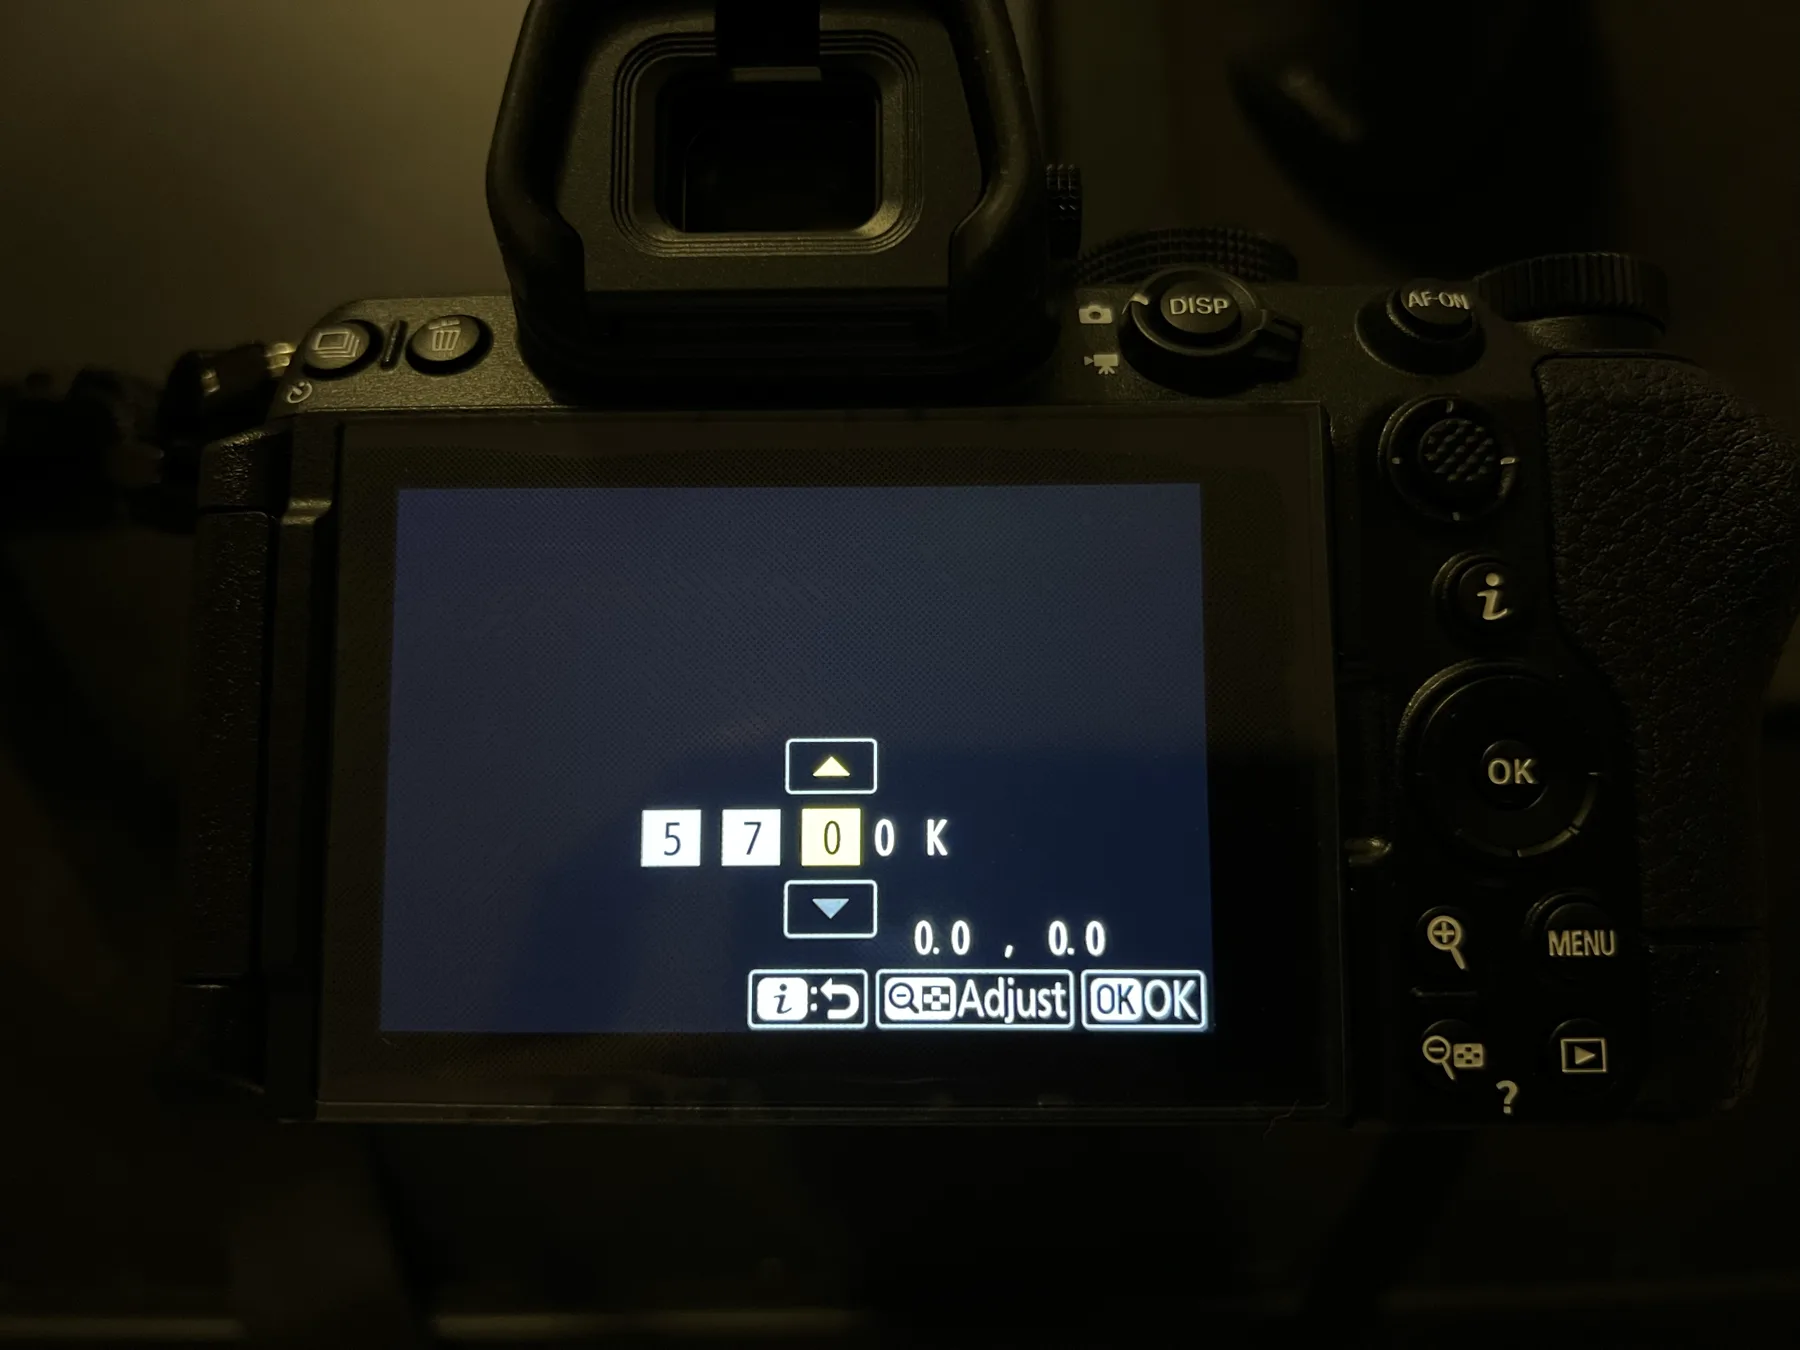
I set white balance to a fixed 5700K rather than Auto. Auto white balance can shift between frames as the background changes — especially problematic when shooting against a mix of sky, walls, and foliage. A fixed Kelvin value keeps the color temperature identical across the entire shoot, which makes batch-editing in VSCO much faster since one preset applies evenly to all shots.
5700K gives a slightly warm, natural tone that works well for skin tones in most outdoor daylight conditions.
Picture Control: Auto
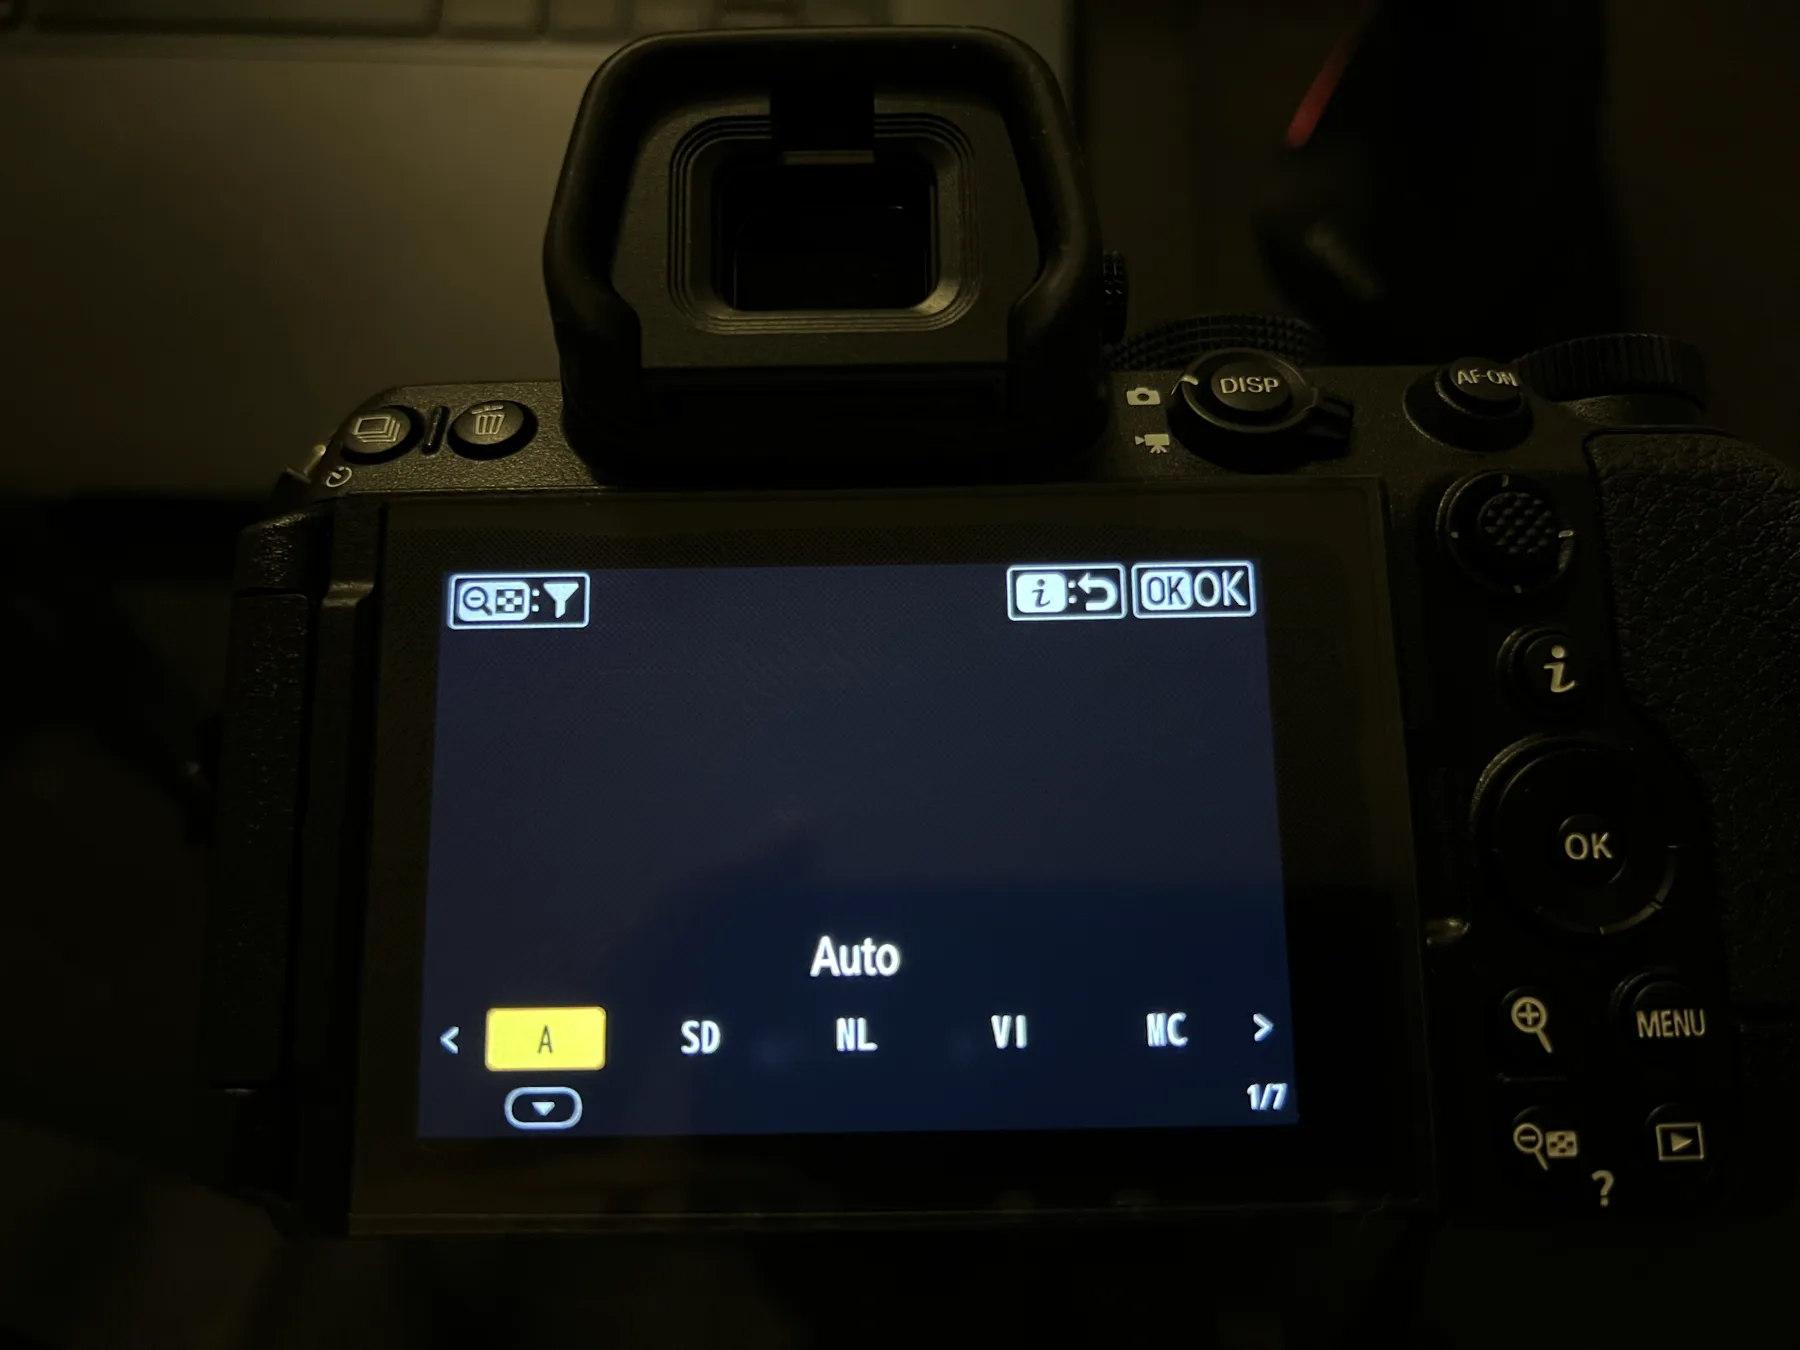
For Picture Control I'm starting with Auto. Nikon's Auto Picture Control applies subtle in-camera adjustments to optimize contrast and saturation based on the scene. Combined with the 5700K fixed white balance, the JPEGs come out of camera looking very close to final without heavy editing. I may switch to a custom Picture Control after more testing, but Auto is a solid starting point.
AF Mode: AF-C (Continuous)
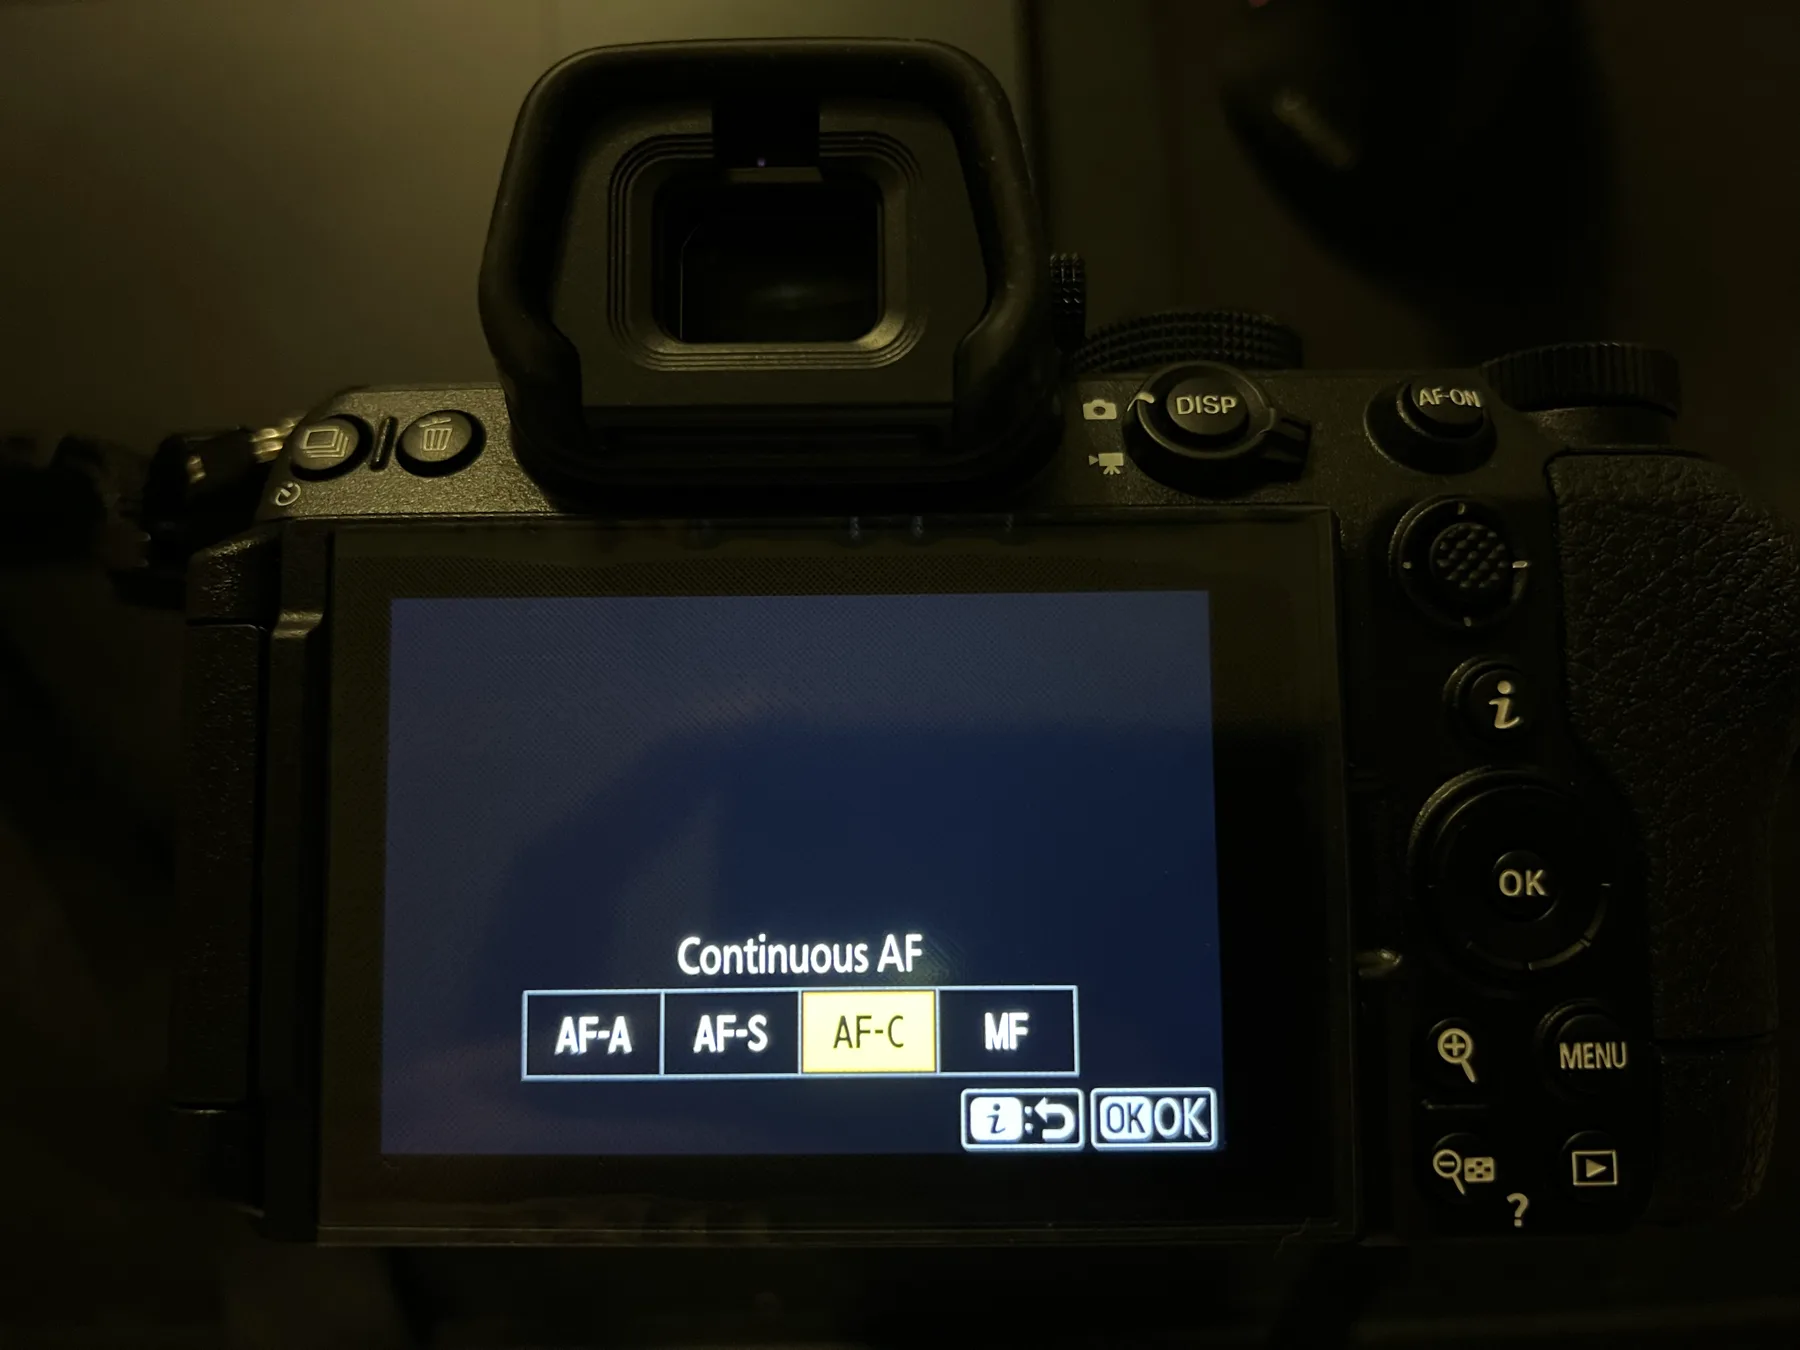
For portraits I always use AF-C (Continuous AF) rather than AF-S (Single). AF-C keeps tracking the subject as long as the shutter is half-pressed — so if your subject shifts slightly, turns their head, or you reframe, the camera keeps focus locked without you needing to release and re-acquire. It's faster and more reliable for anyone who's moving at all.
AF-Area Mode: 3D Tracking + Subject Detection
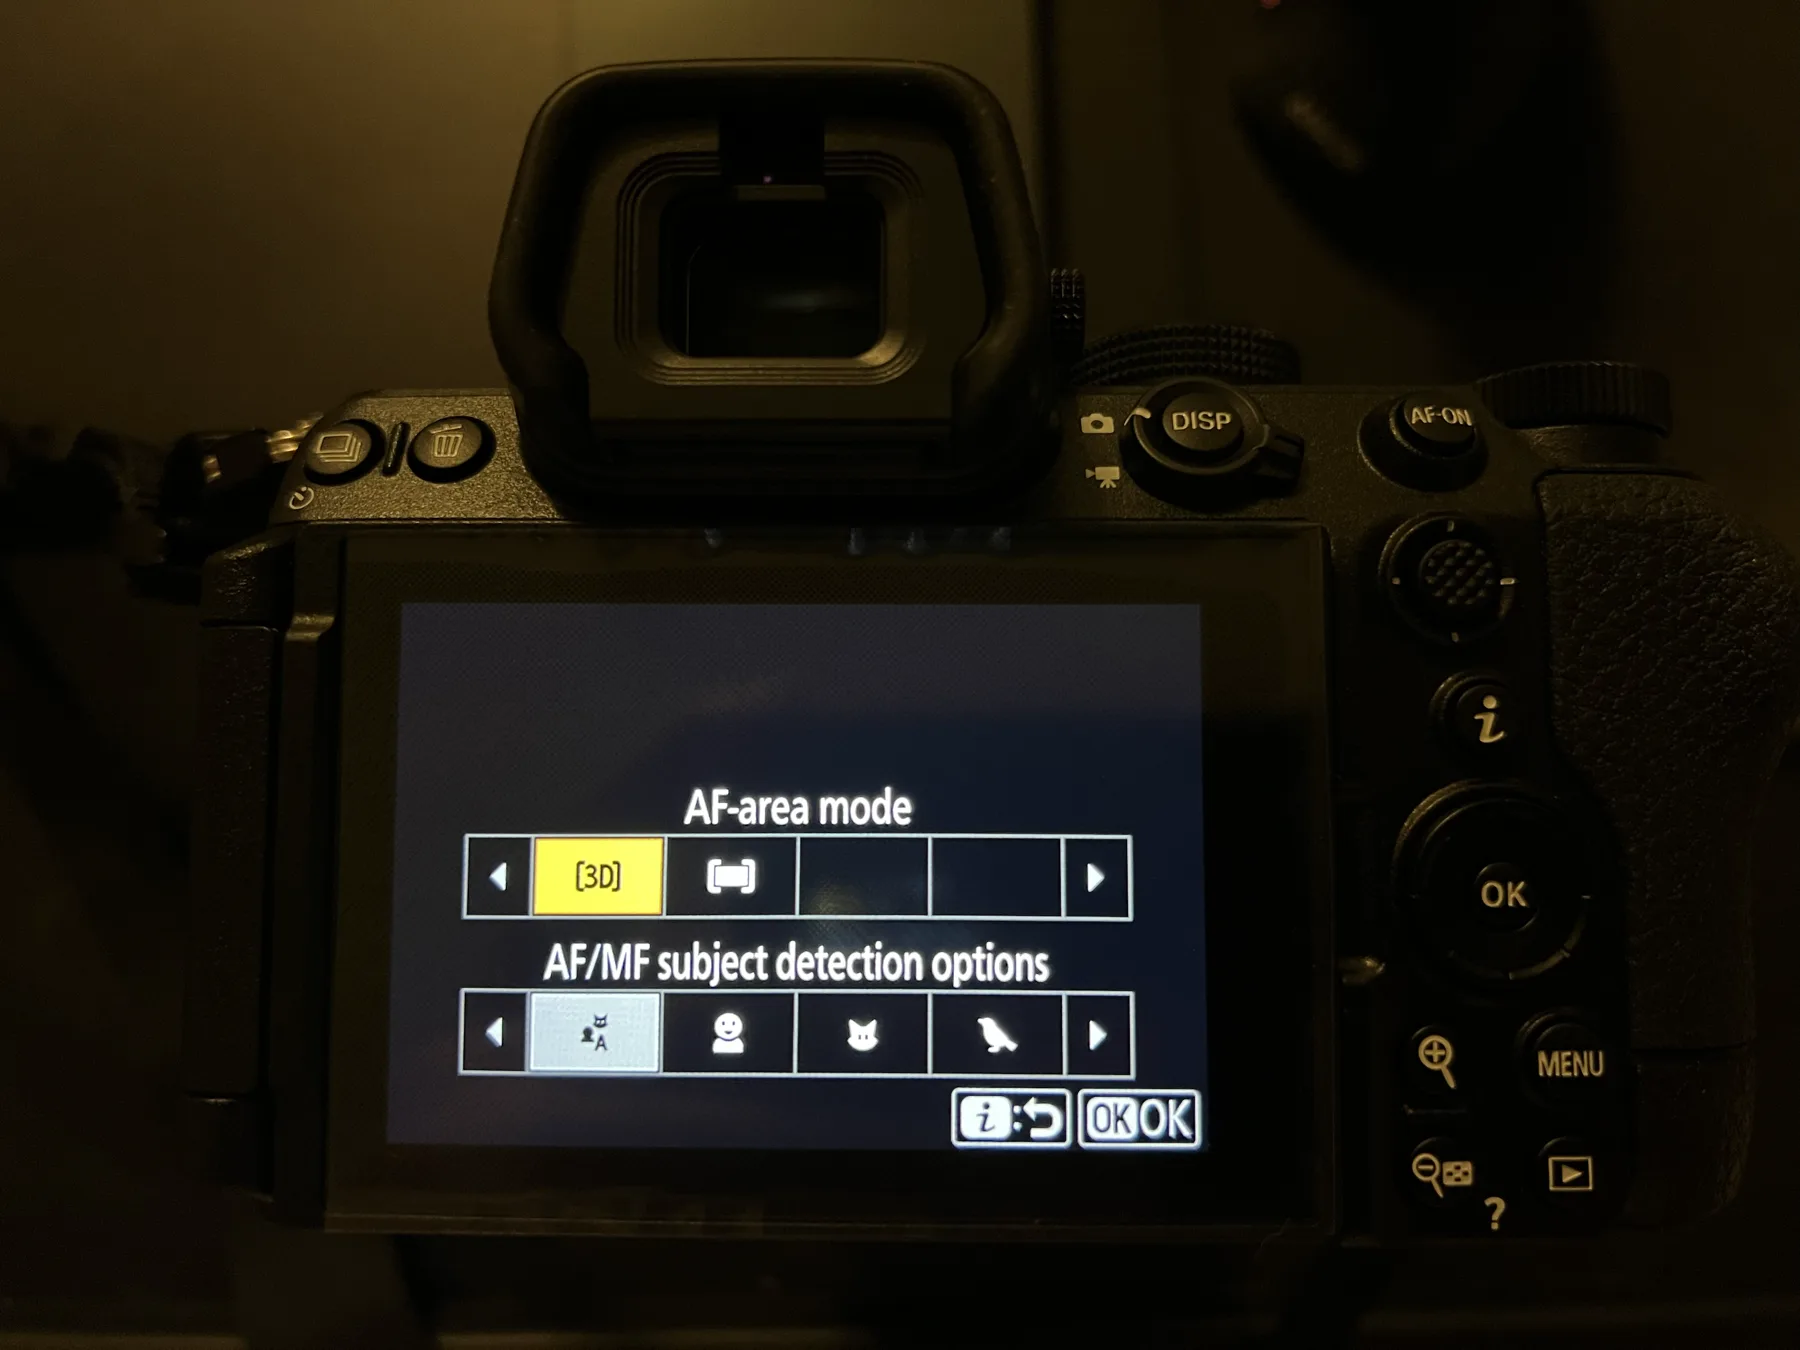
This is my favorite setting on the Z5II. 3D Tracking combined with subject detection (the person icon) is a powerful combination for portraits. Once focus locks onto the subject's face, 3D tracking follows them across the frame even if they move laterally — the camera predicts motion and stays locked. Subject detection prioritizes faces and eyes automatically, so I'm not manually selecting a focus point for every shot.
The result: I can focus on composition and timing rather than babysitting the focus point. This is especially useful when the subject is walking, turning, or I'm changing angles quickly.
AF-C Priority: Focus + Release
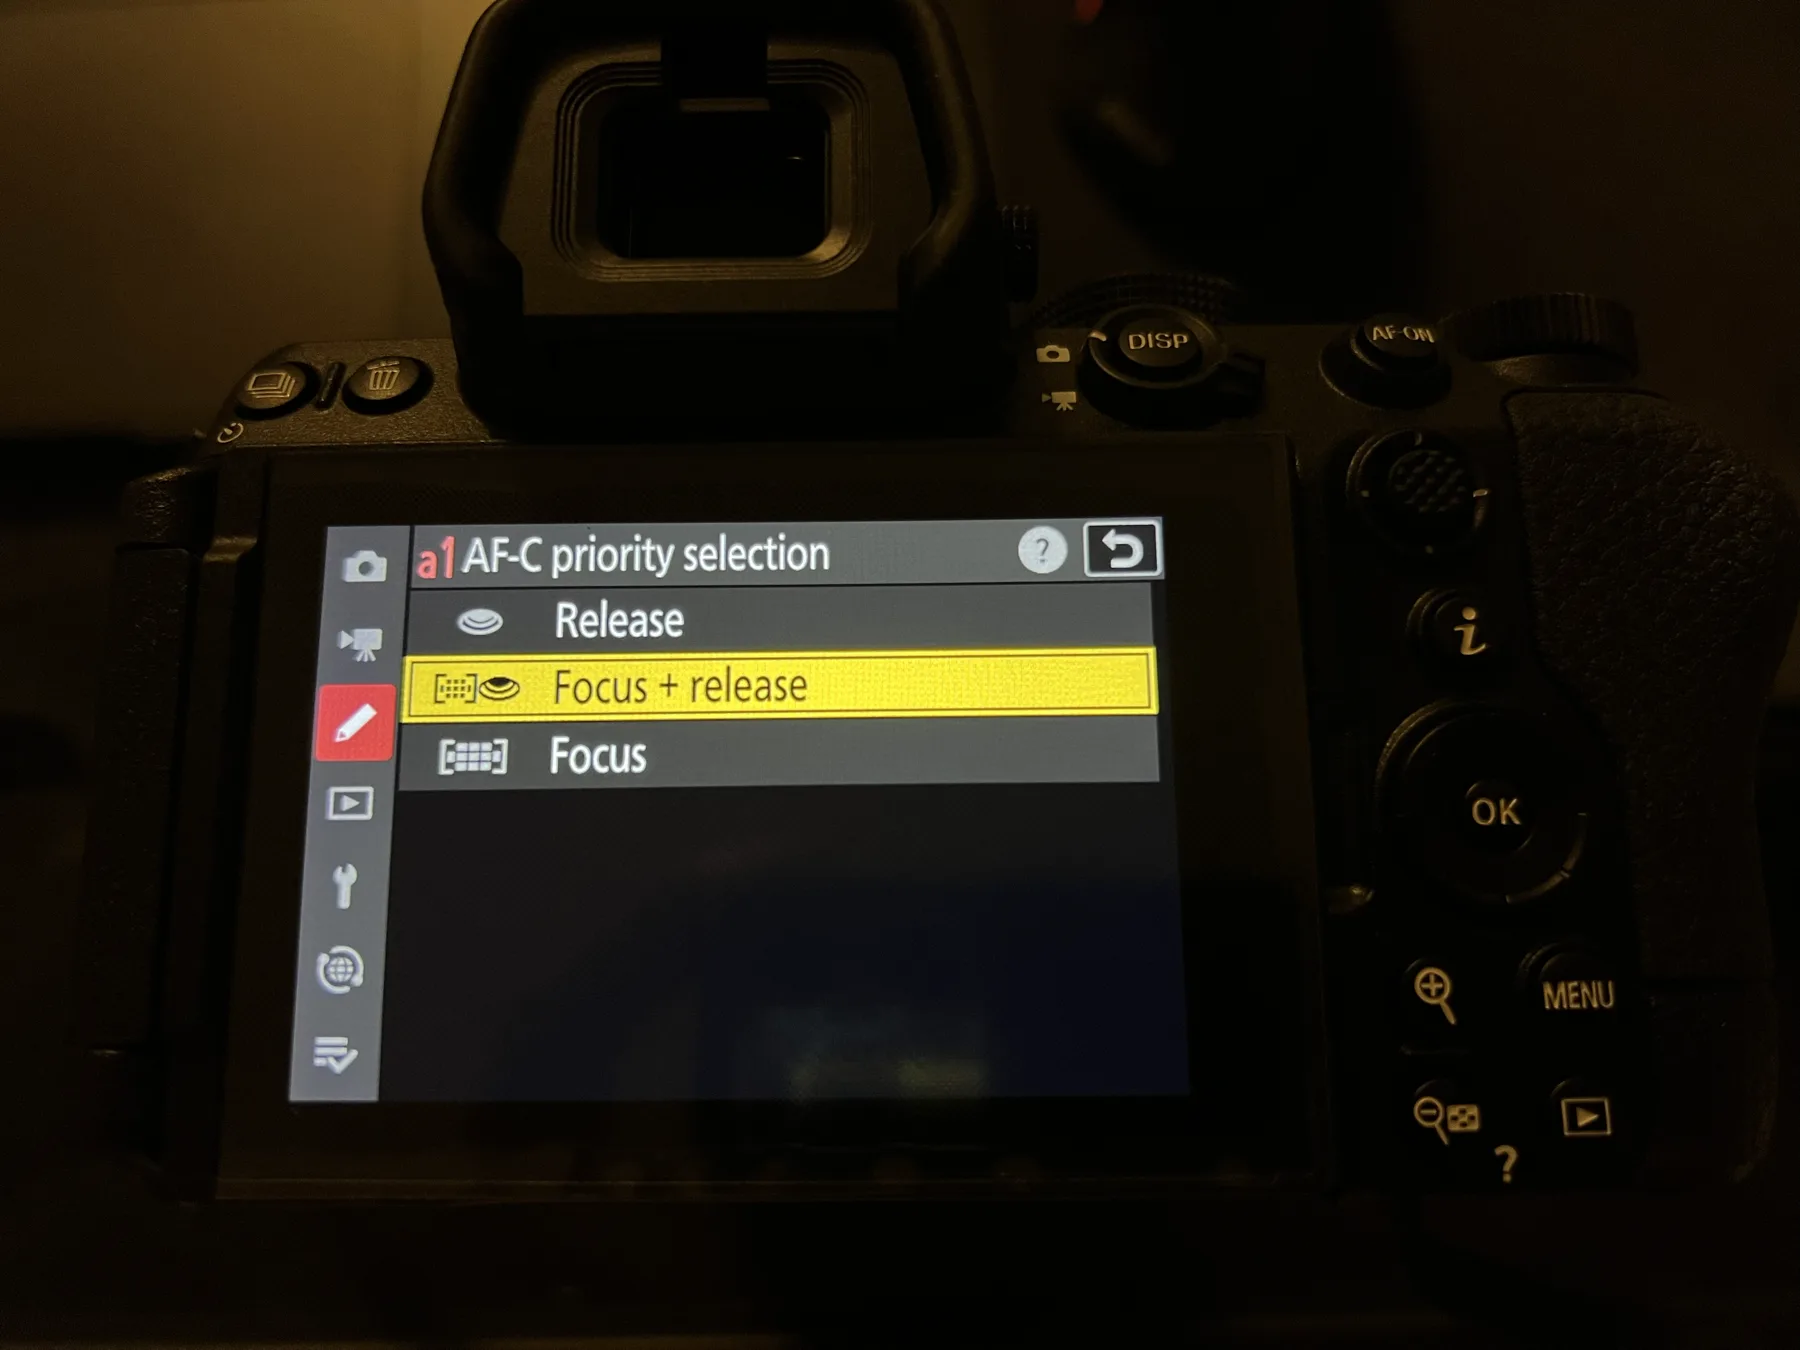
Under Custom Setting a1 → AF-C Priority Selection, I chose Focus + Release. This is the middle-ground option between Release (fires even if focus isn't confirmed) and Focus (won't fire until focus is confirmed). Focus + Release tries to confirm focus first, but will still release the shutter if focus can't lock — preventing you from missing a moment because the camera was too strict.
For moving subjects at f/1.4 where the depth of field is razor thin, I prefer this setting to avoid missed shots.
Focus Tracking Lock-On: Level 3
![]()
Custom Setting a3 → Focus tracking with lock-on → Blocked shot AF response is set to 3 (middle of the 1–5 scale). This controls how quickly the camera switches focus to a new subject when something passes between the camera and your subject — like another person walking in front of the frame.
Setting 1 (Quick) means the camera jumps to the new subject immediately. Setting 5 (Delayed) means it holds on the original subject longer. Level 3 is my balance — it's patient enough not to grab passing distractions, but responsive enough to switch focus if I genuinely move to a new subject.
Video: 4K 60p (H.265)
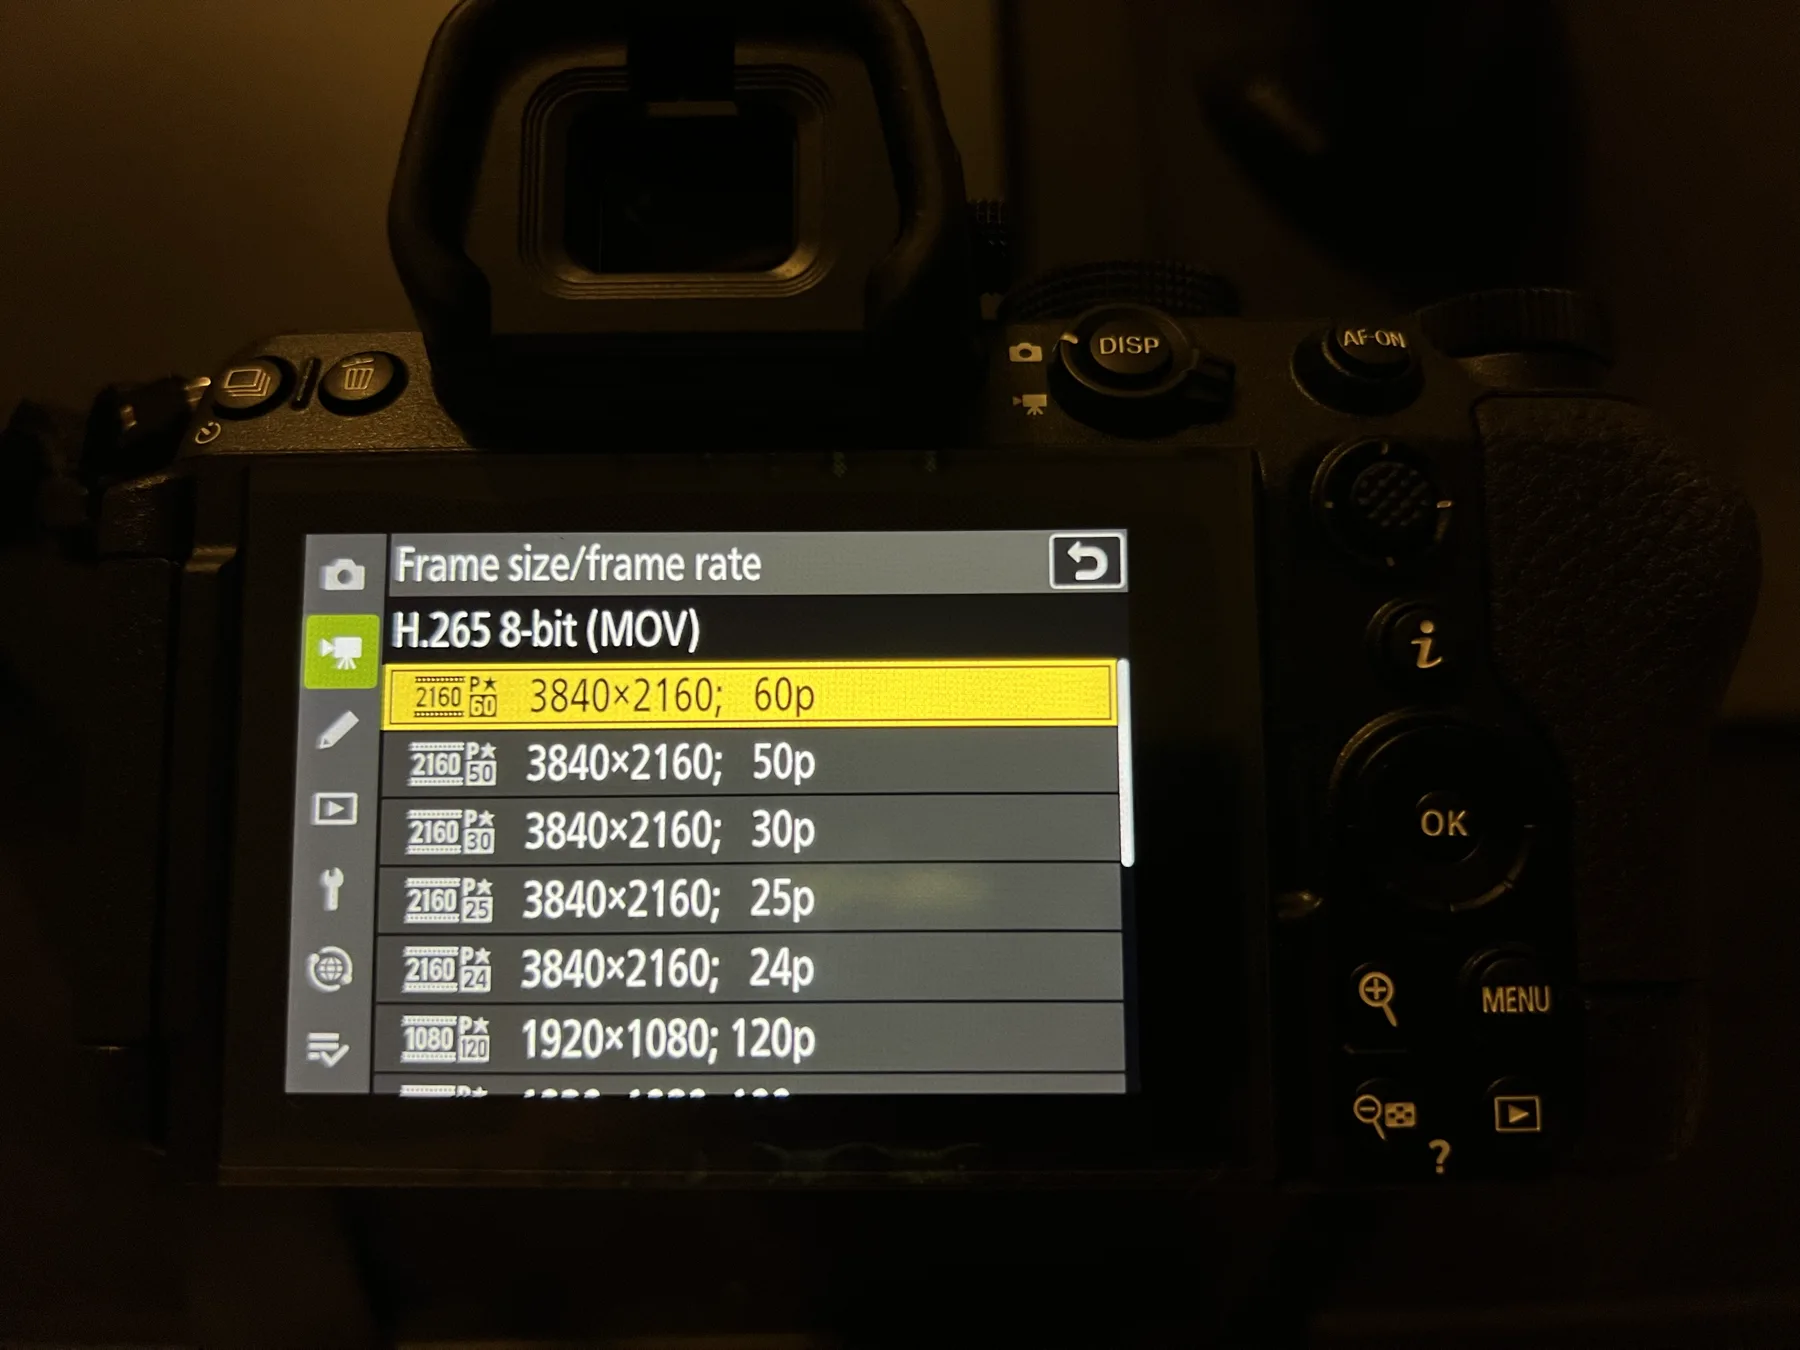
For video I set 4K 60p in H.265 (MOV). Even if I post at 30p or 24p, recording at 60p gives me the option to slow footage down to 50% in post for smooth slow motion. H.265 is more efficient than H.264 — smaller file sizes with better quality, which matters when recording long portrait sessions.
These are my day-one settings before heading into the first photoshoot with the Z5II. Some of these will likely get refined as I put more sessions through the camera. I'll report back with any changes once I see how they perform in real conditions.
Subscribe to my YouTube channel and follow me on Instagram for the upcoming portrait sessions and results shot on the Nikon Z5II — I'll be sharing the full shoots as they come out!
Related Posts
Camera Settings
Portrait Photography: Essential Poses and Compositions for Stunning Shots
Welcome to my blog post on portrait photography! Whether you're a seasoned photographer or just starting out, understanding different poses and compositions is key.
Camera Settings
Which Stops of Black Pro Mist Filter Should You Use for Your Lenses Portraits? K&F Concept
Today I am going to talk about my experience on using K&F Concept Black Diffusion filters on different lenses with various focal length, and what is the best stop for the particular focal length's por…

Camera Settings
How to Edit and Export HD Footage of a Vertical Instagram Reel Video Through Final Cut Pro X
In the ever-evolving world of social media, creating eye-catching and high-quality content is essential to capture your audience's attention.
Explore
From the Gallery


